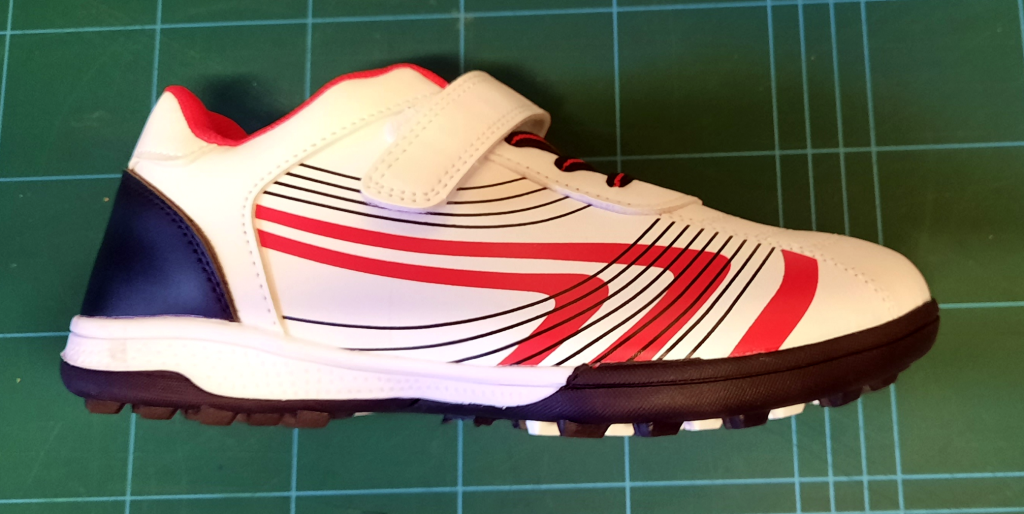
The ABSS project requires me to modify or recreate a shoe sole and attach it to a real adult-sized shoe upper. I purchased a pair of UK size 2 children’s running shoes to support these aims. Then, I disassembled them to understand how they were made and the materials used in their construction. Modelling shoes accurately is quite challenging, and I have no prior experience.
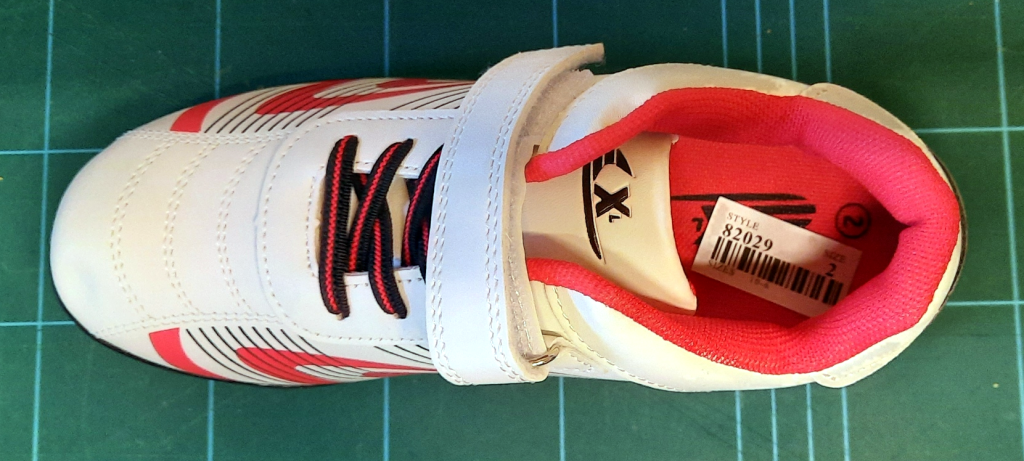
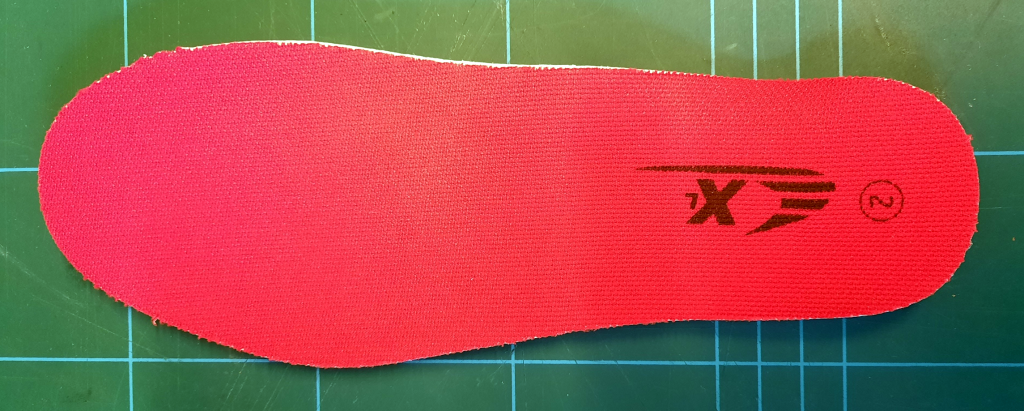
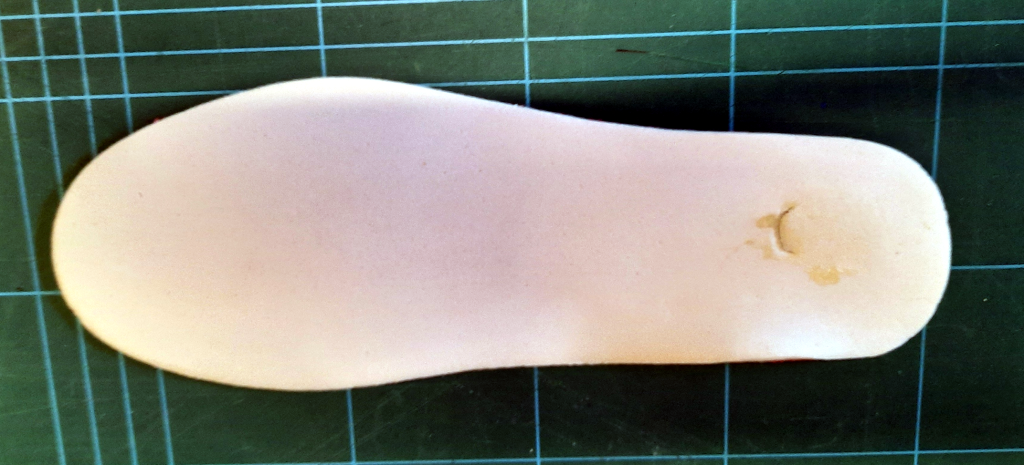
First, the inner sole was removed. It is a simple, flat shape cut from a sheet of bonded flexible foam and glued at the heel end with a blob of contact adhesive.
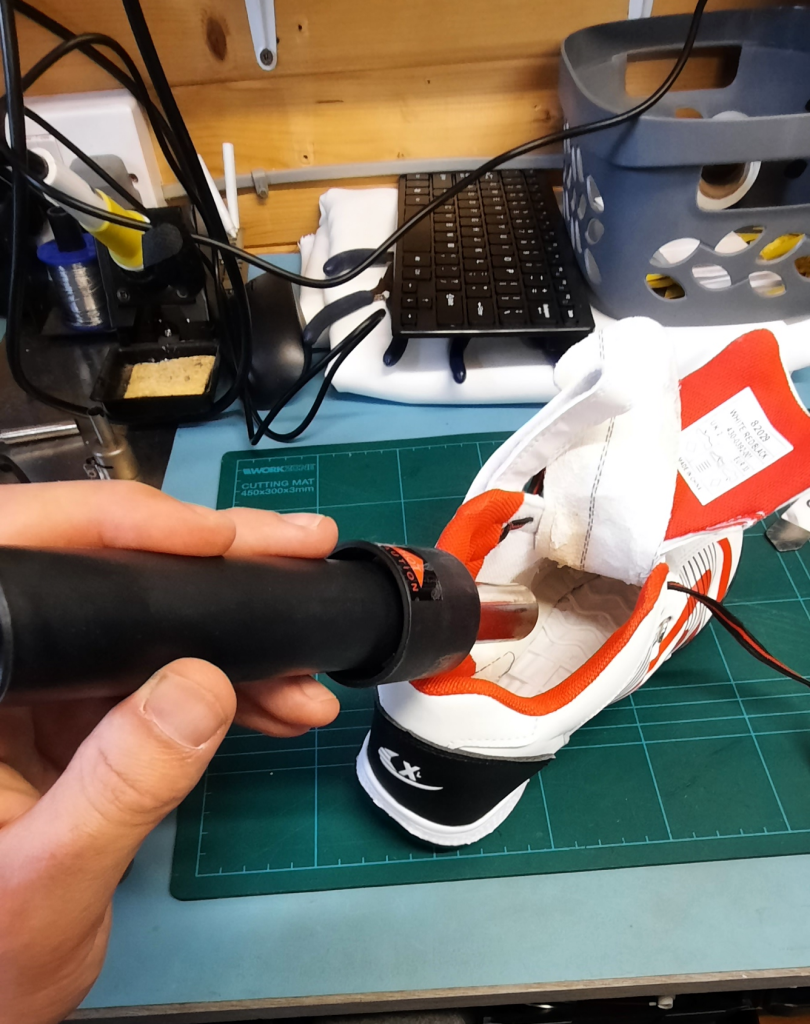
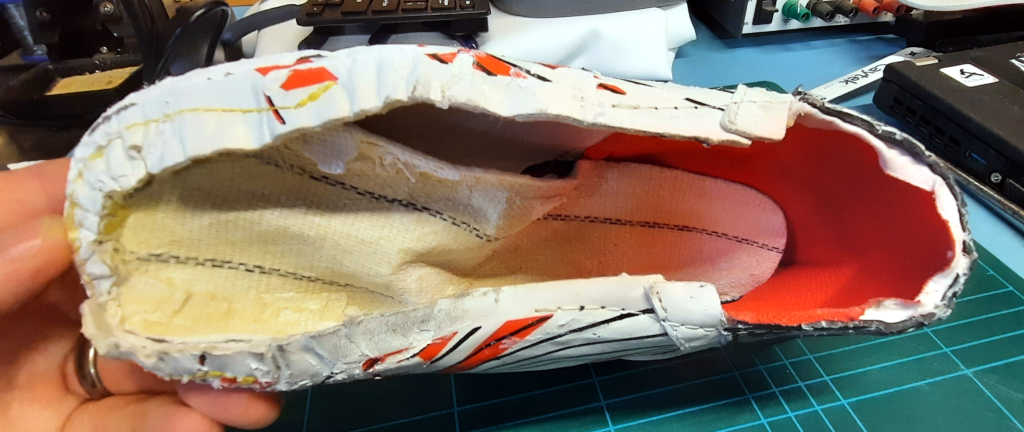
I heated the area where the shoe upper and sole were glued together and then used some force to separate them. The shoe’s upper part seems to be made of several pieces stitched together and folded over at the bottom, then glued with contact adhesive.
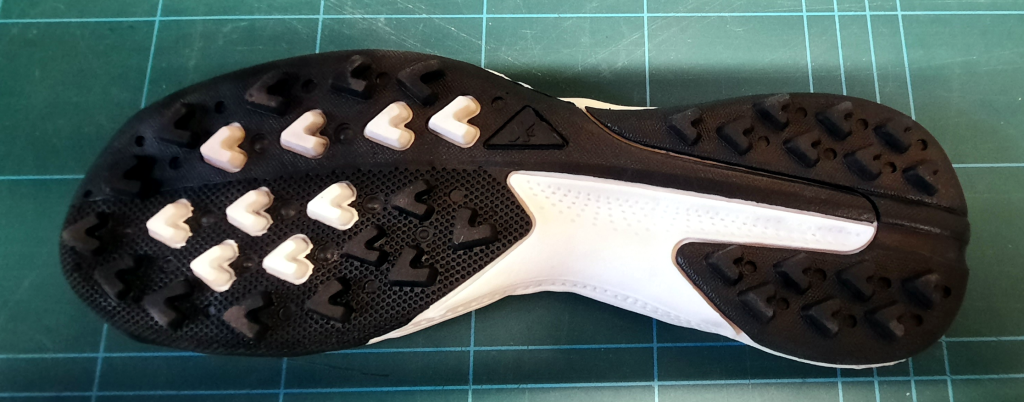
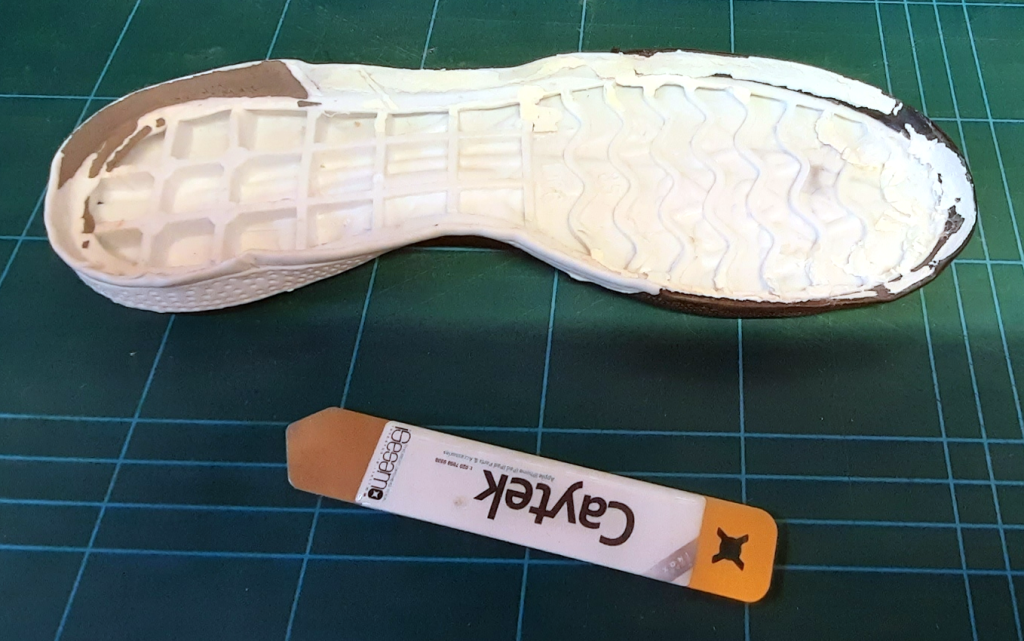
I applied a lot of heat to the inside of the sole, which caused the lip around the outside to distort in various spots. Fortunately, I could soften it by applying more heat and then mould it back into shape by hand. The lips stayed in place after the heat was removed and the rubber cooled.
Meshroom: 3d scanning with photogrammetry
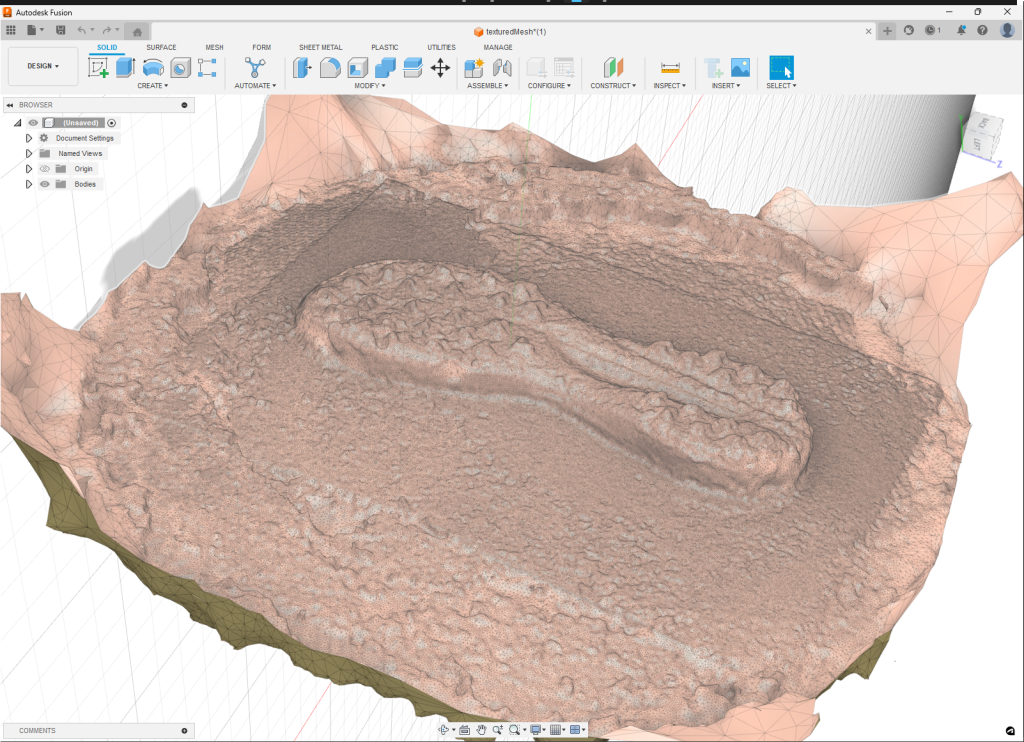
I aimed to manually calibrate a 3D scan of the sole by taking measurements. I placed the sole on a small turntable and captured multiple photos from different angles using my mobile phone. After creating a project in Meshroom and adding the images, I exported an OBJ mesh file and imported it into Fusion 360 for further refinement. However, I found that my basic 3D scanning setup didn’t produce usable results. As a result, I plan to explore how to build a better DIY 3D scanning rig, taking into account backgrounds, lighting, and workflows. I anticipated that this wouldn’t be easy, and it turns out I was right.
Next steps
To make the process easier for Meshroom and, therefore, give me better results, I think I have a plan for this:
- Source a stable turntable.
- Make or source a stand for the camera, where the angle and height can change. Likely, there’s something I can 3D print.
- Add a few diffuse light sources; the lighting in my workshop is not ideal
- Remove background clutter by building a box around the turntable. Cardboard or foam board will be sufficient.
- Add fixed background patterns or colours to create a uniform reference. I need to research the ideal for this.
I will 3D print some simple 3D shapes to debug and calibrate the scanning process, and report my results and setup here. So, watch this space!
