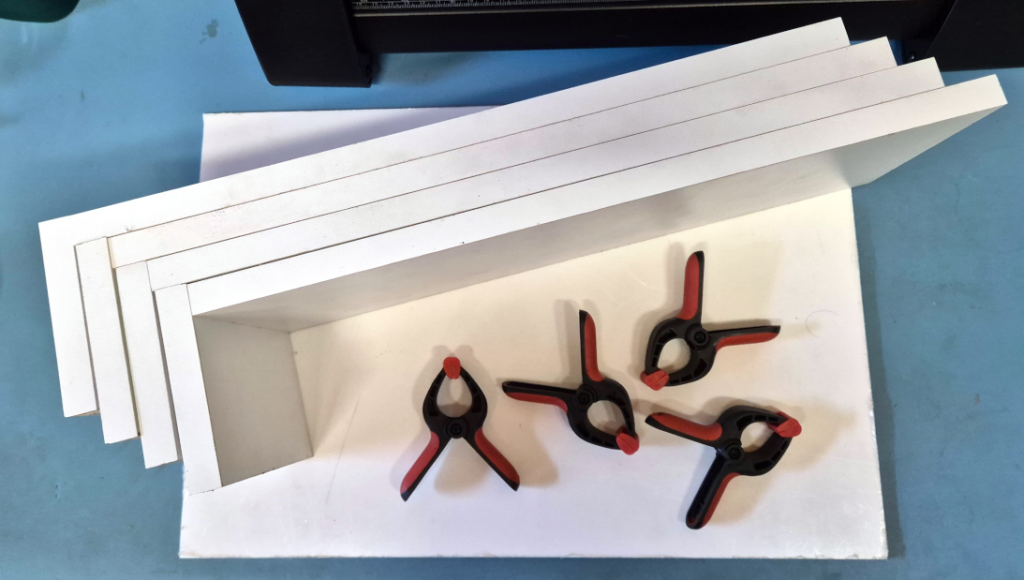
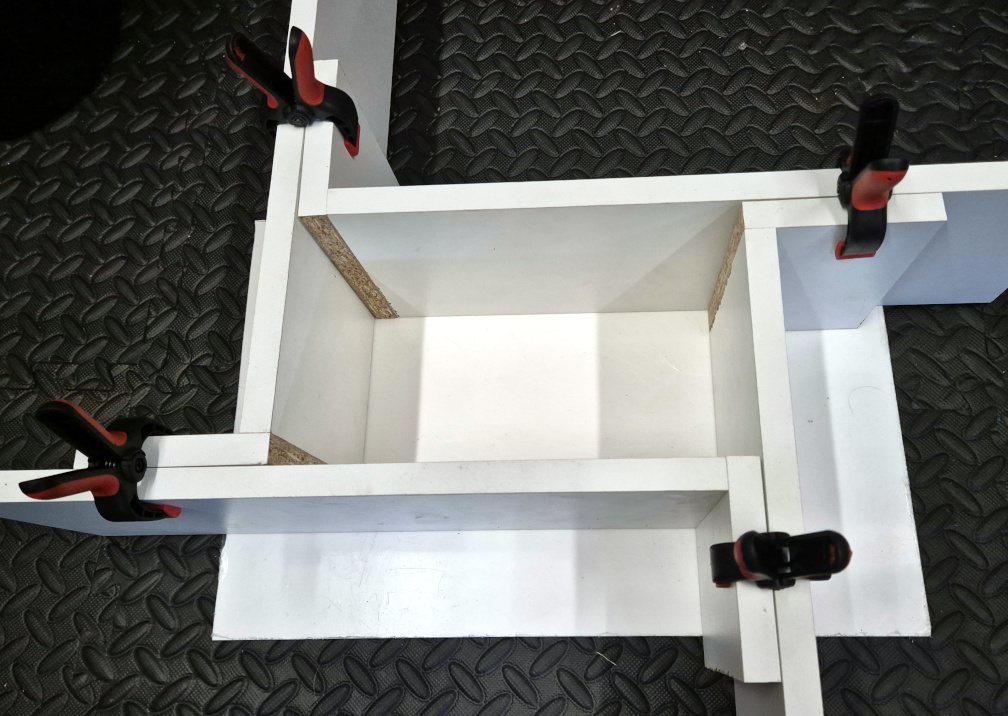
To pour silicone moulds, you need a container that can be deconstructed and reused later. An adjustable casting box I came across on YouTube seems like a neat solution. It utilizes four L-shaped side pieces clamped together to create the exact size mould required for your pattern. Having the right size mould is very useful for minimizing material waste and not wasting expensive silicone. After some initial casting experiments for the ABSS project, I concluded that I would get through many casting boxes unless I put in some effort to build something reusable.

The L-shaped pieces are constructed from melamine-coated particle board sheets (or contiboard in the UK.) These are made from two pieces screwed together at the end.
The bottom sheet can be another contiboard piece. I had a damaged polycarbonate sheet lying around, so I used that. Anything that can contain the liquid silicone rubber will be sufficient. All these parts are reusable for future projects.
To assemble the mould, arrange the shape with the short sections outside the box and place the entire thing onto a flat sheet of material. Clamp the pieces and temporarily seal all internal seams with hot melt glue. This is better than silicone because it doesn’t stick as readily to the cast silicone once it’s cured. Spray the entire internal surface with a release agent to prepare for introducing the mould pattern or a clay bed, depending on the type of casting you are undertaking.
You should ensure there are no visible gaps, as these may cause silicone to leak. Seal them properly to prevent any leaks. The rough edges of the Conti board should be sealed with PVA adhesive to prevent excessive silicone adhesion, although this is probably a minor issue.

