ABSS
The Airbag Support System
Introduction
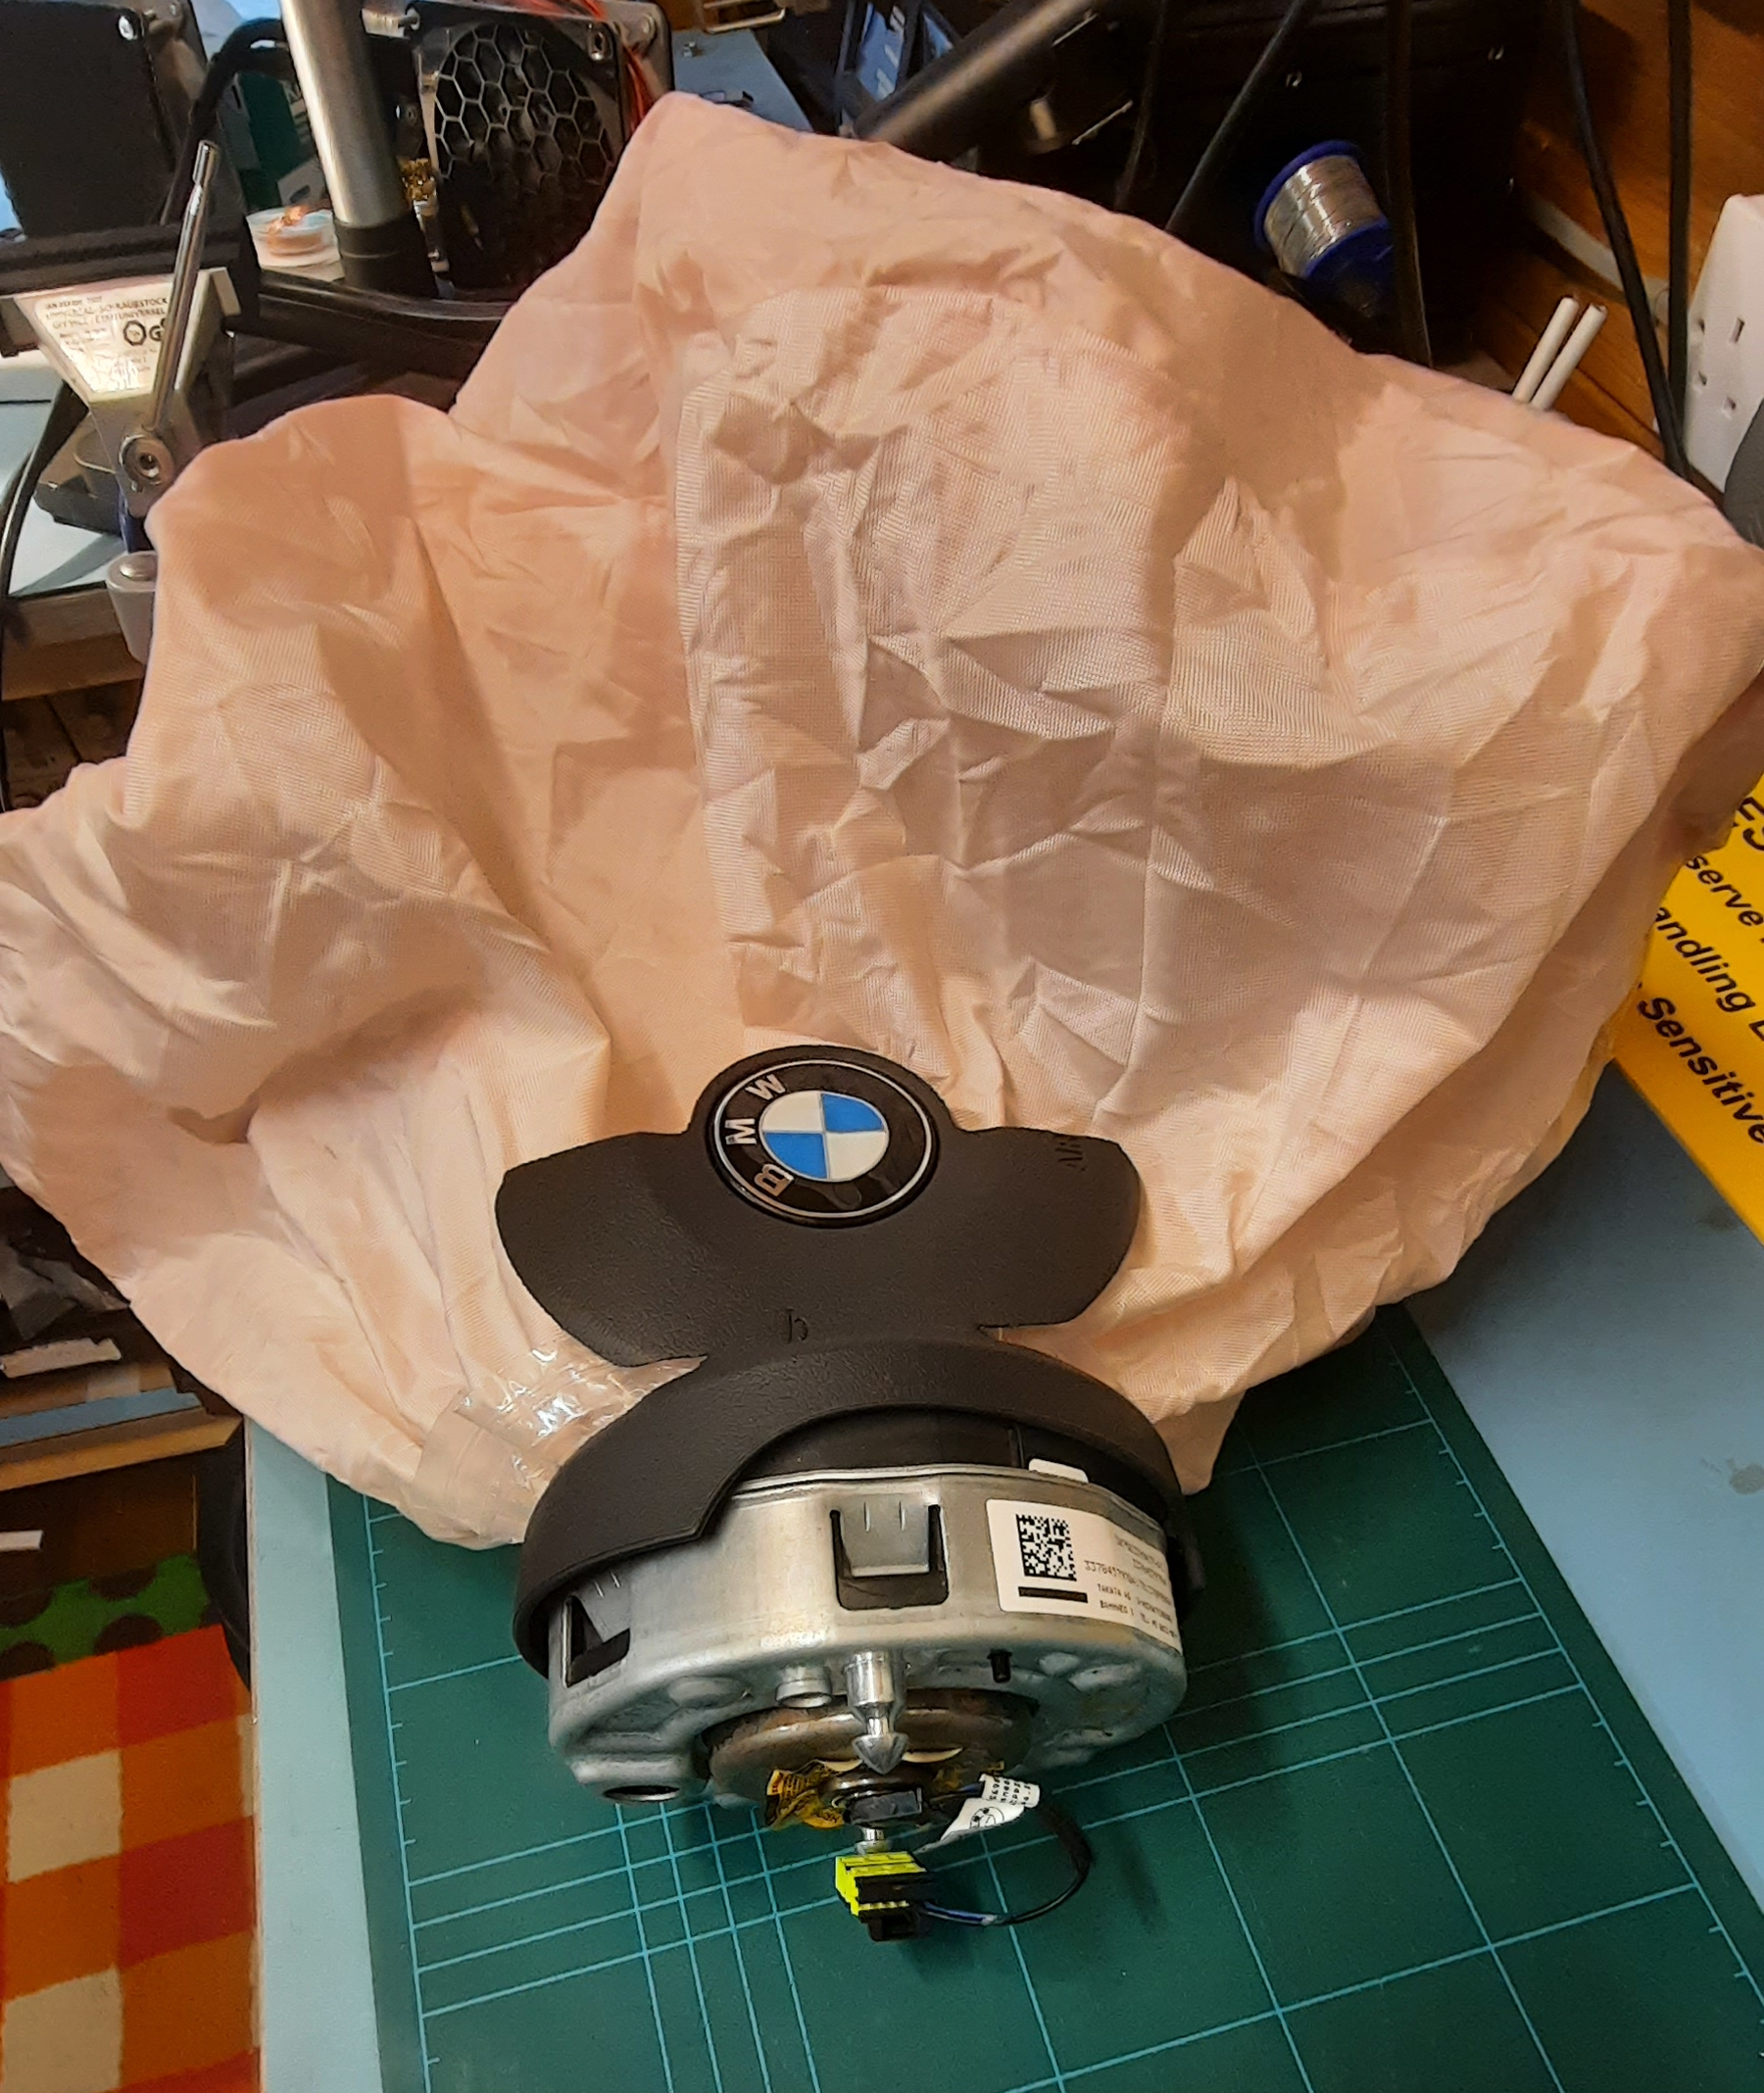
Ankle roll injuries in professional basketball are bad news. One misjudged landing and a player can sprain the ligaments supporting the foot and be benched for months. They’re certainly straight out of the game. The team behind the ABSS, or Airbag Support System, approached me to provide a feasibility study and preliminary budget to create an airbag system that could deploy from the sole of a basketball shoe. This is intended to deploy in the event of a detected ankle roll and provide compensating support and cushioning for the ankle bone.
An airbag in a shoe, like a car airbag, deployed with explosives? Are they crazy? Well, the more I thought about it, the less crazy it seemed and the more likely the concept was feasible. But can we even build such a thing?
The Concept
The ABSS team already had done some preliminary work on a possible construction for the shoe, with some 3D modelling of a deployment. However, there is a big difference between a concept rendering and a physical prototype; not everything that can be envisioned can be realised. But I didn’t think they were too far off base and couldn’t come up with a reason not to proceed. So we’re doing it. On a shoestring budget as time and money allow. Why not follow me on this prototyping journey into unchartered waters and see how this pans out?
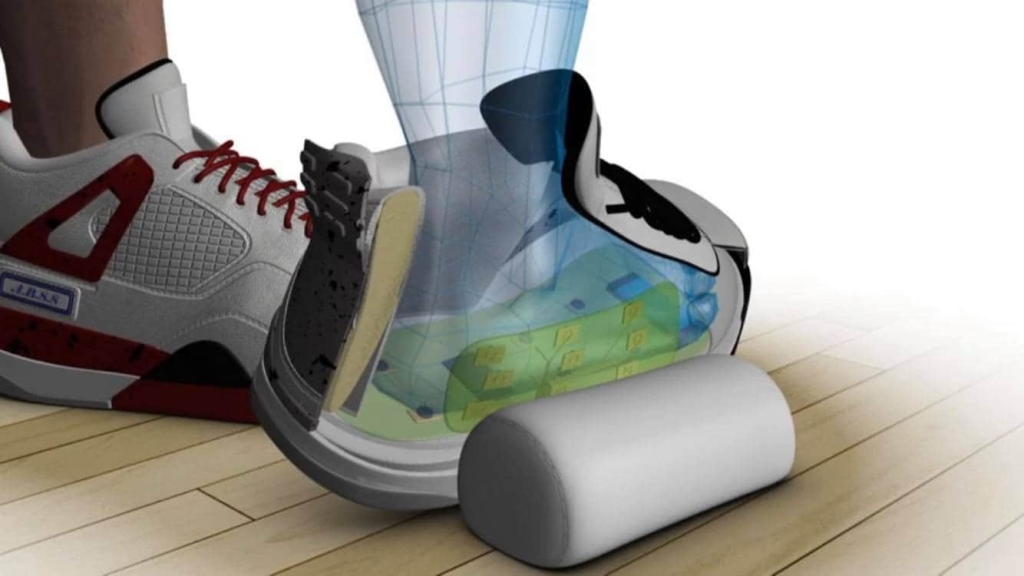
The operating concept is to monitor the distribution of foot pressure and to detect a sudden shift from being in line with the leg to being perpendicular to it. This means the weight is shifting to the outer side of the shoe as the ankle rolls outwards in an undesirable direction. The airbag will deploy from the sole before the ankle has time to roll too far in the direction of injury. It will be shaped to engage with the floor and roll the foot inwards, correcting the posture. Additionally, the bag should extend upwards to cushion the ankle bone. Subsequent images will illustrate a more suitable shape.
First thoughts
My expertise lies in electronics and embedded software, which is what I’m most comfortable with when it comes to prototyping. The ABSS project involves electronics assemblies, including rigid and flexible circuits. However, there will be numerous mechanical components that are outside my area of expertise. As a result, I’ll need to learn a lot in several areas, and I’ll be documenting my learning process here.
The first step in a prototyping plan is to identify the parts of the project that you can and cannot create and then develop a plan to acquire the necessary skills. If there are skills that you lack, you may want to consider outsourcing. For example, I no longer make my own PCBs because it’s easy to outsource this for consistent quality. However, outsourcing mechanical work can be quite expensive, and I am not sure how to find someone to sew an airbag. So, I will have to figure that out on my own.
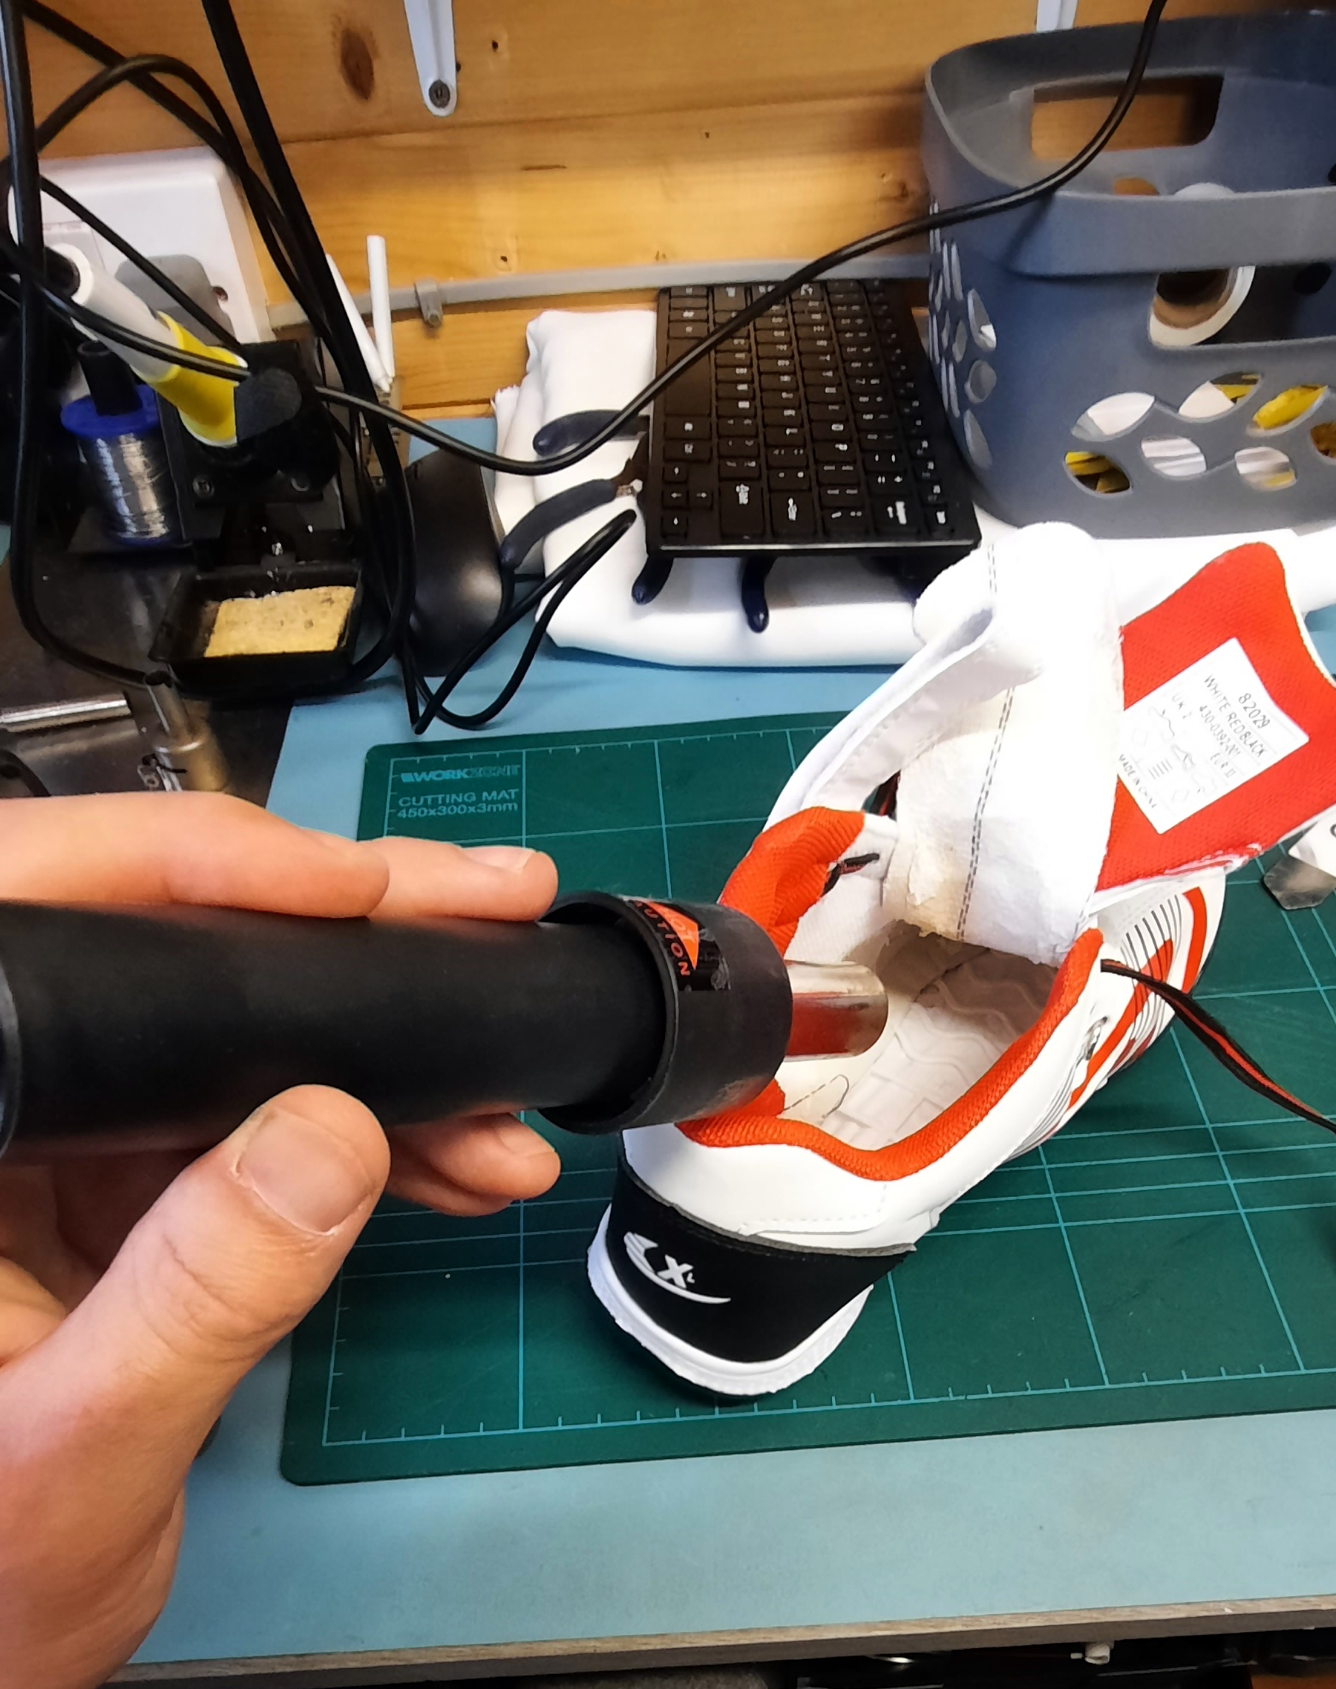
The second part of my planning process involves considering equipment and tools. It would be pointless to design a prototyping plan around equipment that I can’t access. I do have access to a local Makerspace, which provides some options. However, since others manage it, any equipment I need to acquire must fit in my very limited space. Despite this limitation, there’s quite a lot of equipment available at the Makerspace, which I will detail in later sections.
Let’s make a plan!
When planning a complex, multi-disciplinary project, it’s common to focus too much on the areas you’re comfortable with and neglect unfamiliar ones. The sensible approach is to allocate plenty of time and resources for learning to fill the gaps and to postpone work on the comfortable areas until later. This allows you to concentrate on improving those skills and not waste too much time on the finer points in your comfort zone. The same principle applies to the ABSS project. I have never used a sewing machine, so making the airbags will be challenging. 3D modelling is also one of my weaker skills, so I plan to address that early on. Creating 3D assemblies in CAD will be crucial, as well as producing 3D printable components and processing them through the resin or FDM workflows for quick iteration.
I want to emphasize that when engaging in any learning activity, you should allocate resources like materials and time for experimenting, testing, and practice. Therefore, don’t just purchase one roll of 3D printer filament to create the final product; it’s essential to have a few rolls to account for any mistakes and to have the opportunity to try again.
materials
- Fabrics: Leather and nylon. Shoe uppers are made from fabric, either leather or synthetic materials such as nylon. Automotive airbags are also made from a specific grade of nylon 6,6.
- Rubber/Foams: Natural or Synthetic rubbers, Polyurethanes. Shoe lowers are usually a composite of synthetic and natural rubber-like materials, such as polyurethane.
We must have access to the materials and the capability to pattern, stitch, and bond them. Producing or modifying materials for footwear will be challenging.
- Electronics: Polyimide, Fibreglass. The pressure sensing layer inside the top part of the sole will be a flexible polyimide PCB with integrated pressure sensors. Below this will be the traditional rigid PCB structures based on resin-impregnated fibreglass.
- Printed mechanics: PET-G, PLA, and resins. The custom-shaped mechanical parts will be a mixture of FDM or SLA-printed parts made from suitable 3D printable plastics or appropriate printable resins. This will all be handled in-house.
- Other mechanics: Steel, Aluminium, carbon fibre: For high-pressure parts, anything needed for hot gas control or shielding must be either steel or aluminium. Carbon fibre sheets may also be needed for additional protection in certain areas.
Specialist factories will custom-make flexible and rigid PCB material handling off-site. Minor adaptions to shape and size can be made with simple hand tools.
Processes
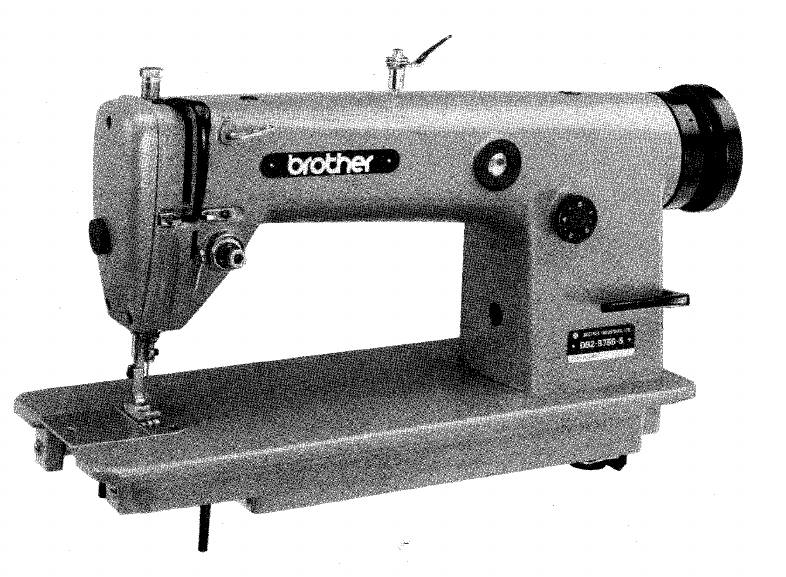
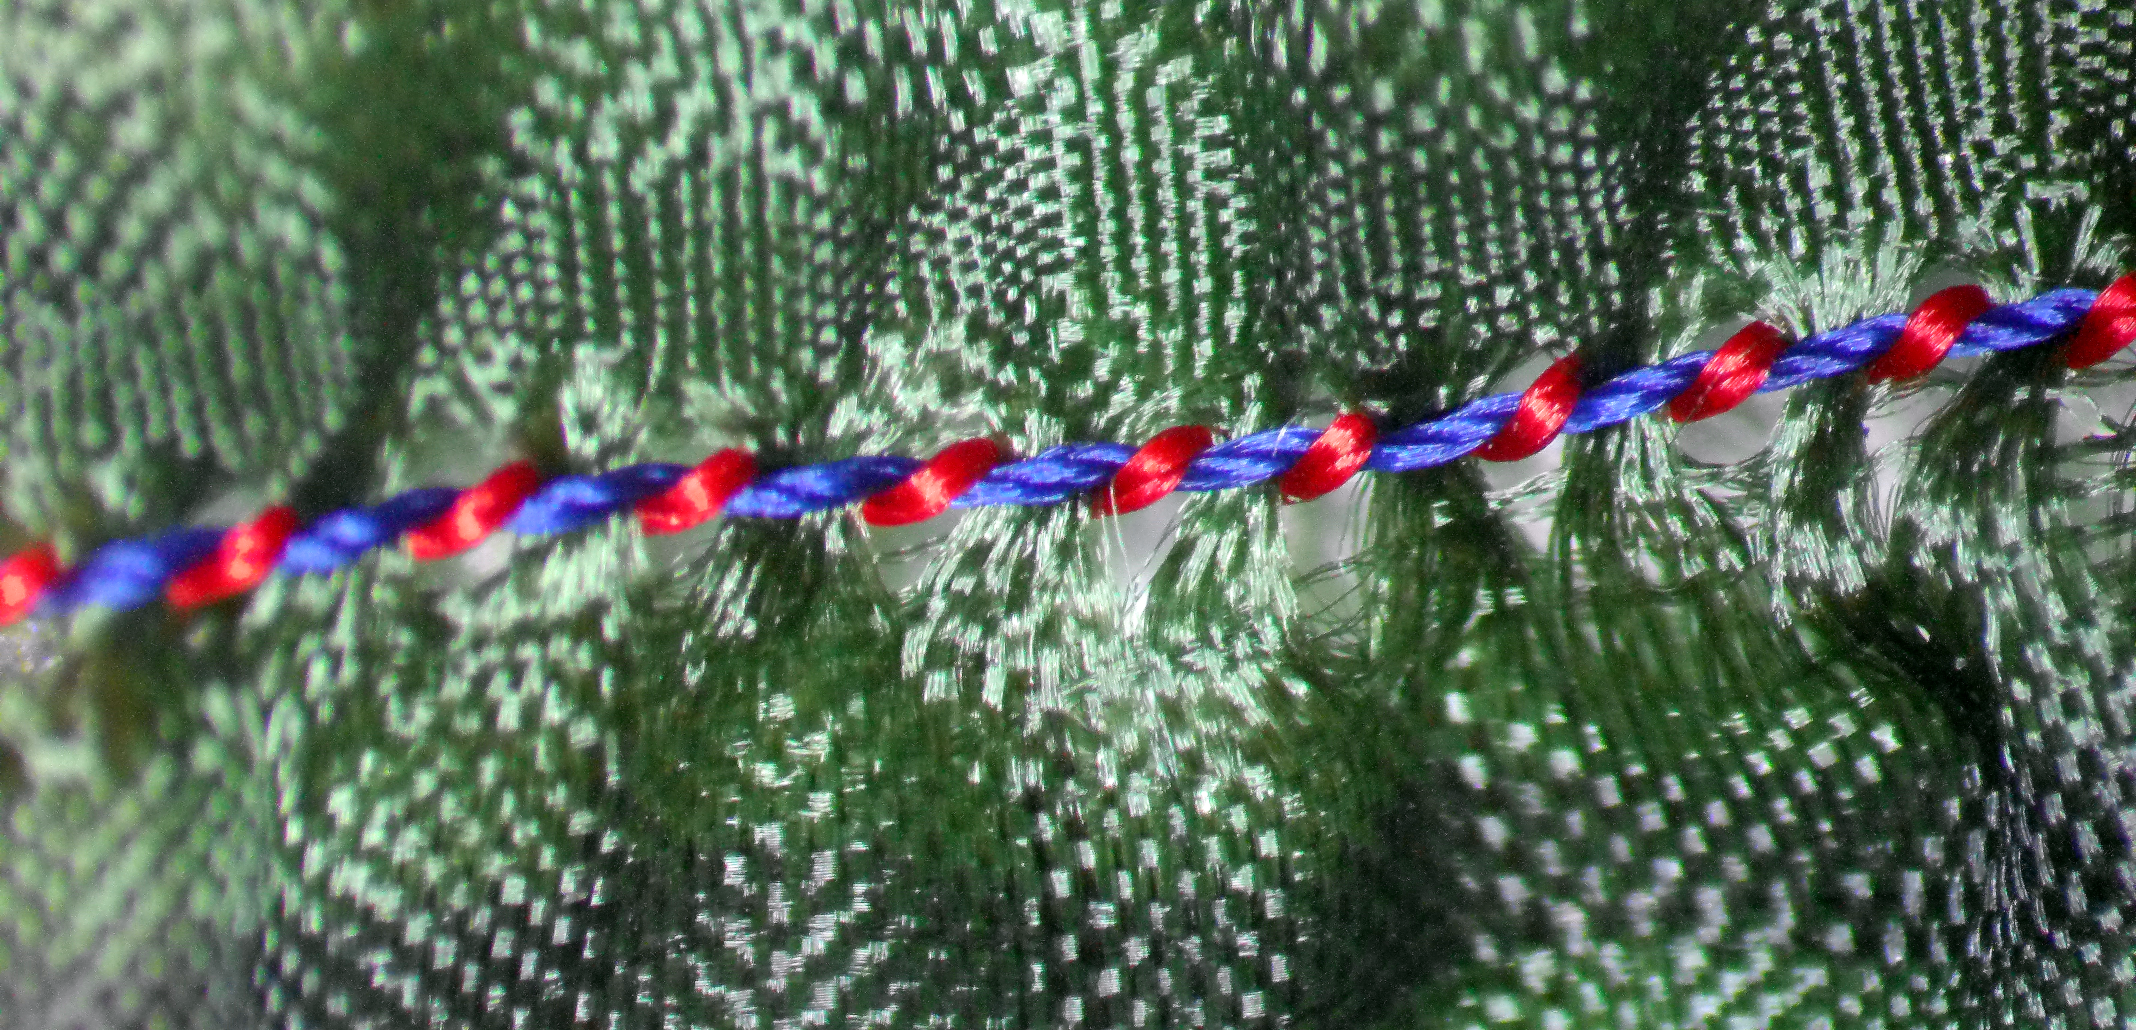
- Sewing: Sewing thicker, tougher materials, such as nylon, with thick threads capable of handling the forces during deployment will require access to an industrial-grade sewing machine. The same goes for the shoe upper parts that may need to be hand-made.
- Printing: As mentioned above, we will require both FDM and resin/SLA 3D printers. These need to be local for rapid turnaround.
- Cutting or trimming: Appropriate hand tools for cutting tougher materials must be sought. Hopefully, it will be possible to cut patterns from fabric sheets using the CO2 laser cutter at the Makerspace.
- Pattern making: One option for making patterns for subsequent processing is to make templates using a vinyl cutter from a self-adhesive vinyl sheet. This can be done in-house if proven useful.
- Casting: Rubber and foam sole components are hard to machine, so the ability to cast from liquid will be important.
- Metalworking: The local Makerspace has a large metal lathe and a manual milling machine. These will be invaluable for working with steel and aluminium parts. Additionally, there is access to MiG and TiG welding for jointing processes in either material.
- CNC cutting: The local Makerspace has a medium-sized CNC router machine and a planned micro-milling machine, which may be necessary for some processes.
The main electronics dealing with sensing, signal conditioning, and driving the airbag deployment mechanism will also be embedded within the sole’s structure.
The sections below break out each of the ABSS subprojects and are individually updated as I learn more and determine more details.
