
Desks are wasteful—they collect junk and waste precious space with their fixed shape and hard-to-move bulkiness. Why not just hang some monitors on a stand and get a comfortable chair? I’ll worry about the keyboard rest another day.
I do a lot of CAD work as an electronics designer and felt that even a dual-monitor setup was just not quite good enough. Couple that with some annoying repetitive strain injuries that I’ve been collecting over the years, and I decided that ditching the desk might be helpful, too.
The Plan
Attach the top part of a quad-monitor mount to a strong metal tube long enough to reach the floor, and then fix that solidly into a big, heavy mass so it can’t fall over.
In the interests of up-cycling old parts and generally being cheap, I reused what I had lying around and bought as little as possible.
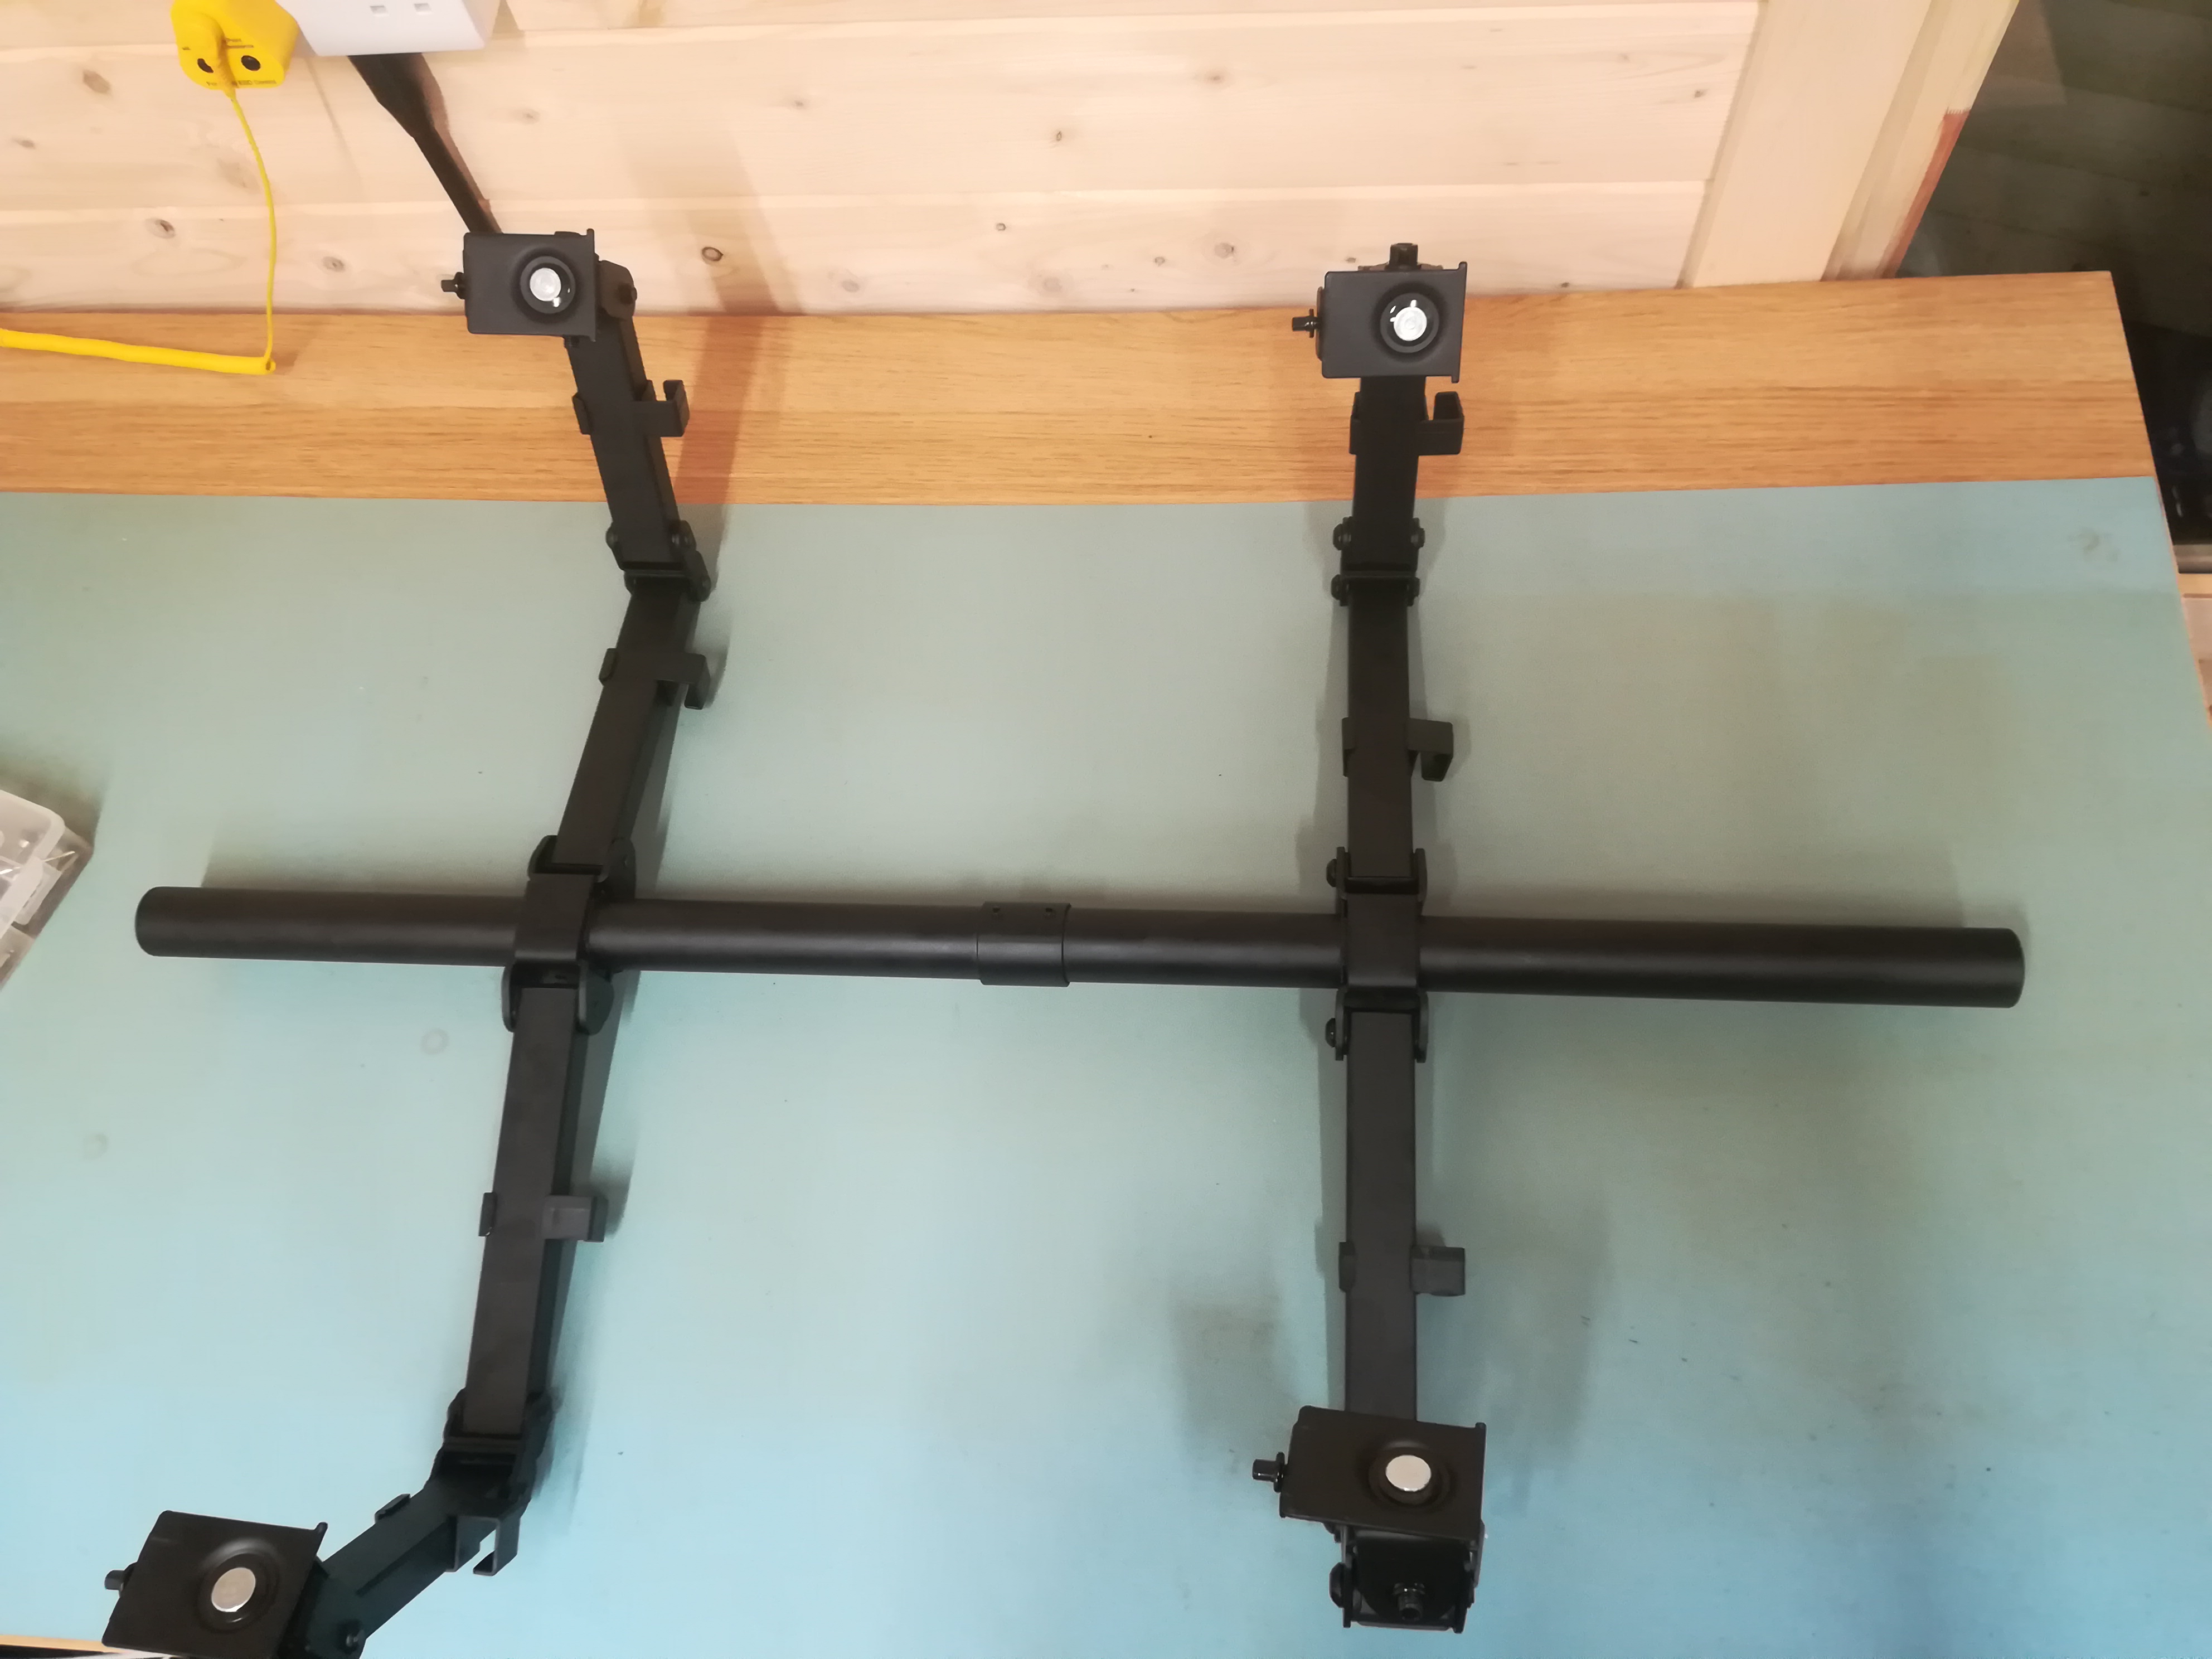
I didn’t have a monitor mount, so I needed to buy that bit new. I chose something from Amazon that looked solid enough.
https://amzn.to/2FsrysV
VonHaus Quad Monitor Mount – “Four Screen Bracket/Clamp With Tilt, Swivel & Rotate For Desk/Desktop/Table/Workstation” manufacturer’s model number is 3000113
It’s a solid kit with all-metal construction and good value for money.
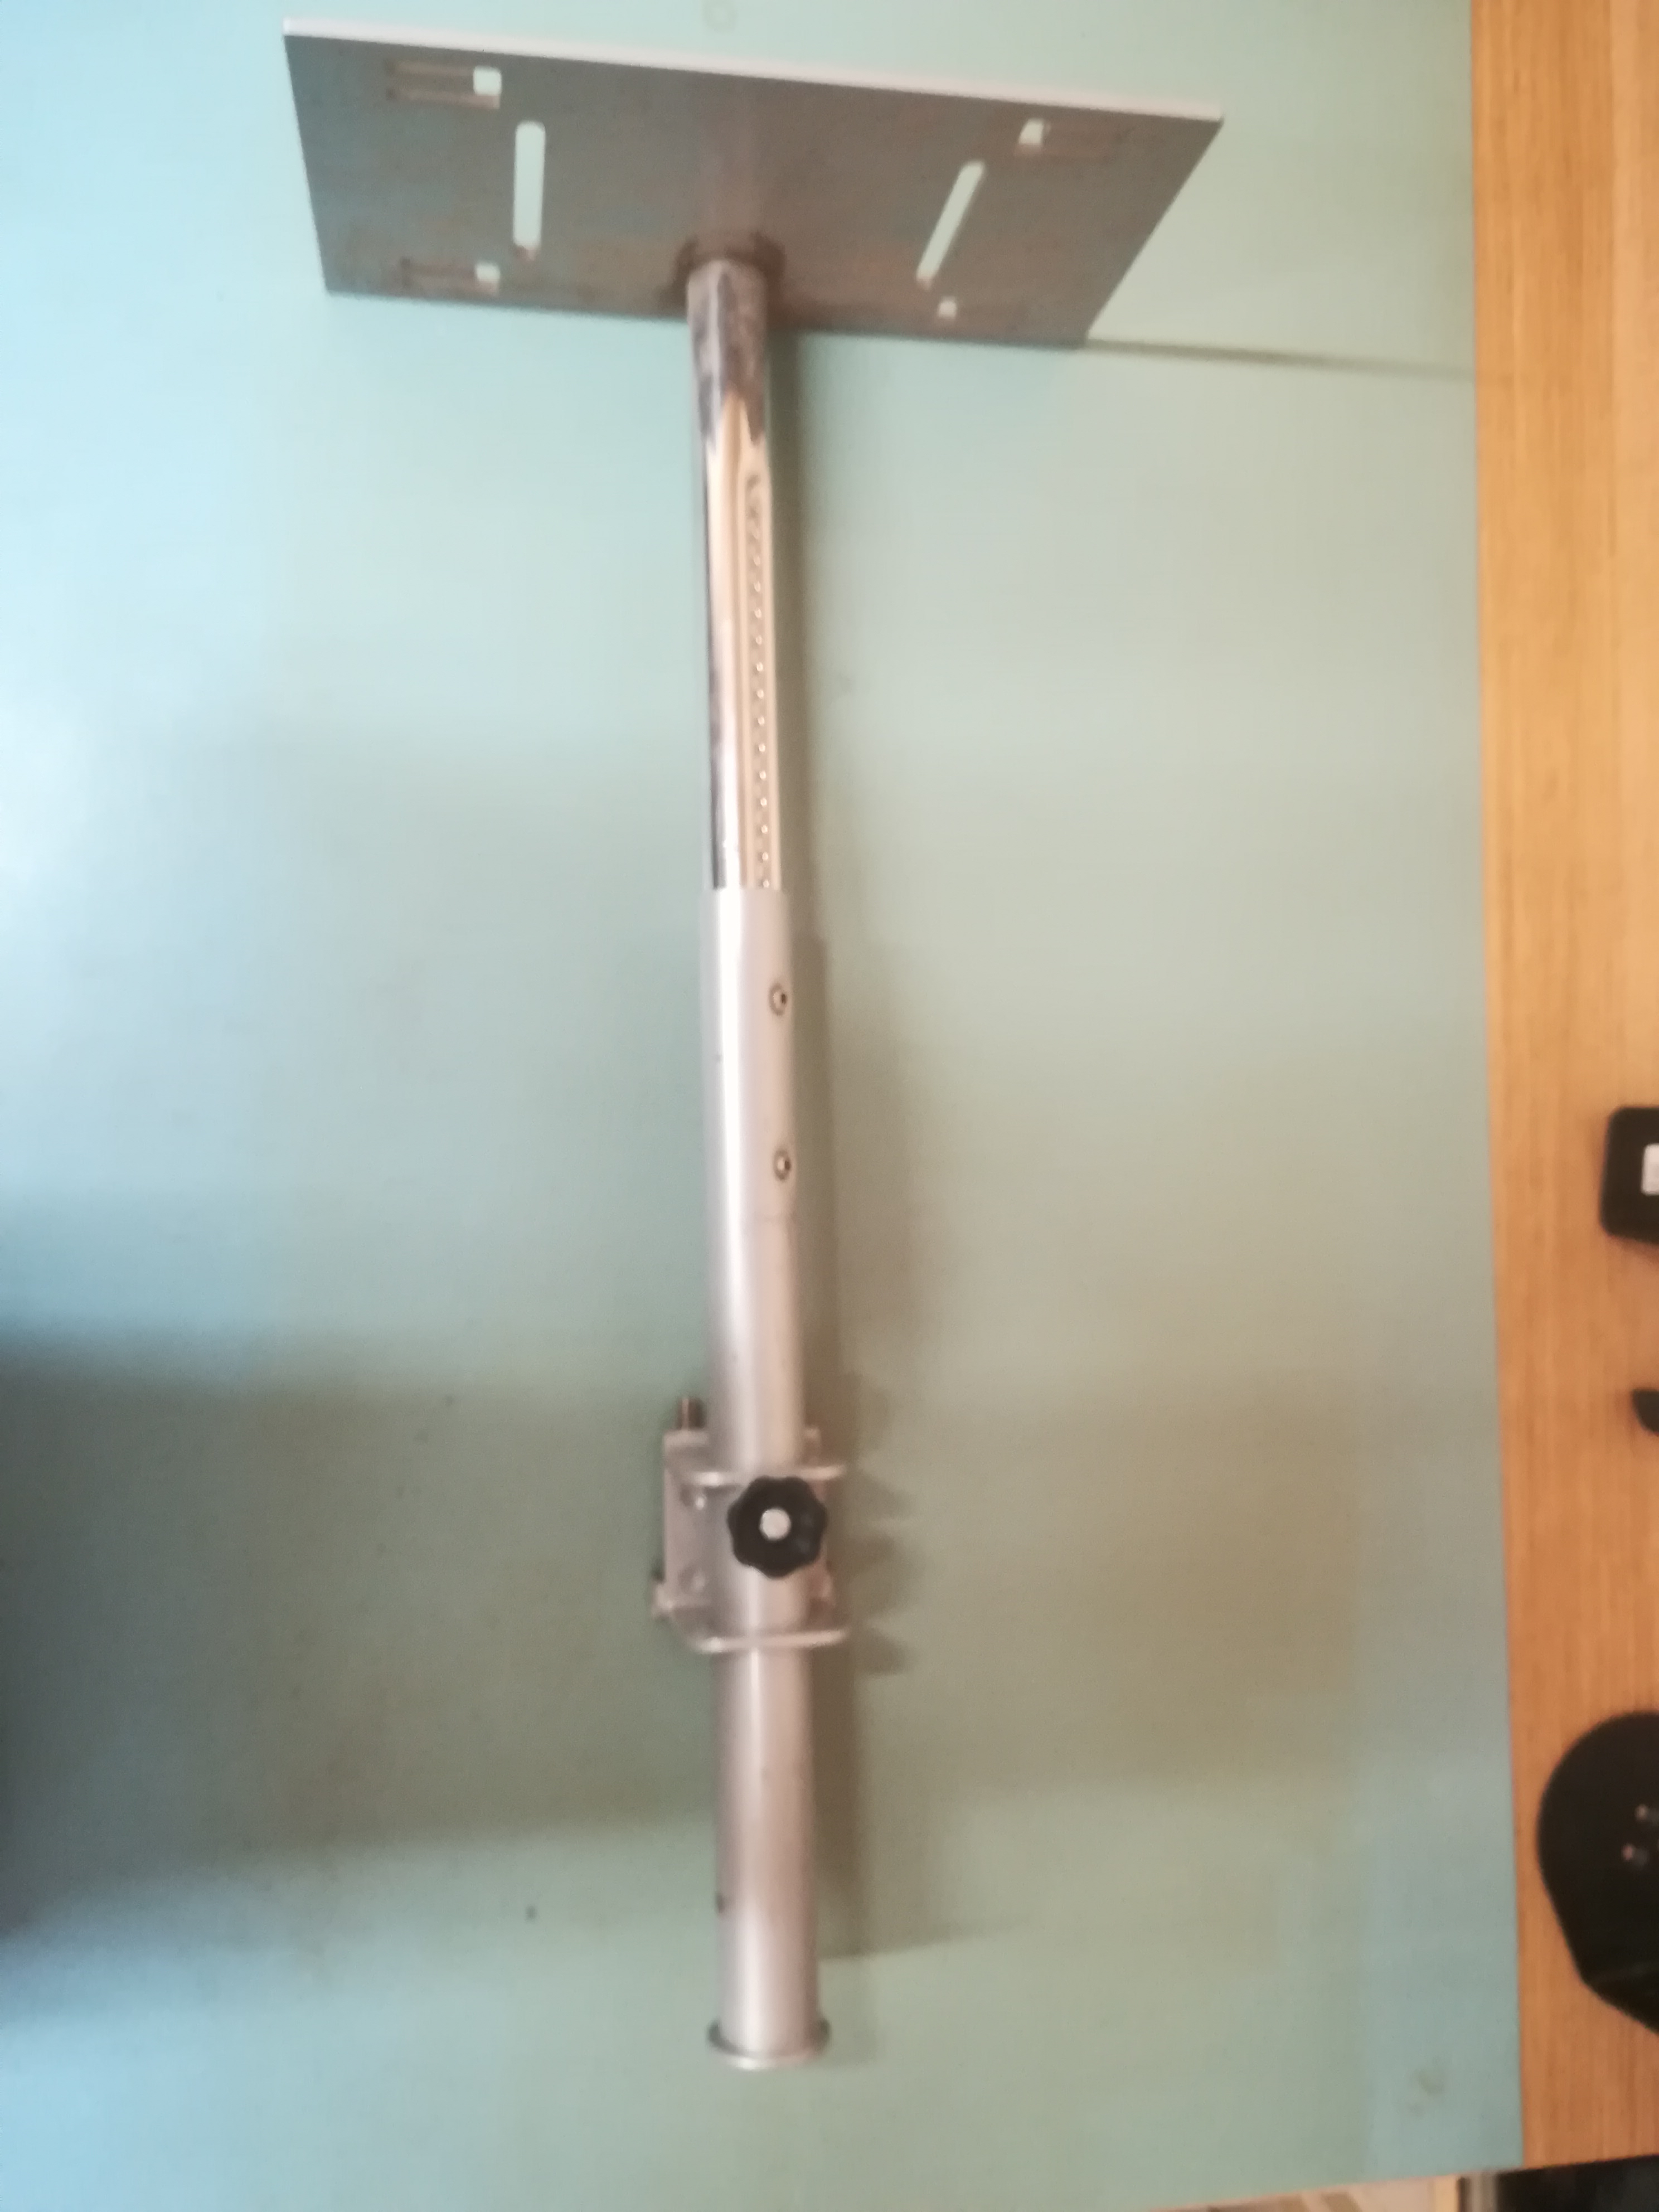
I found a suitably long metal pole with some associated clamping hardware in a pile of junk in my loft. This was the major part of an under-desk PC mount, which looked about right for my purpose. I have a few of these, which I squirrelled away after my local hackerspace junked them. That’s how useless they were.
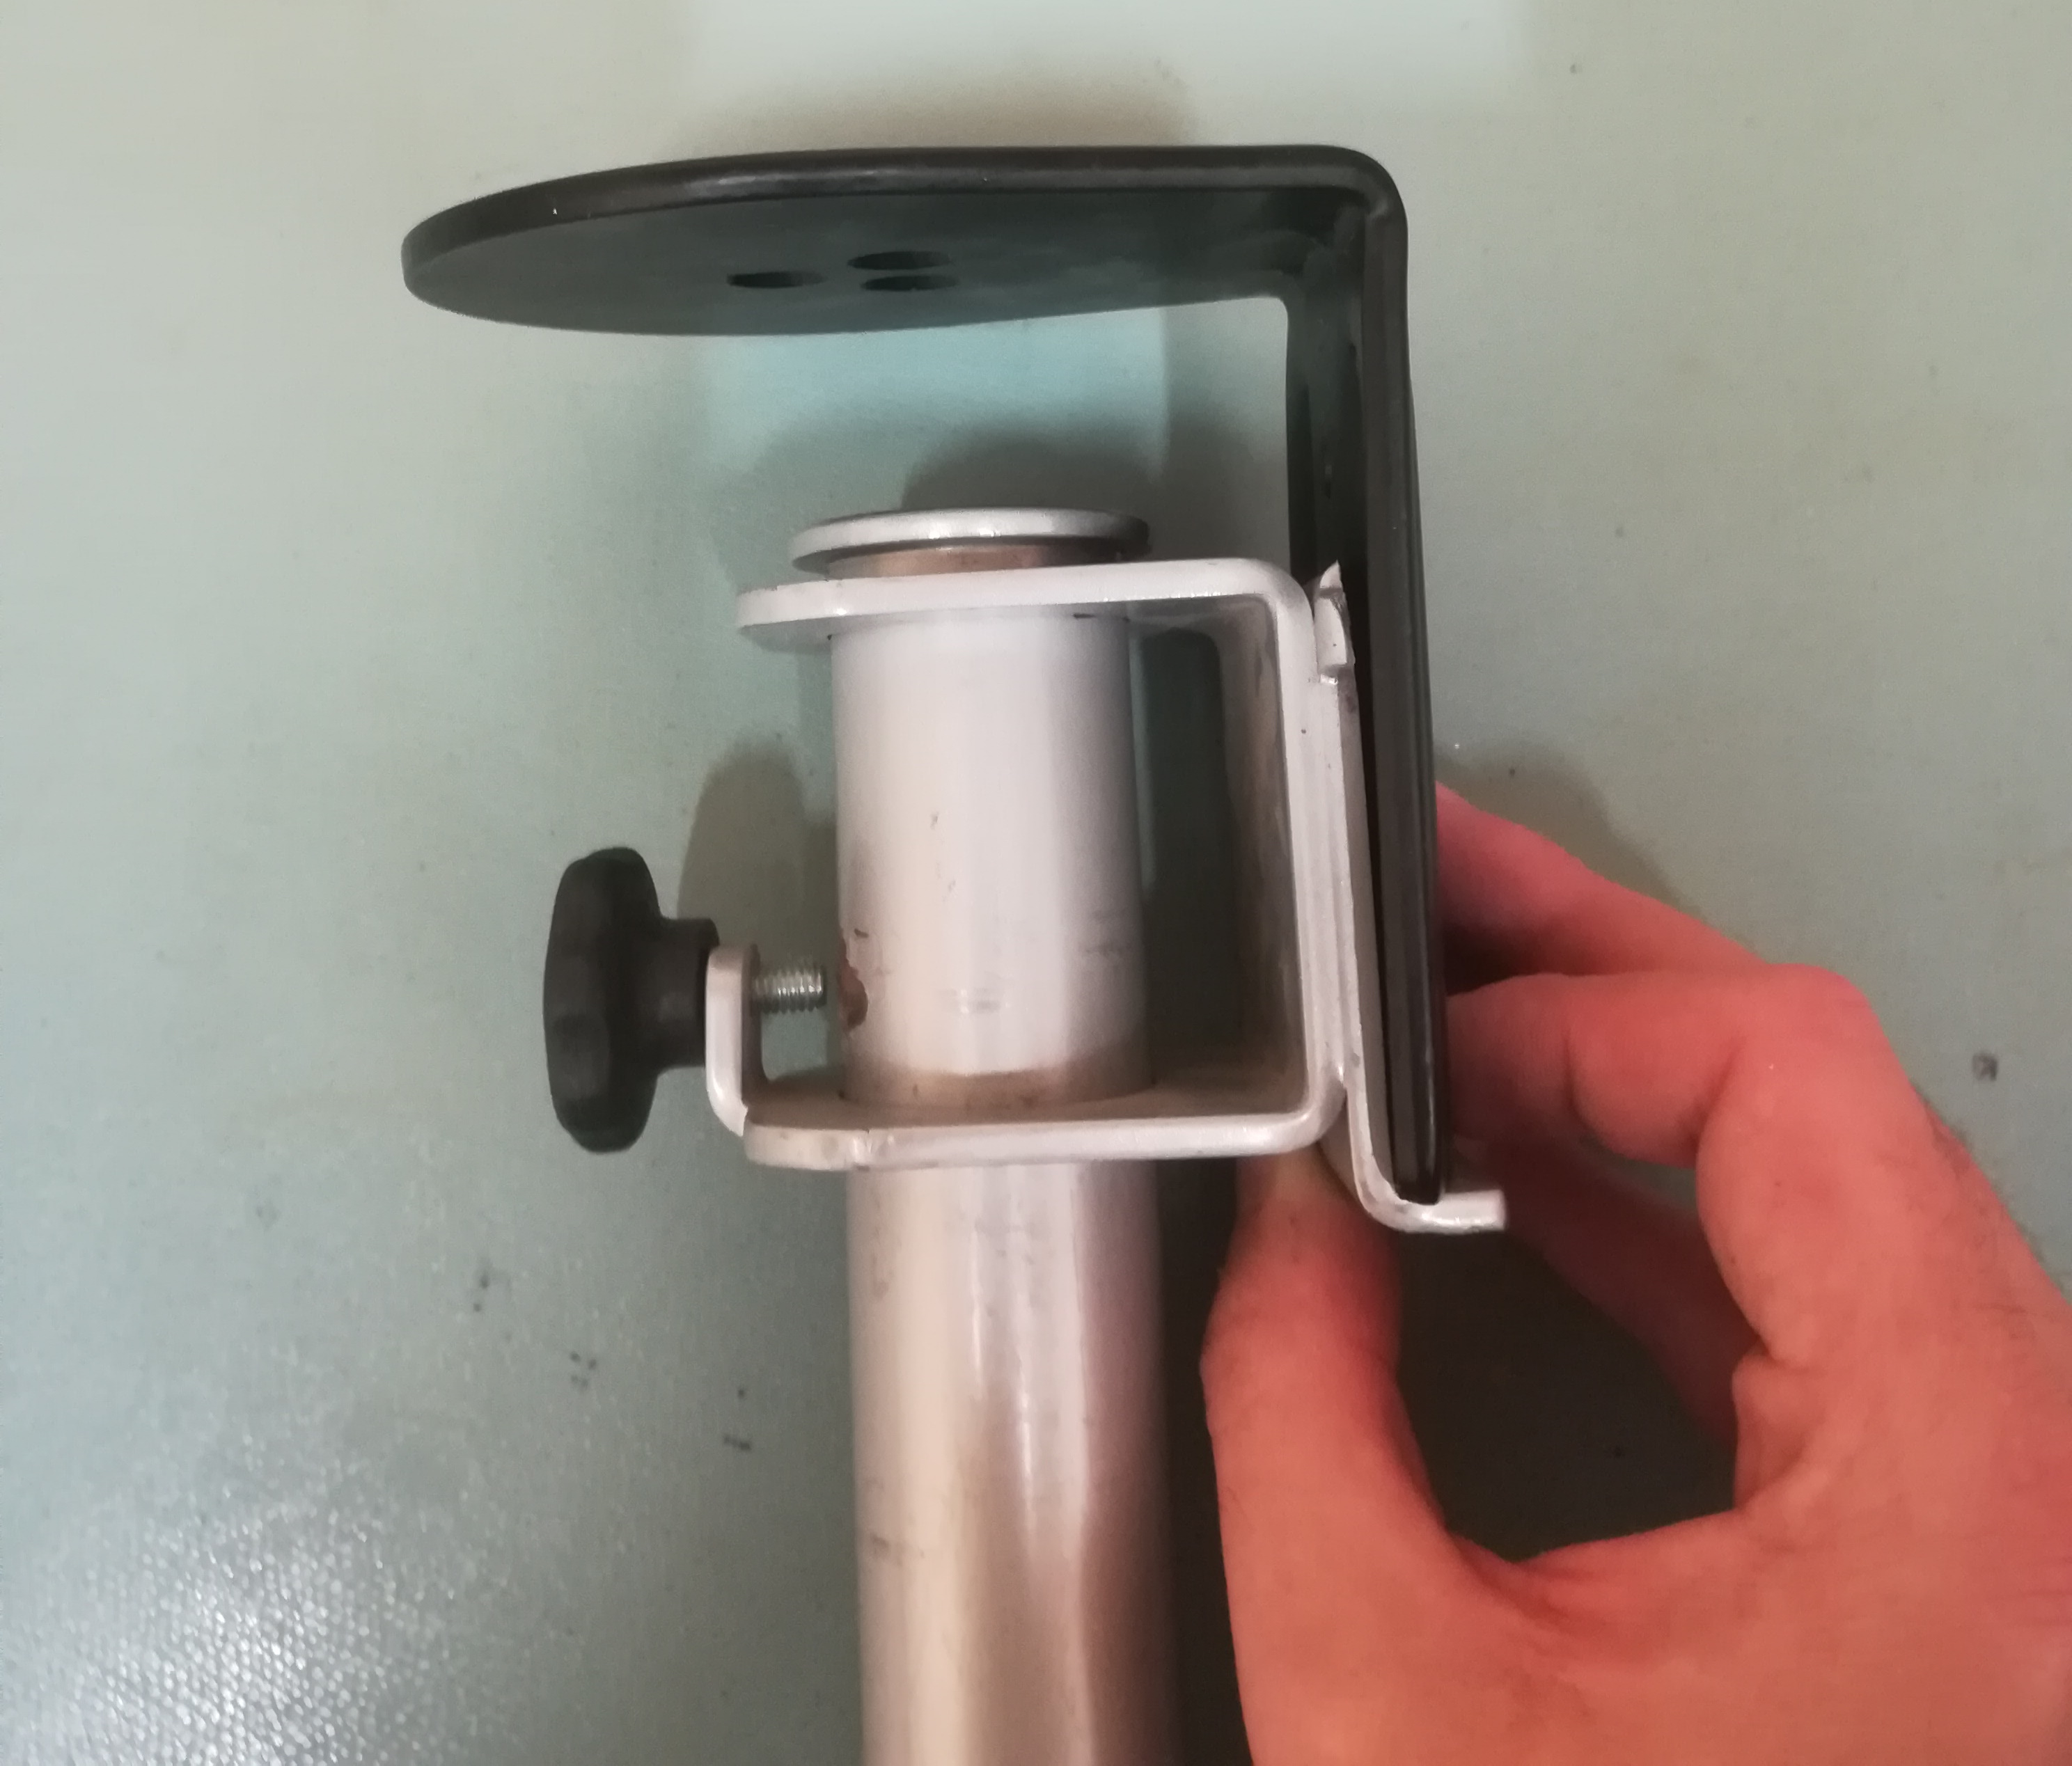
The monitor mount came with a couple of different desk clamp options; one assembled option for edge-clamping is shown below.
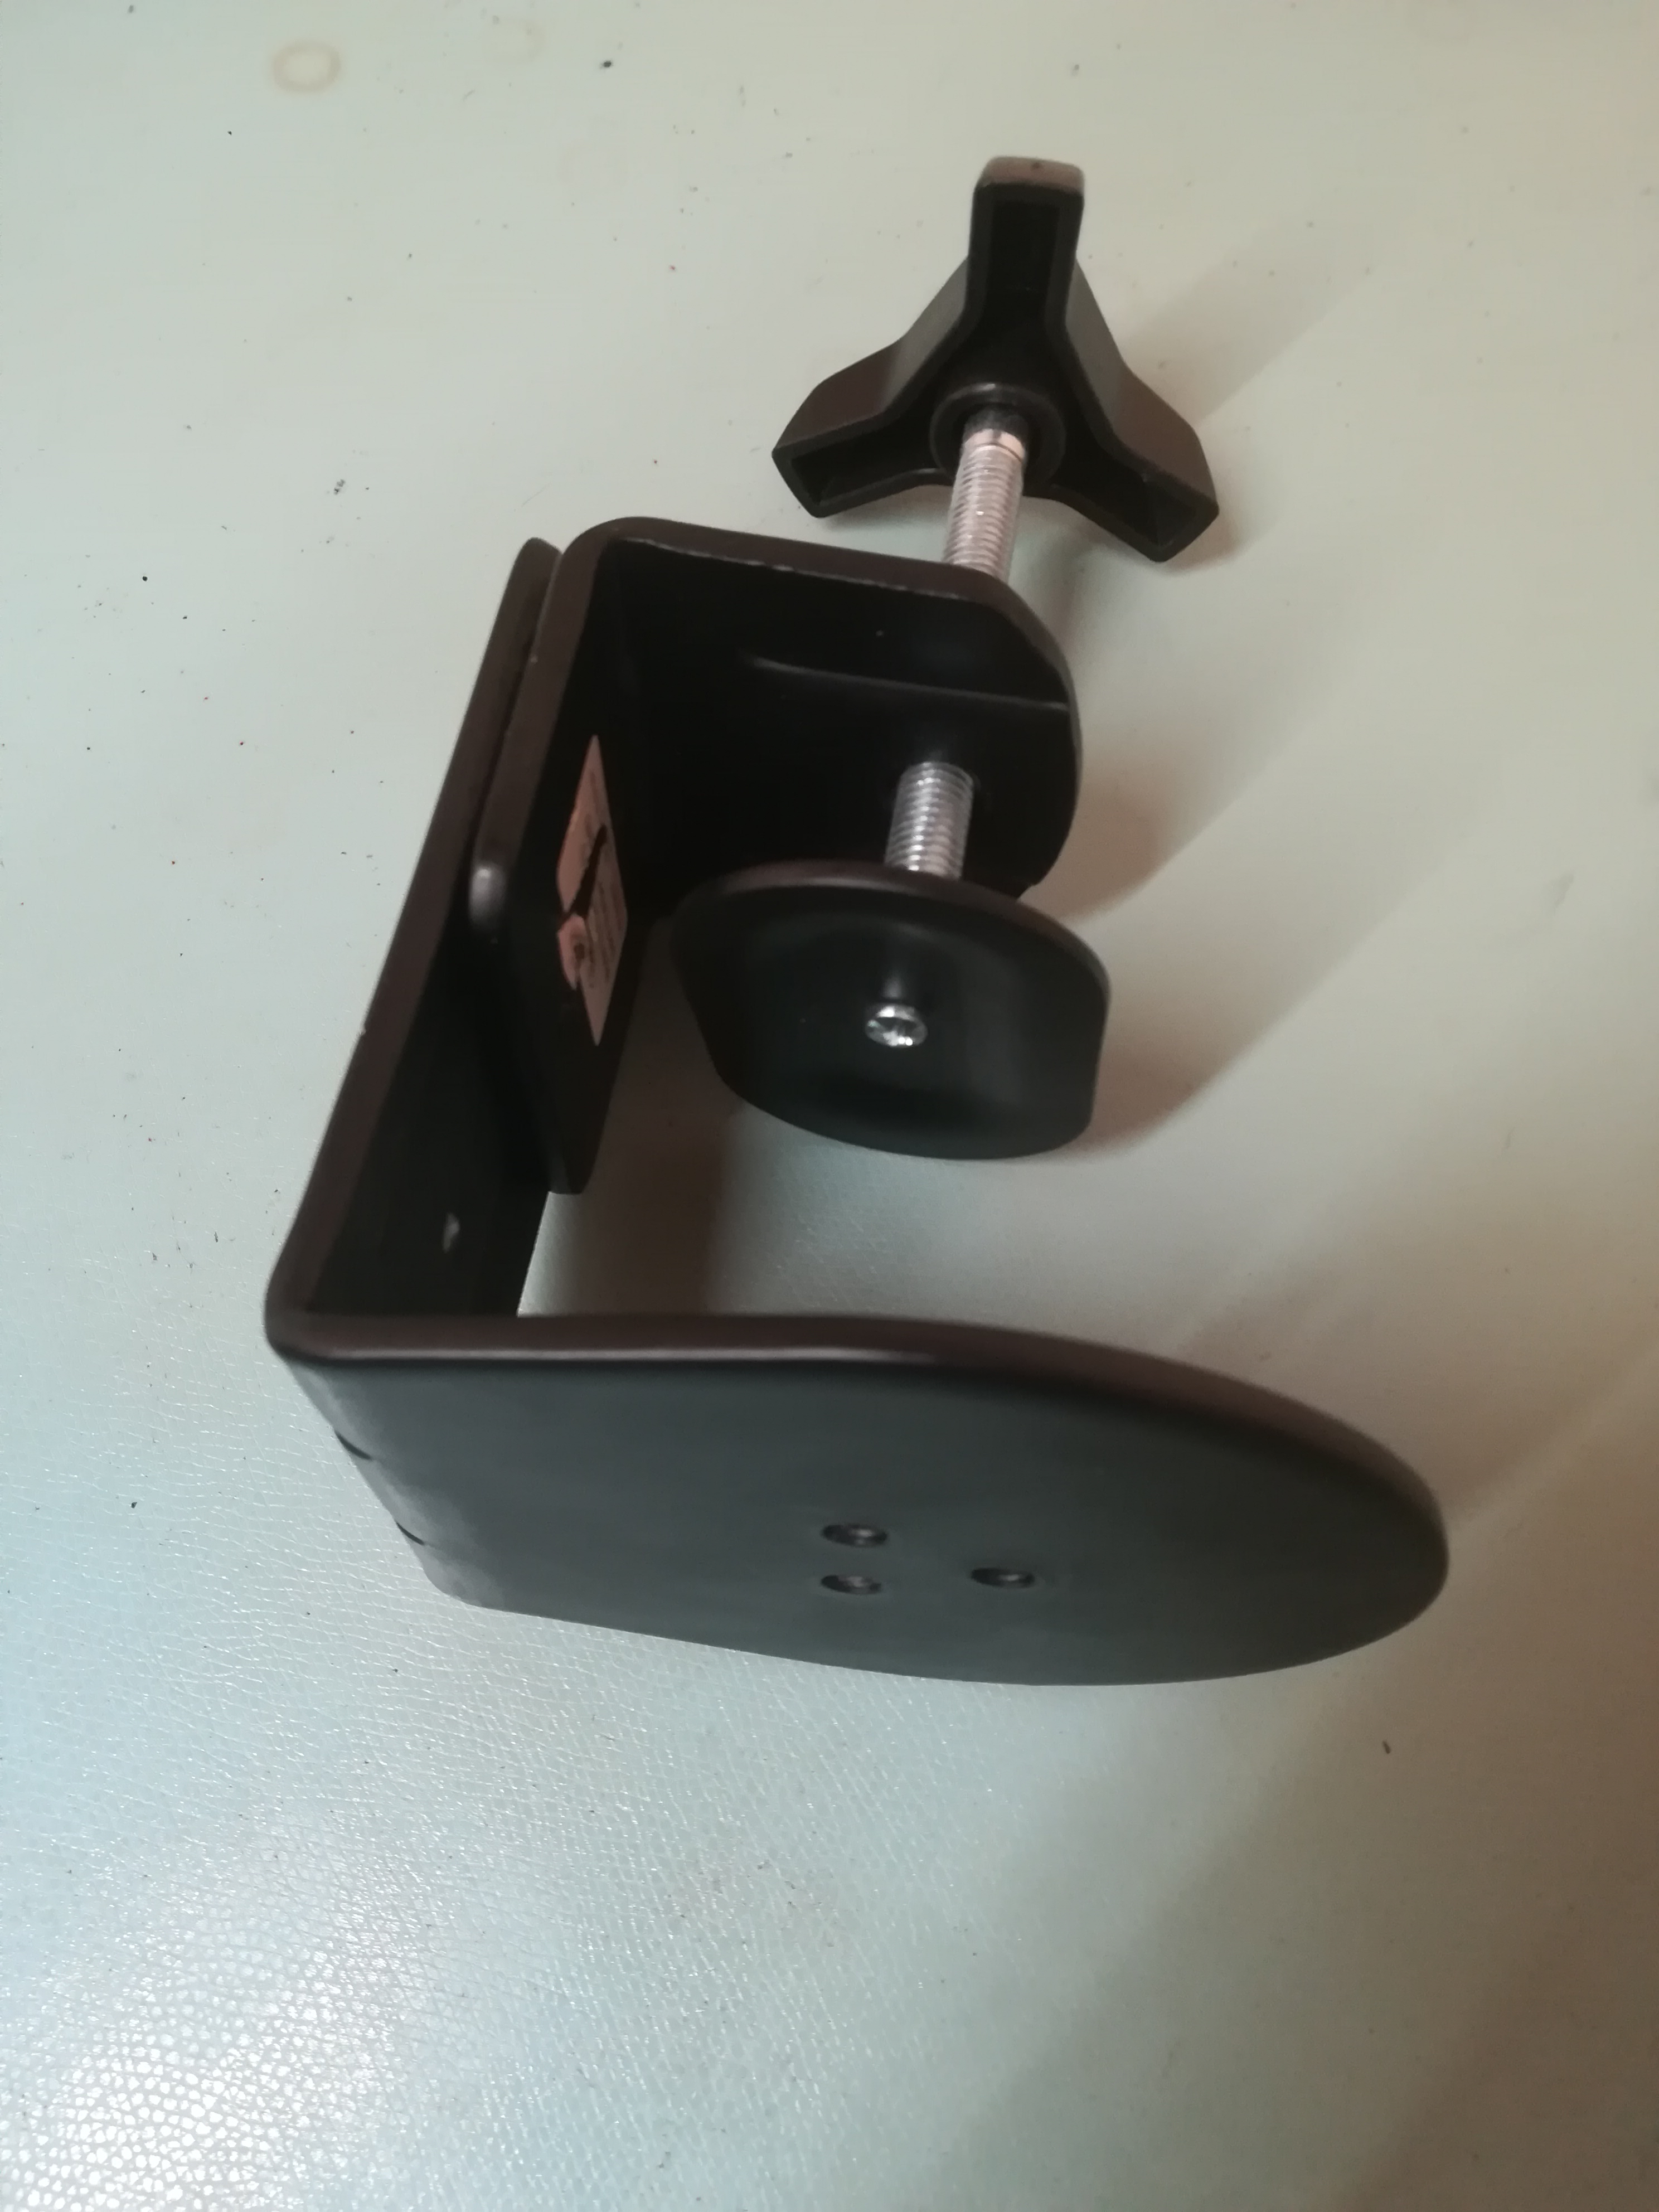
I dismantled it and discarded the screw-thread part.
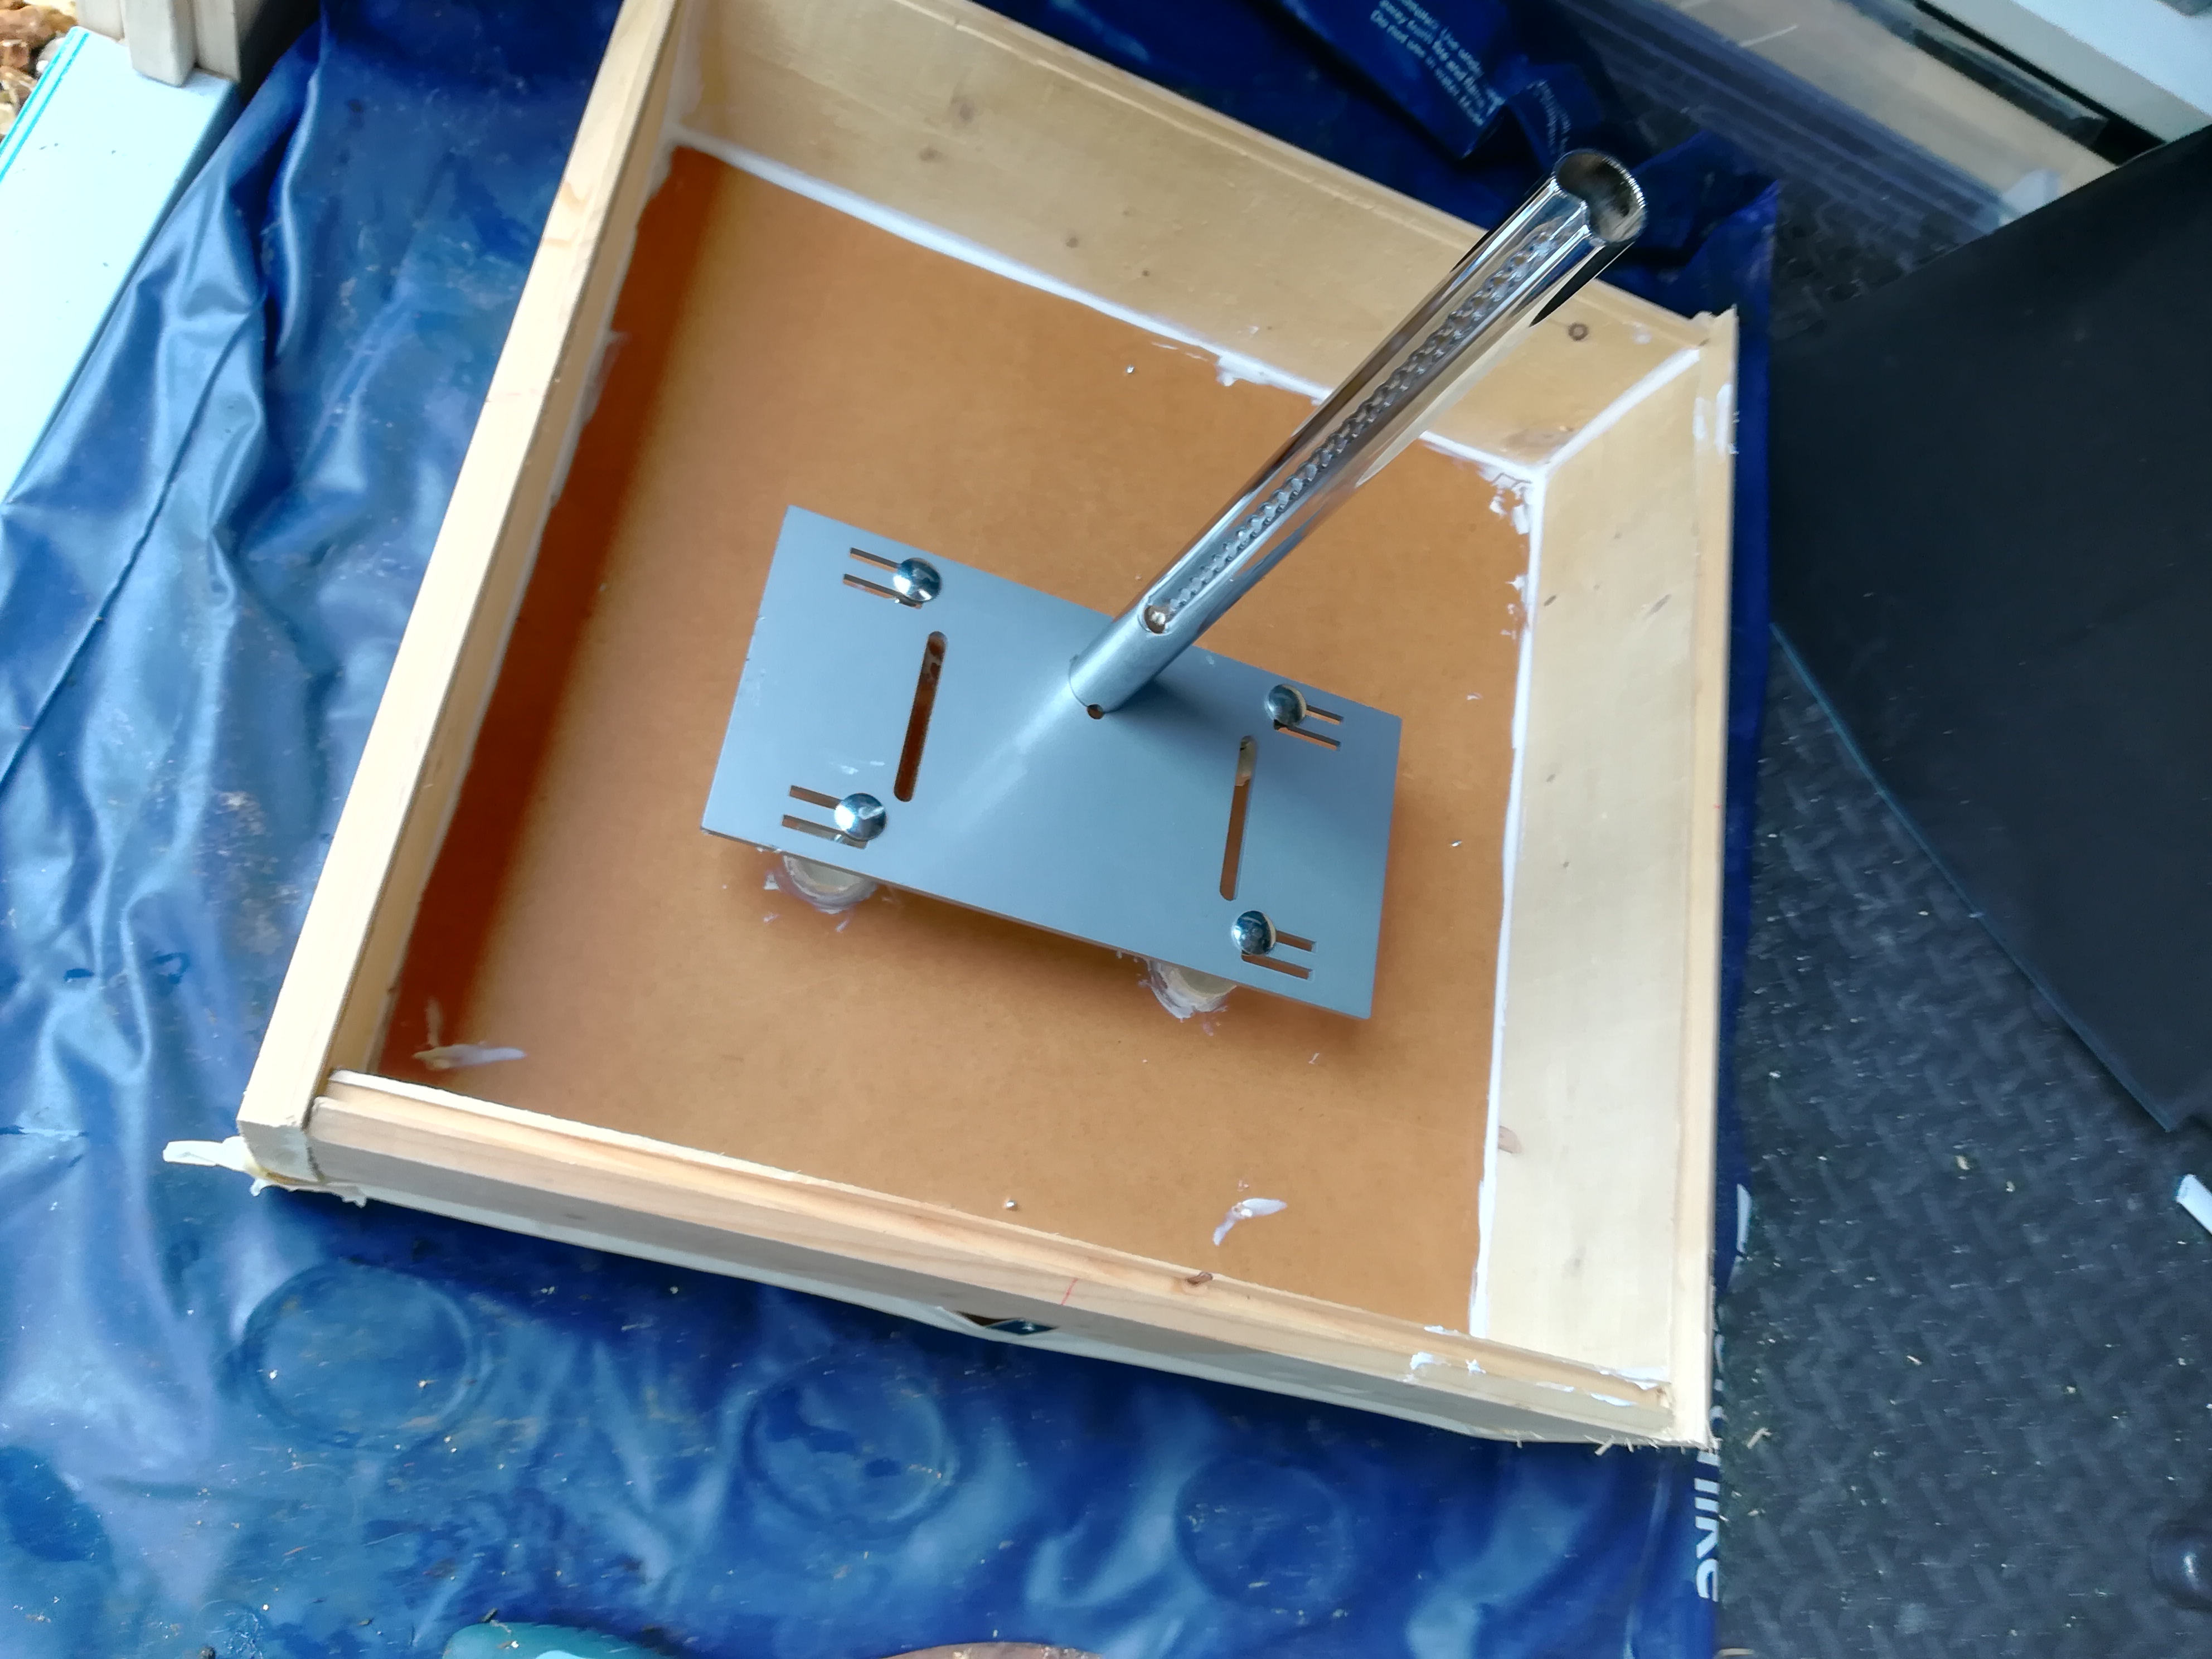
Next, we’ll make a simple modification to the PC hanger clamp to remove the lump of metal in the way.
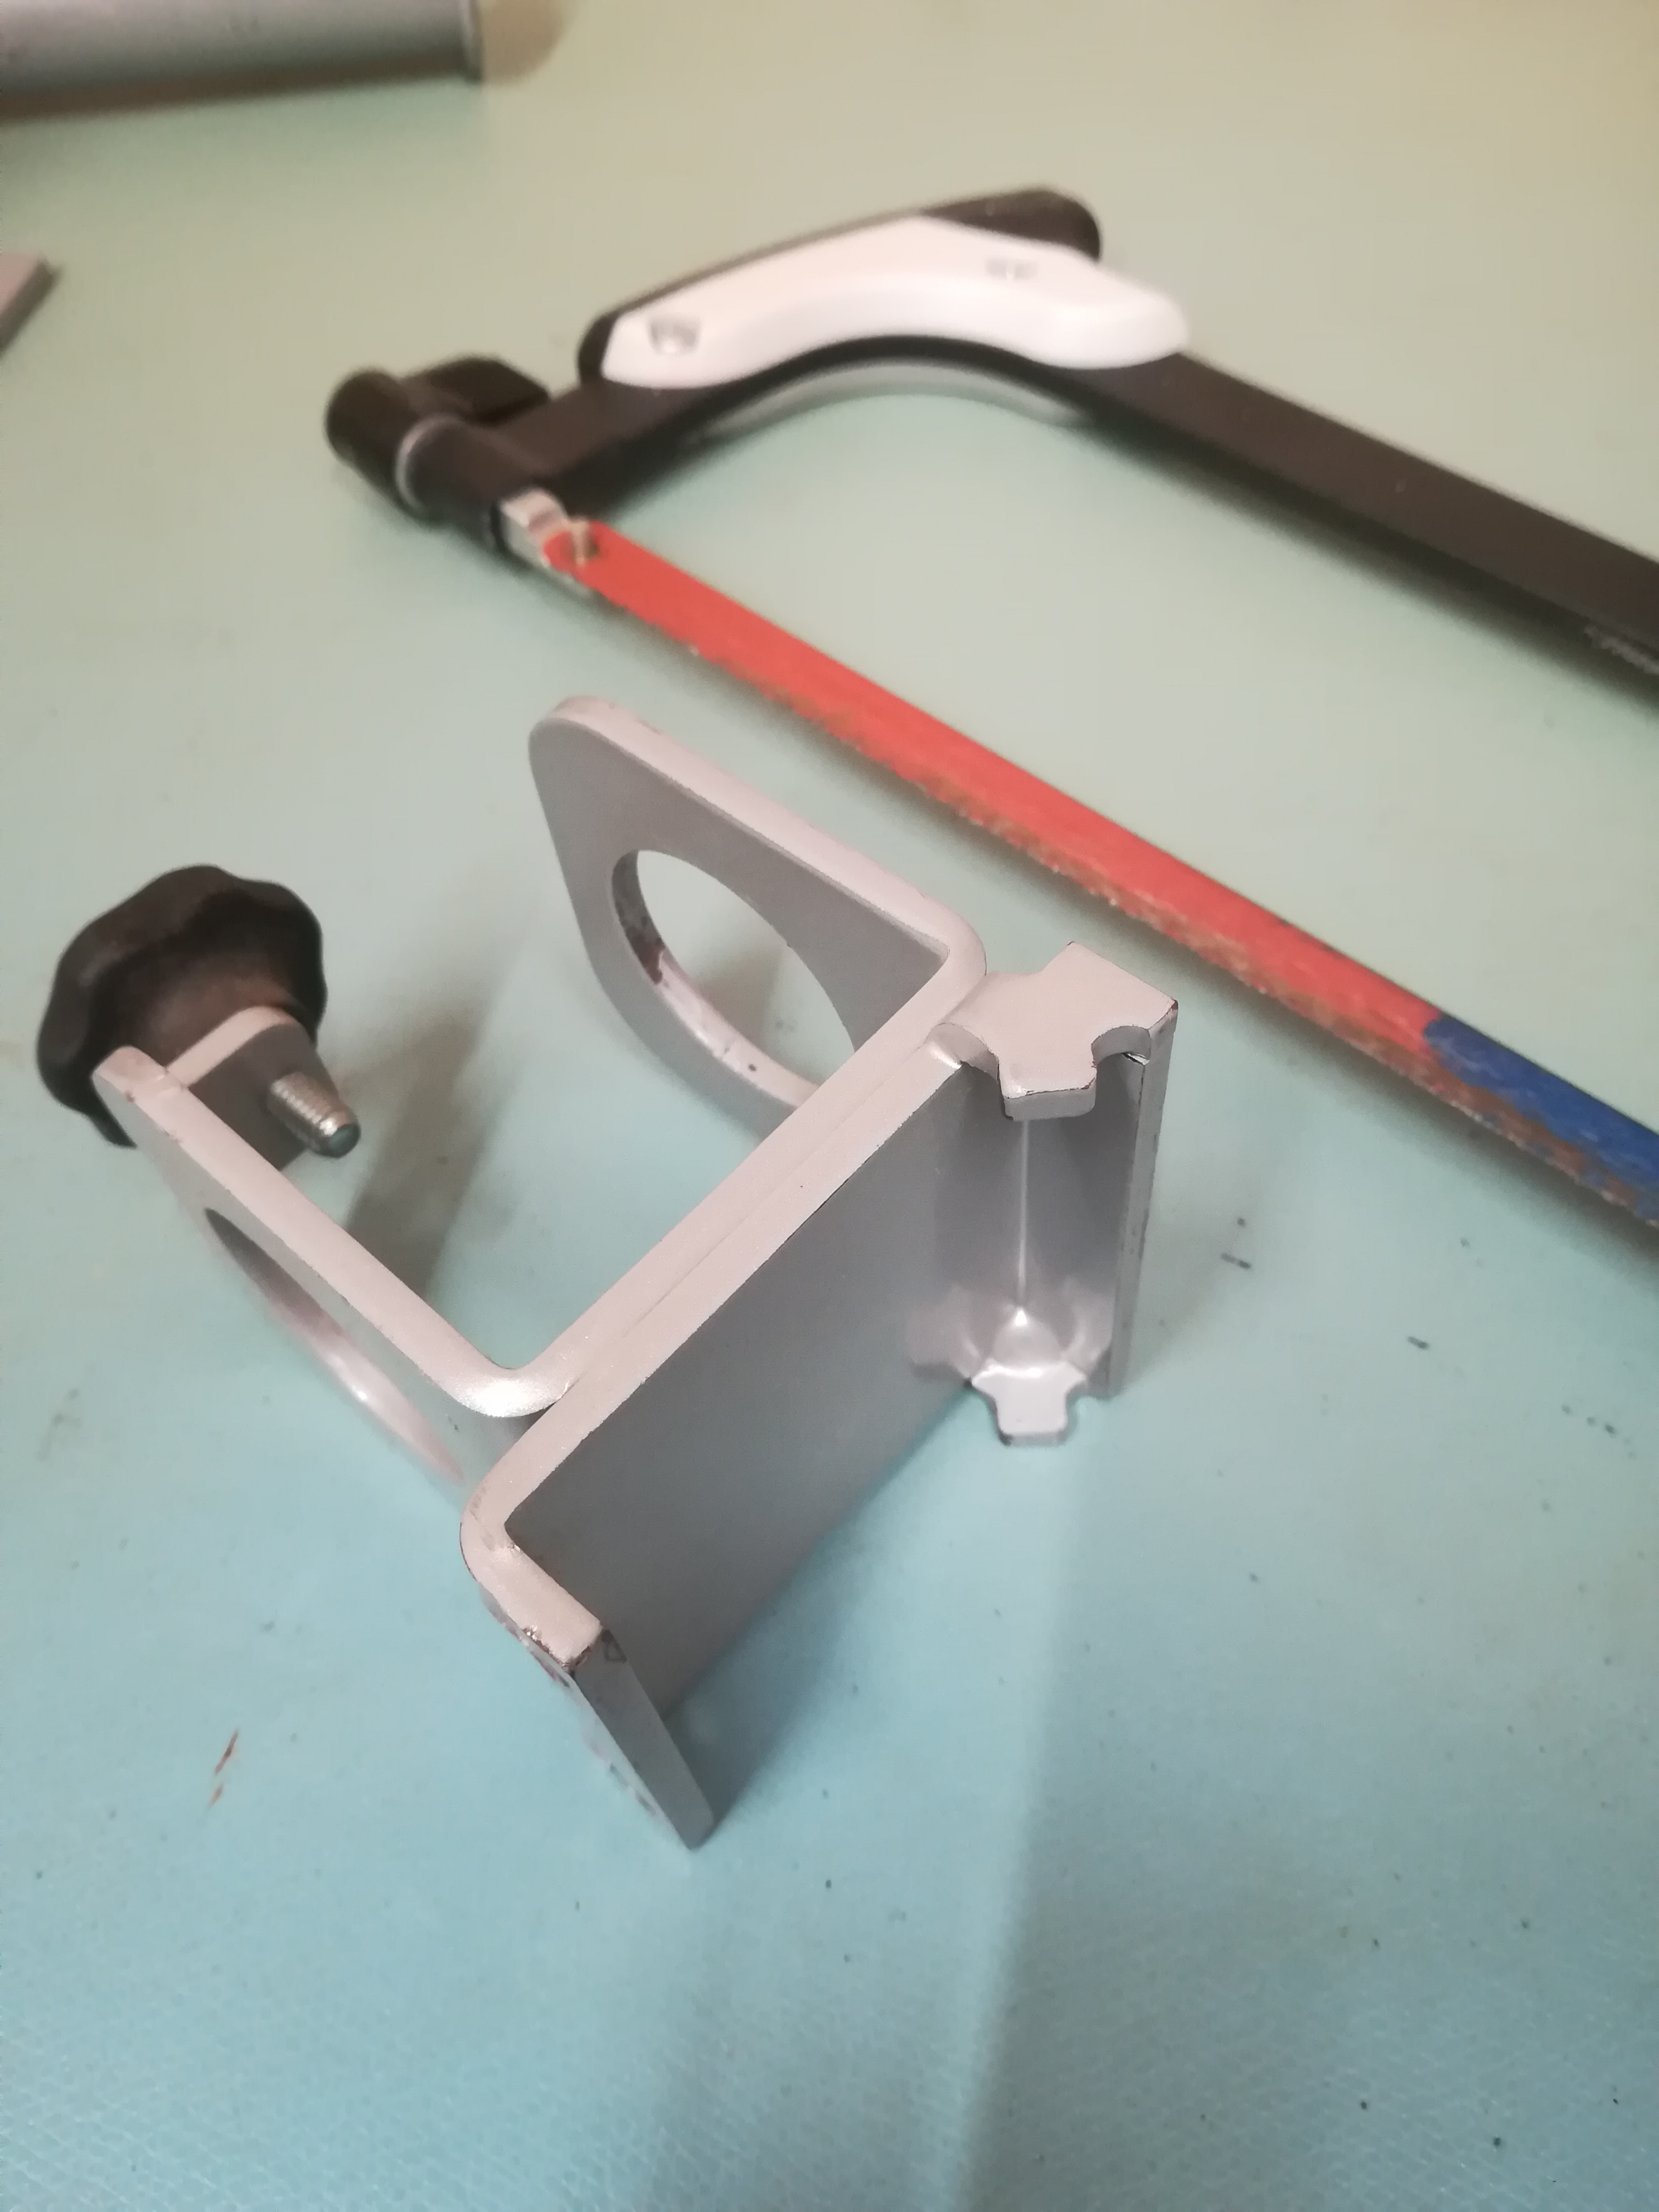
After some filing, it fit well enough to consider drilling through the two pieces, using the existing holes as a guide.
Next, I needed a simple way to stop the clamp from sliding down the tube. I drilled straight through the tube and cut a bolt to an appropriate length to fit. One day I will get around to making something better on the lathe at the ‘space.
Conveniently, the existing stop-screw (not shown below) can be used to lock off the clamp rotation in the desired position.

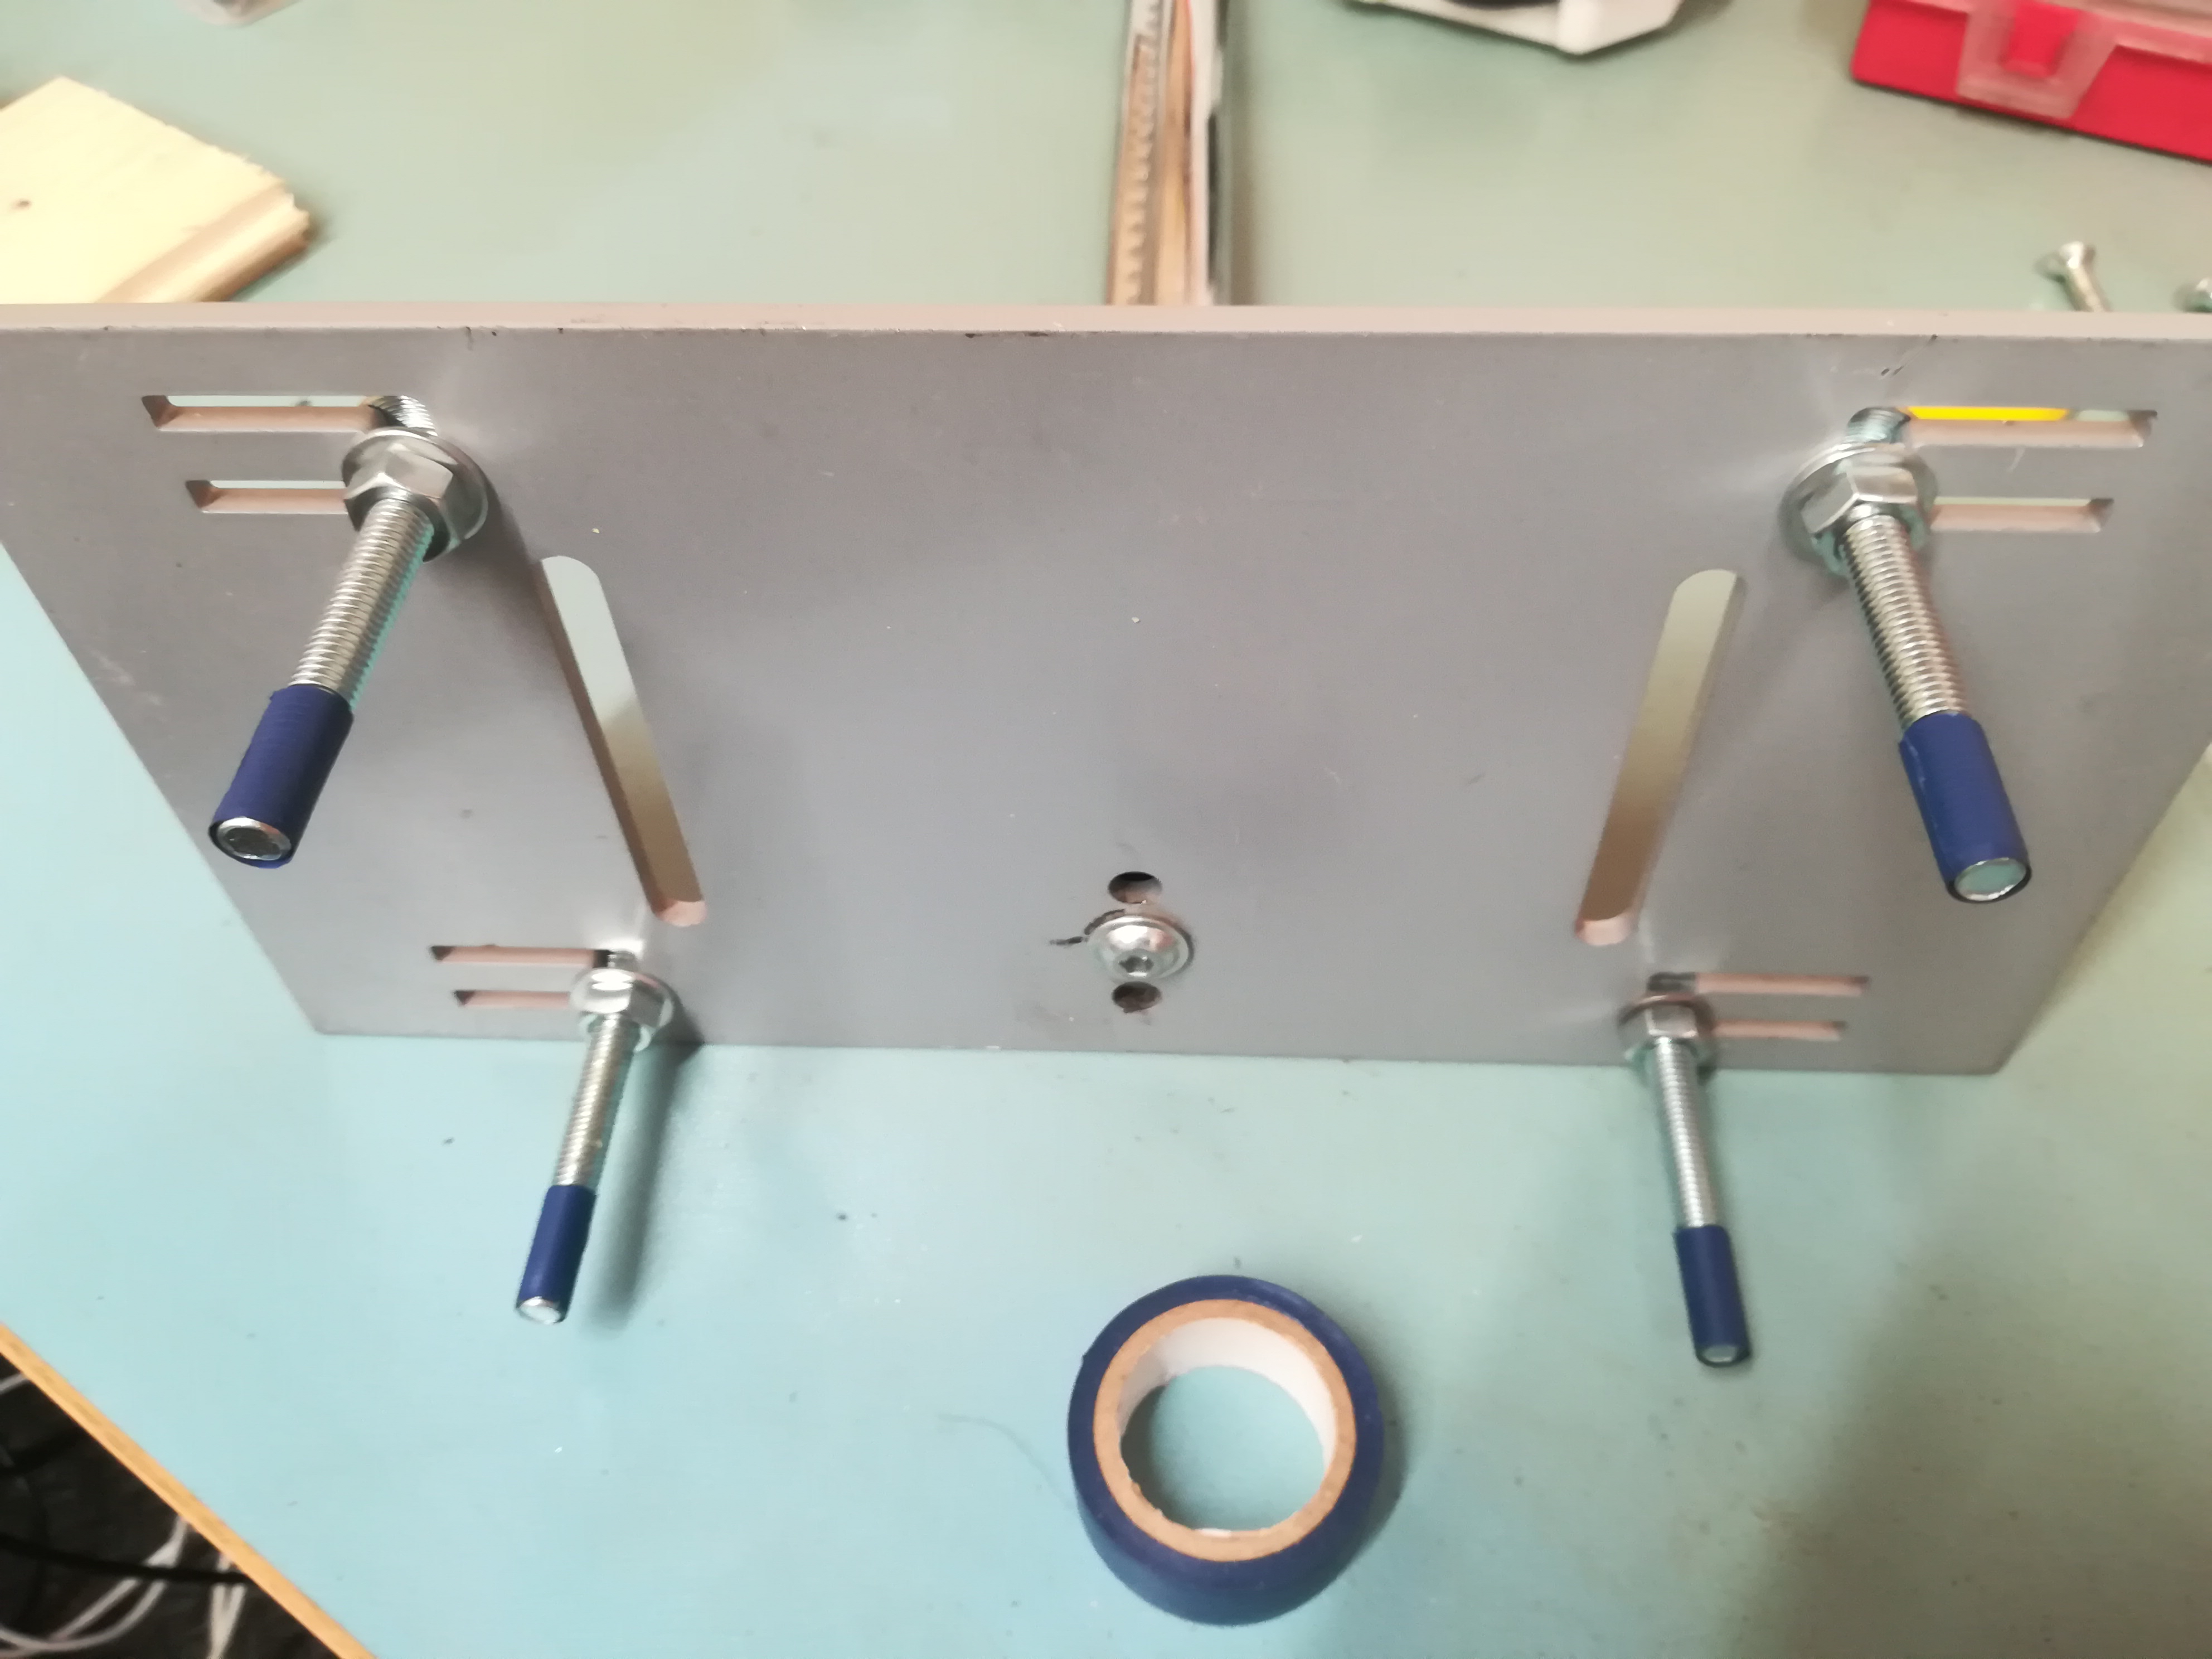
I added some coach bolts in the corners to support a second metal plate. They also enabled the main plate to be suspended in the middle of the concrete cast, which we’ll see later.

Concrete cast
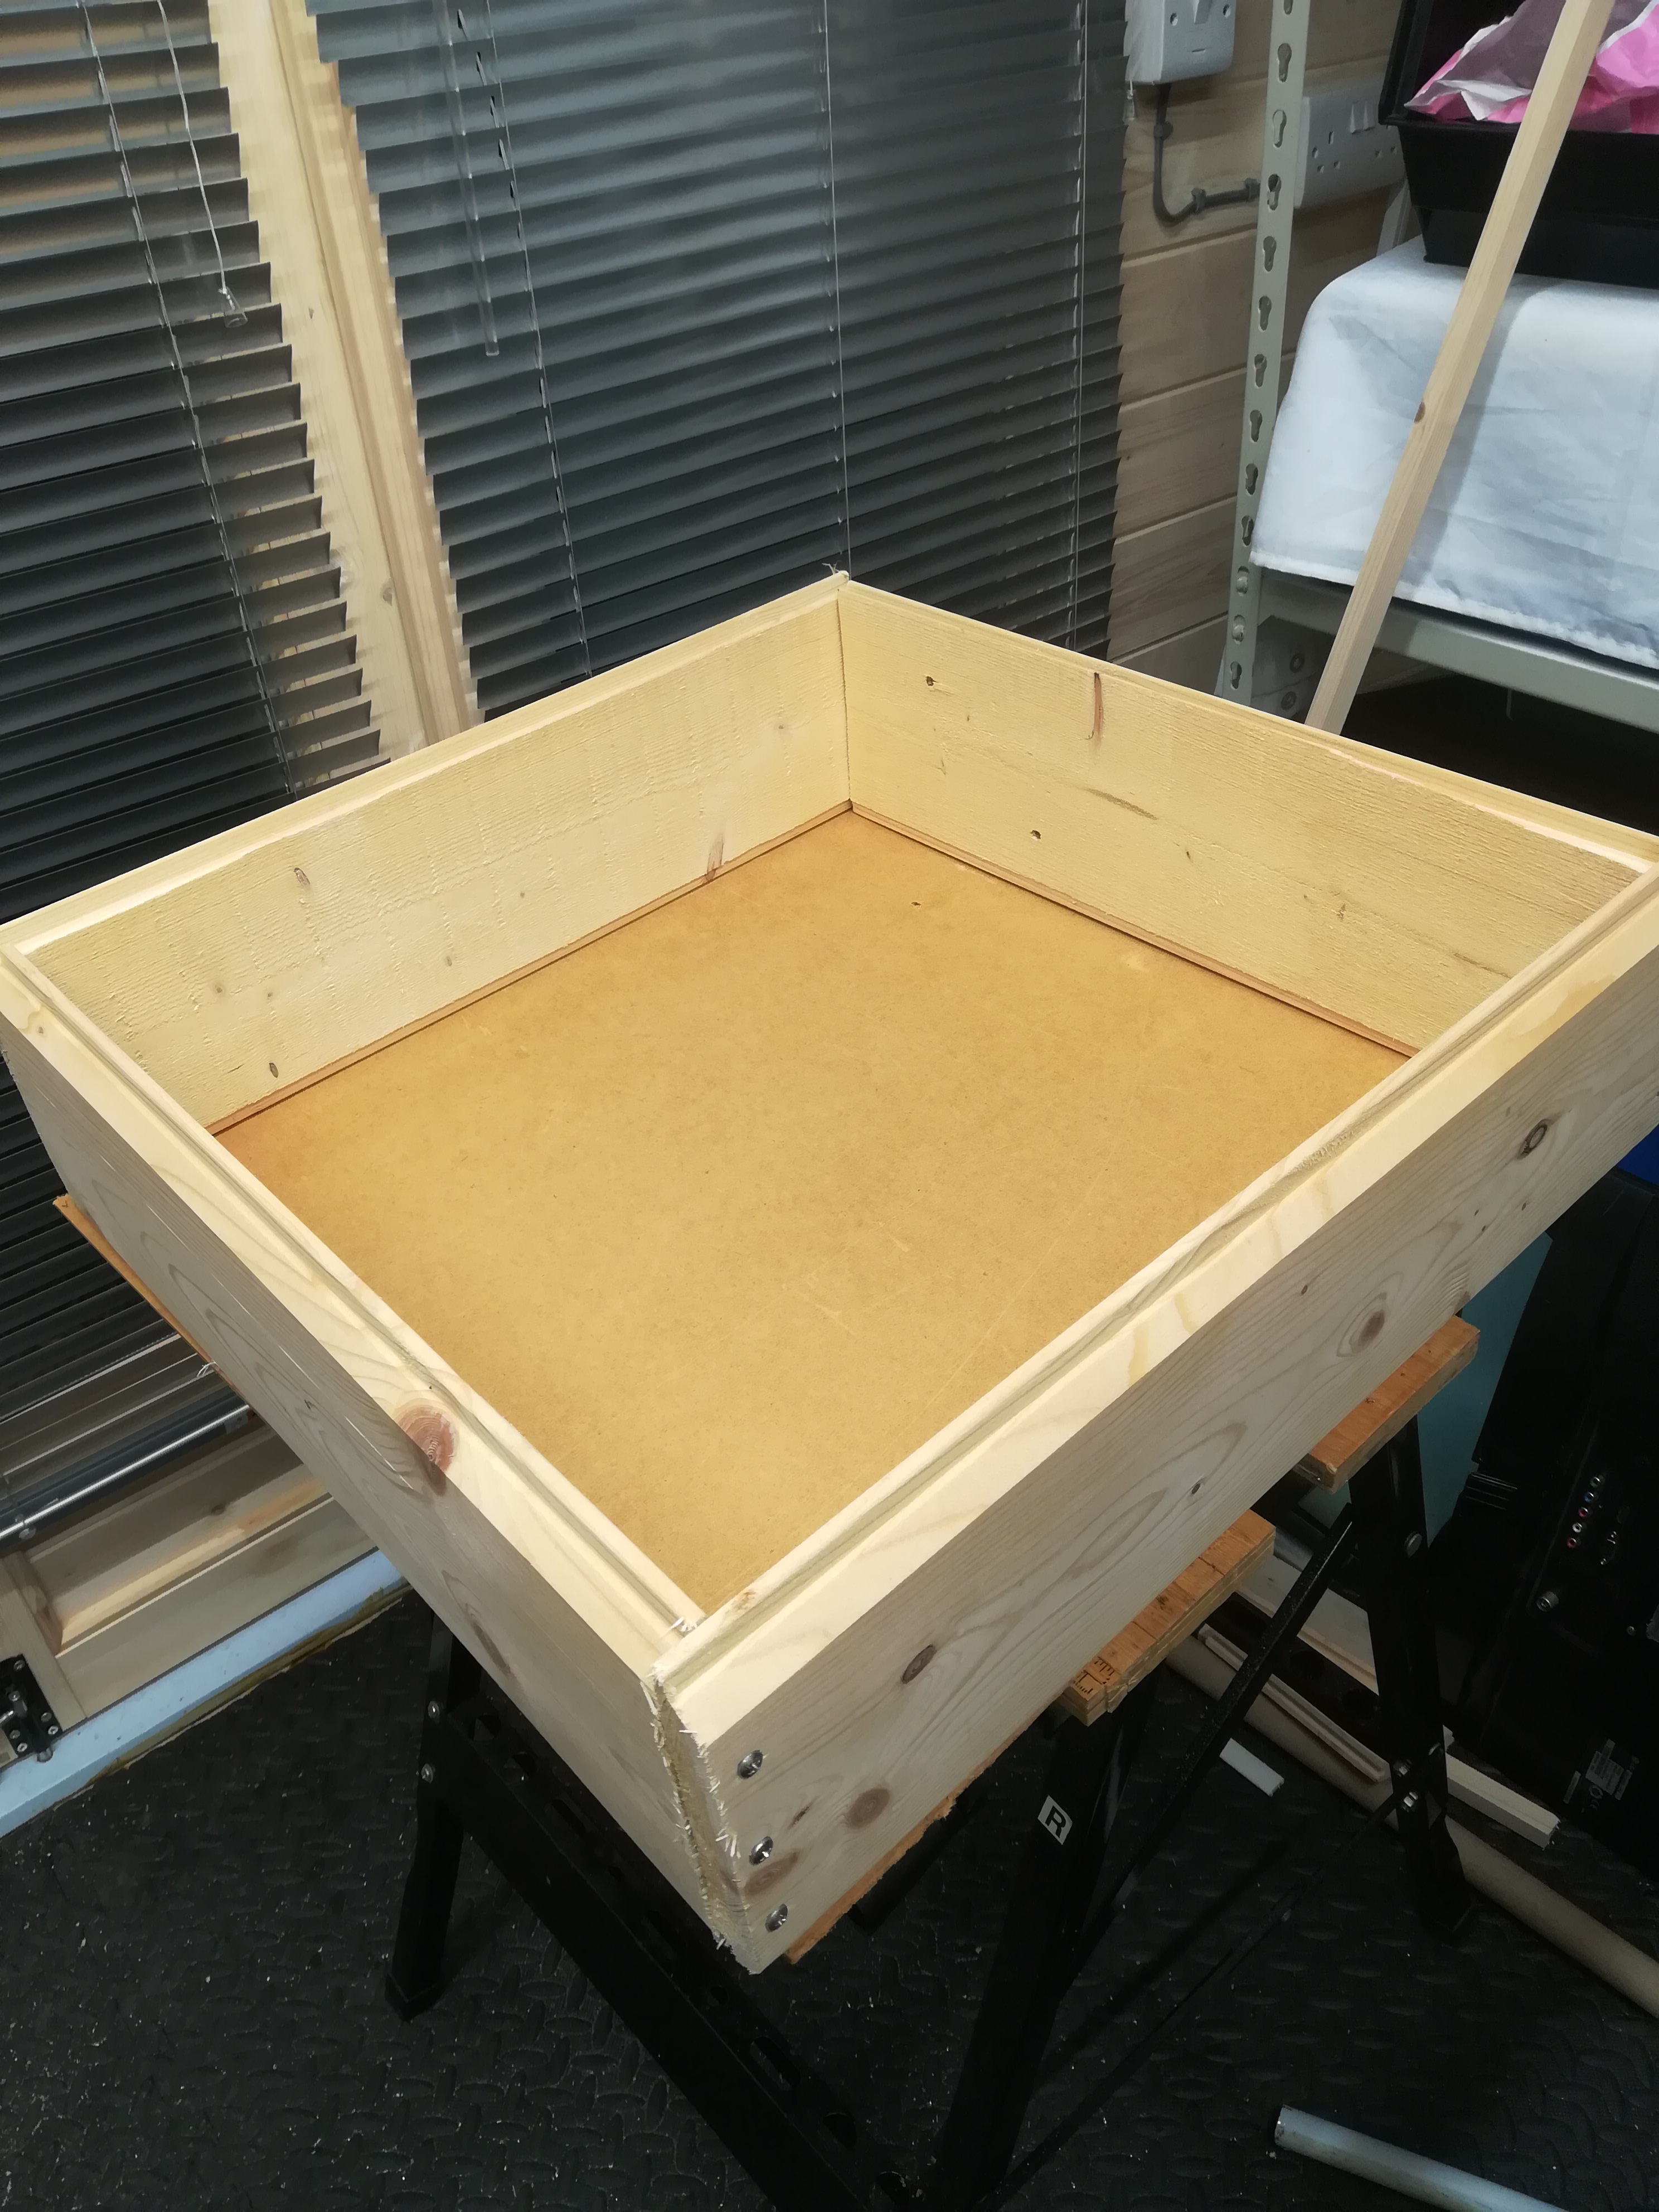
The second part of the build was to make a casting box for the concrete block. I did a few simple calculations to estimate the weight I needed to keep the stand stable, then rummaged in my wood stash for some suitable lengths. The bottom board was held in place with a handful of 90-degree metal brackets.
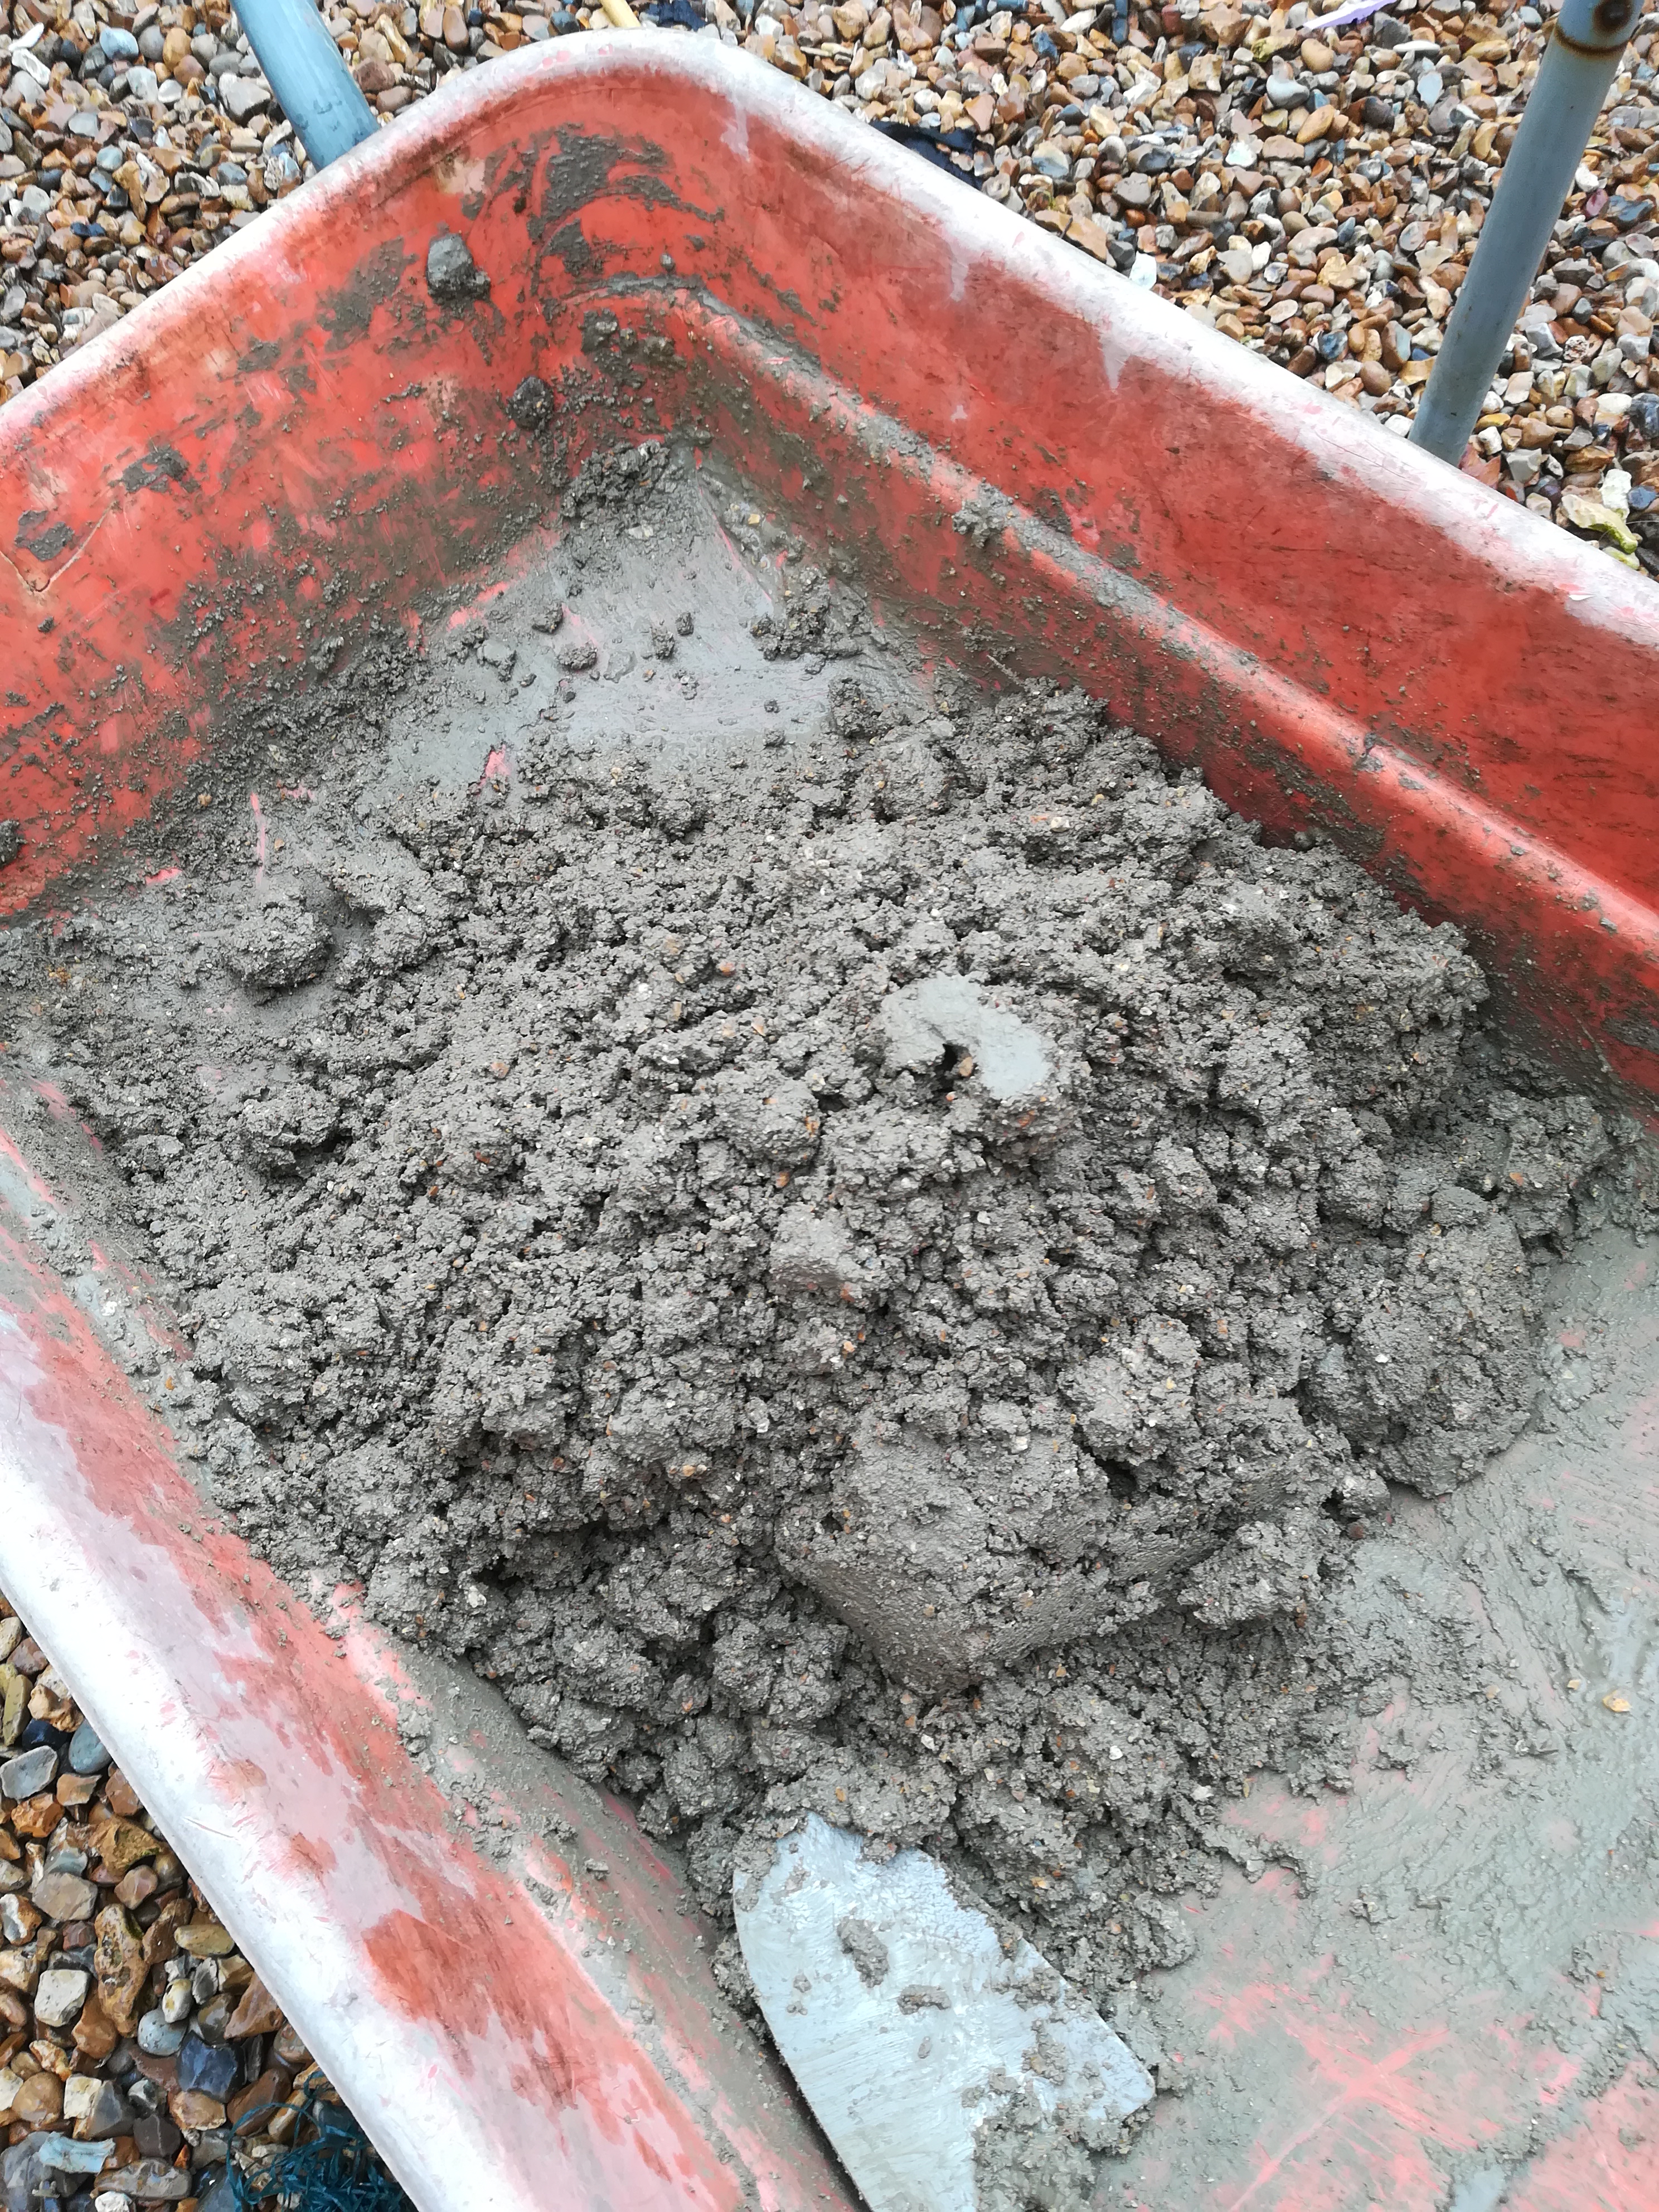
There are many ways of mixing up concrete, depending on the application. I’m not interested in marbling effects, perfect edges or surfaces, and fancy colours. I want a big, heavy lump on the end of a pole. So, a simple 3-2-1 mix it was.
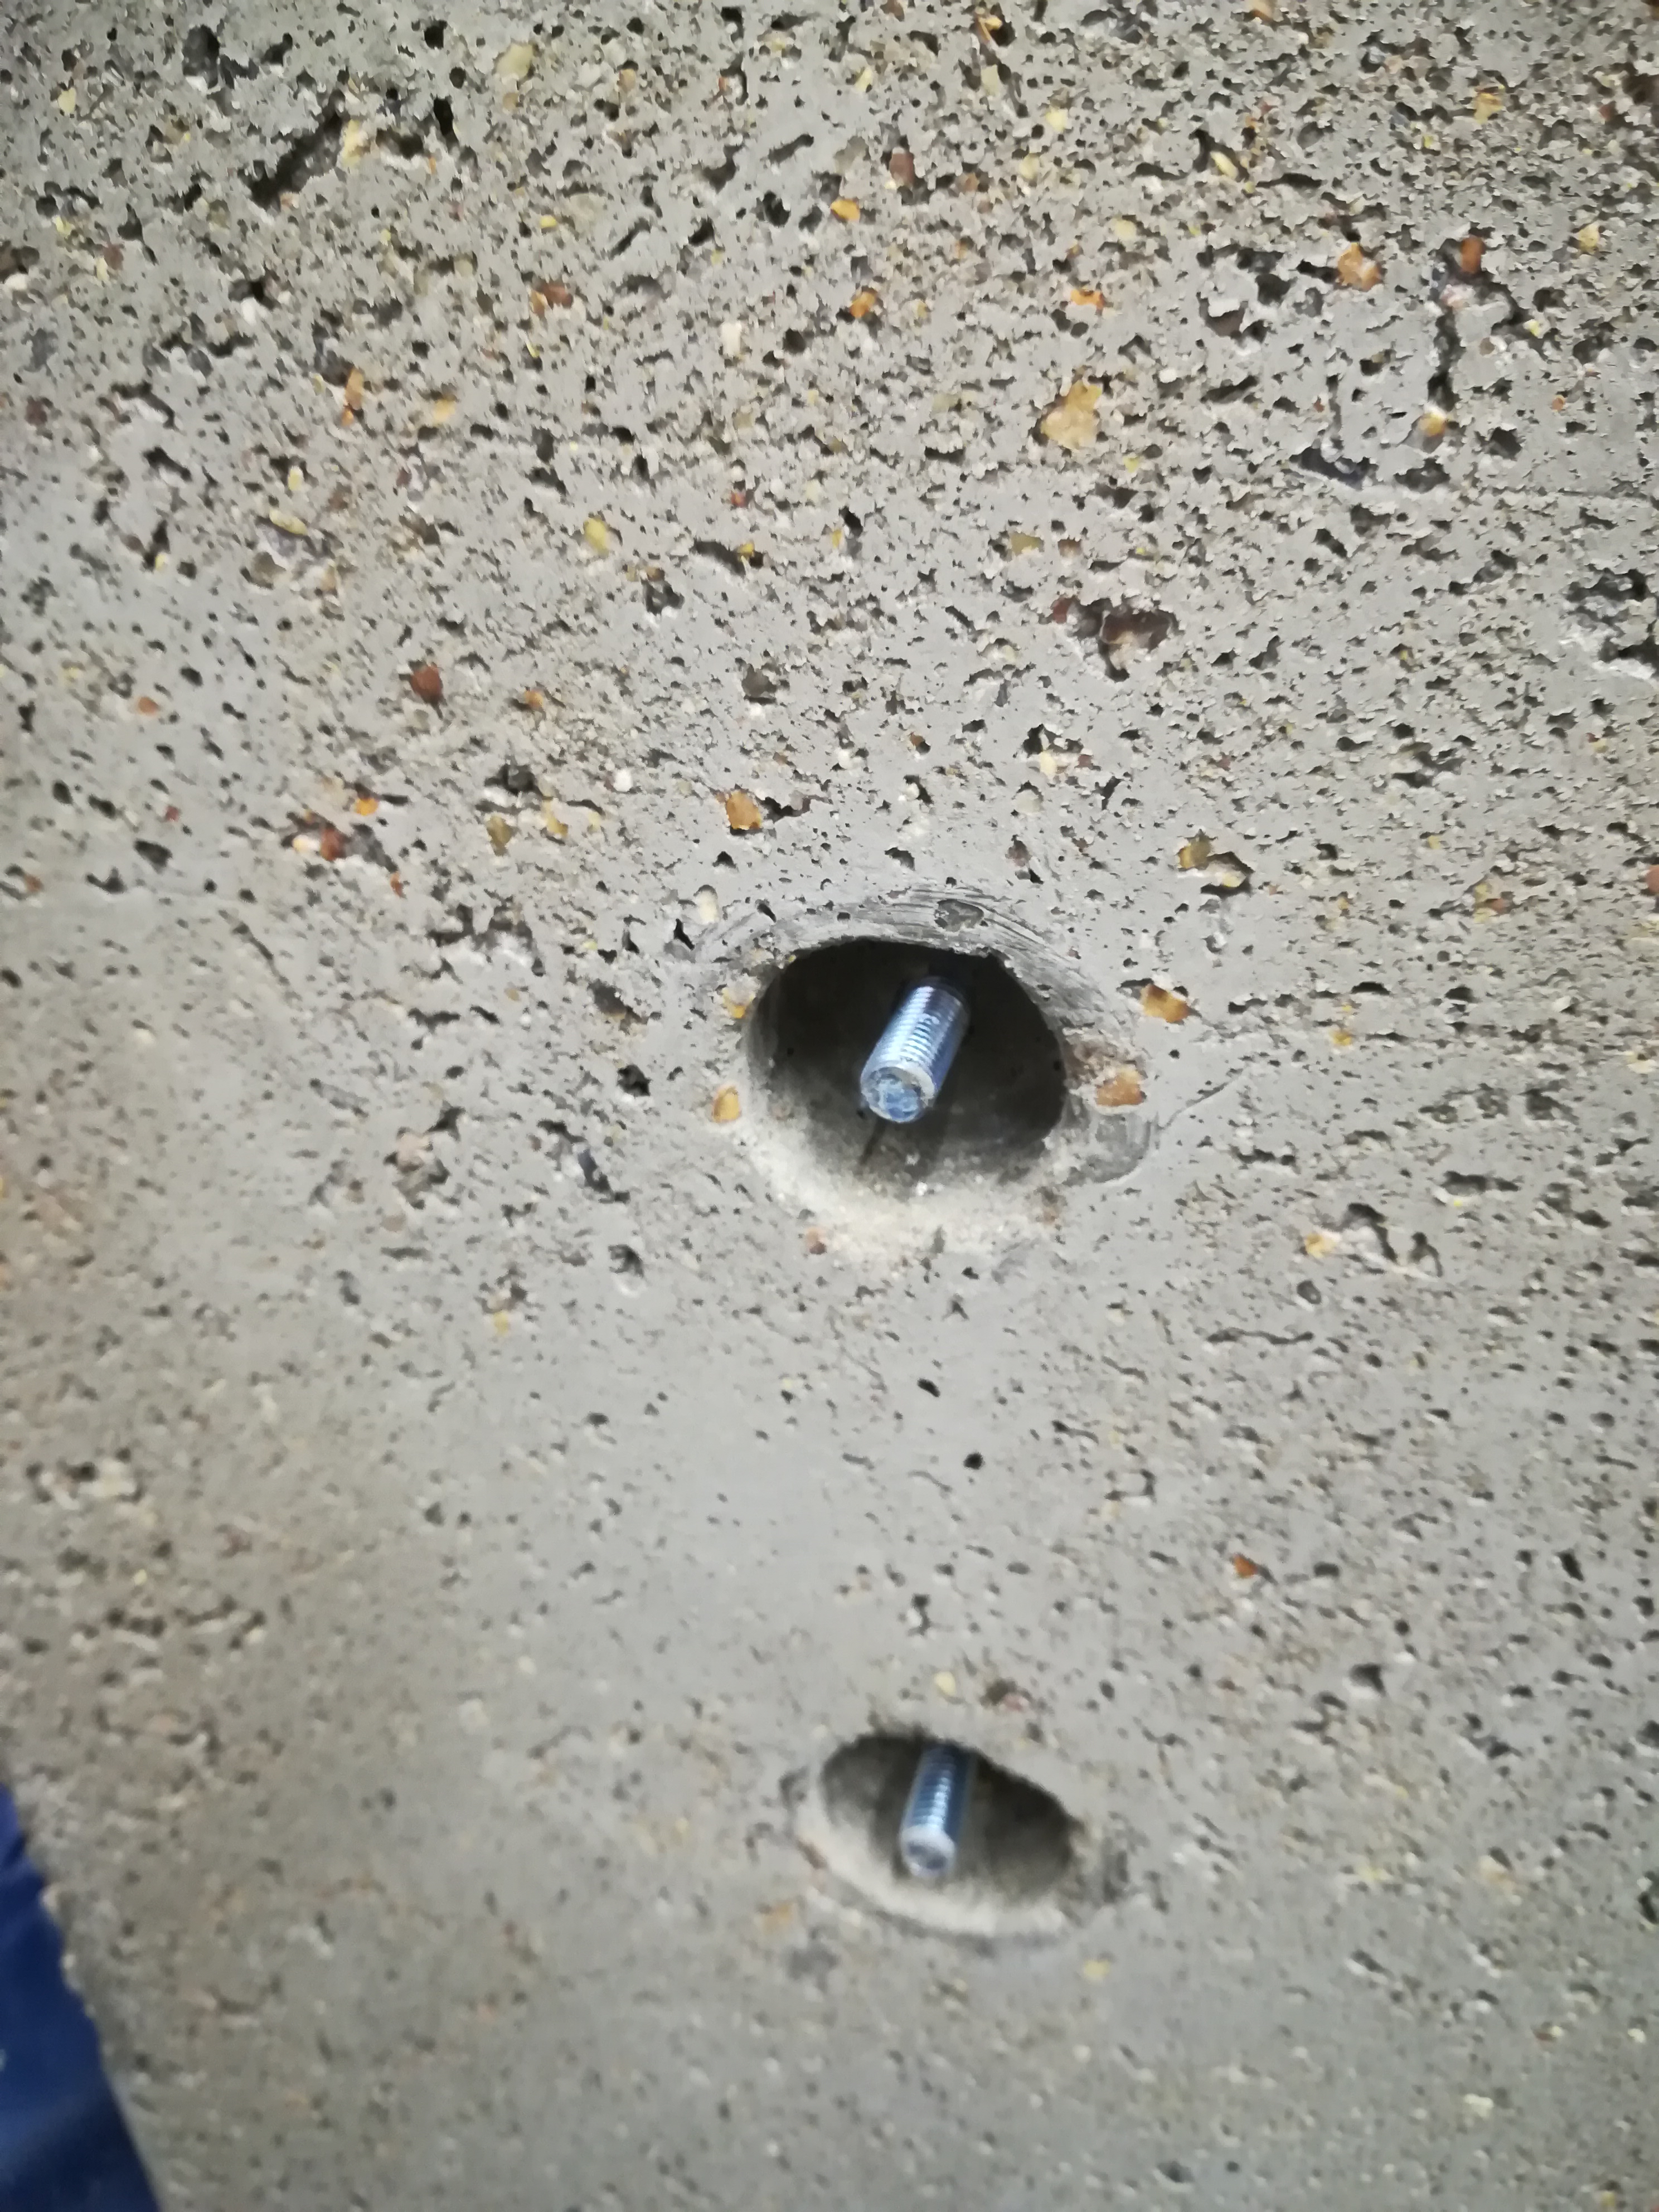
With concrete, it’s important to allow the hydration reaction to proceed to completion by preventing the water component from leaking out too early. I achieved this by sealing up the edges of the casting box with silicone. I added a few cardboard tubes around the bolt threads to make some holes in the bottom of the casting.
It was a bit awkward to get the concrete under the plate. I found it easiest to work it by hand, then add more around the edges.
Once it was pretty full (I ran out of the mix), I covered it with plastic wrap to reduce evaporation.
To ensure the surface was hard and stop any cracking, I visited it a couple of times a day for about three days, spraying on more water before re-covering. The water is necessary to ensure the hydration reaction completes and the concrete fully cures.

The cast came out just fine, with clean edges and no cracks.

I was planning to use longer bolts and put a metal plate on the bottom of the block to add some extra strength. However, I decided it was more than strong enough, so I just threw some nuts on the end, tightened it up, and left it as is.
This was mostly just an experiment to see how easy it was to work with concrete, form holes and openings, and use metalwork.
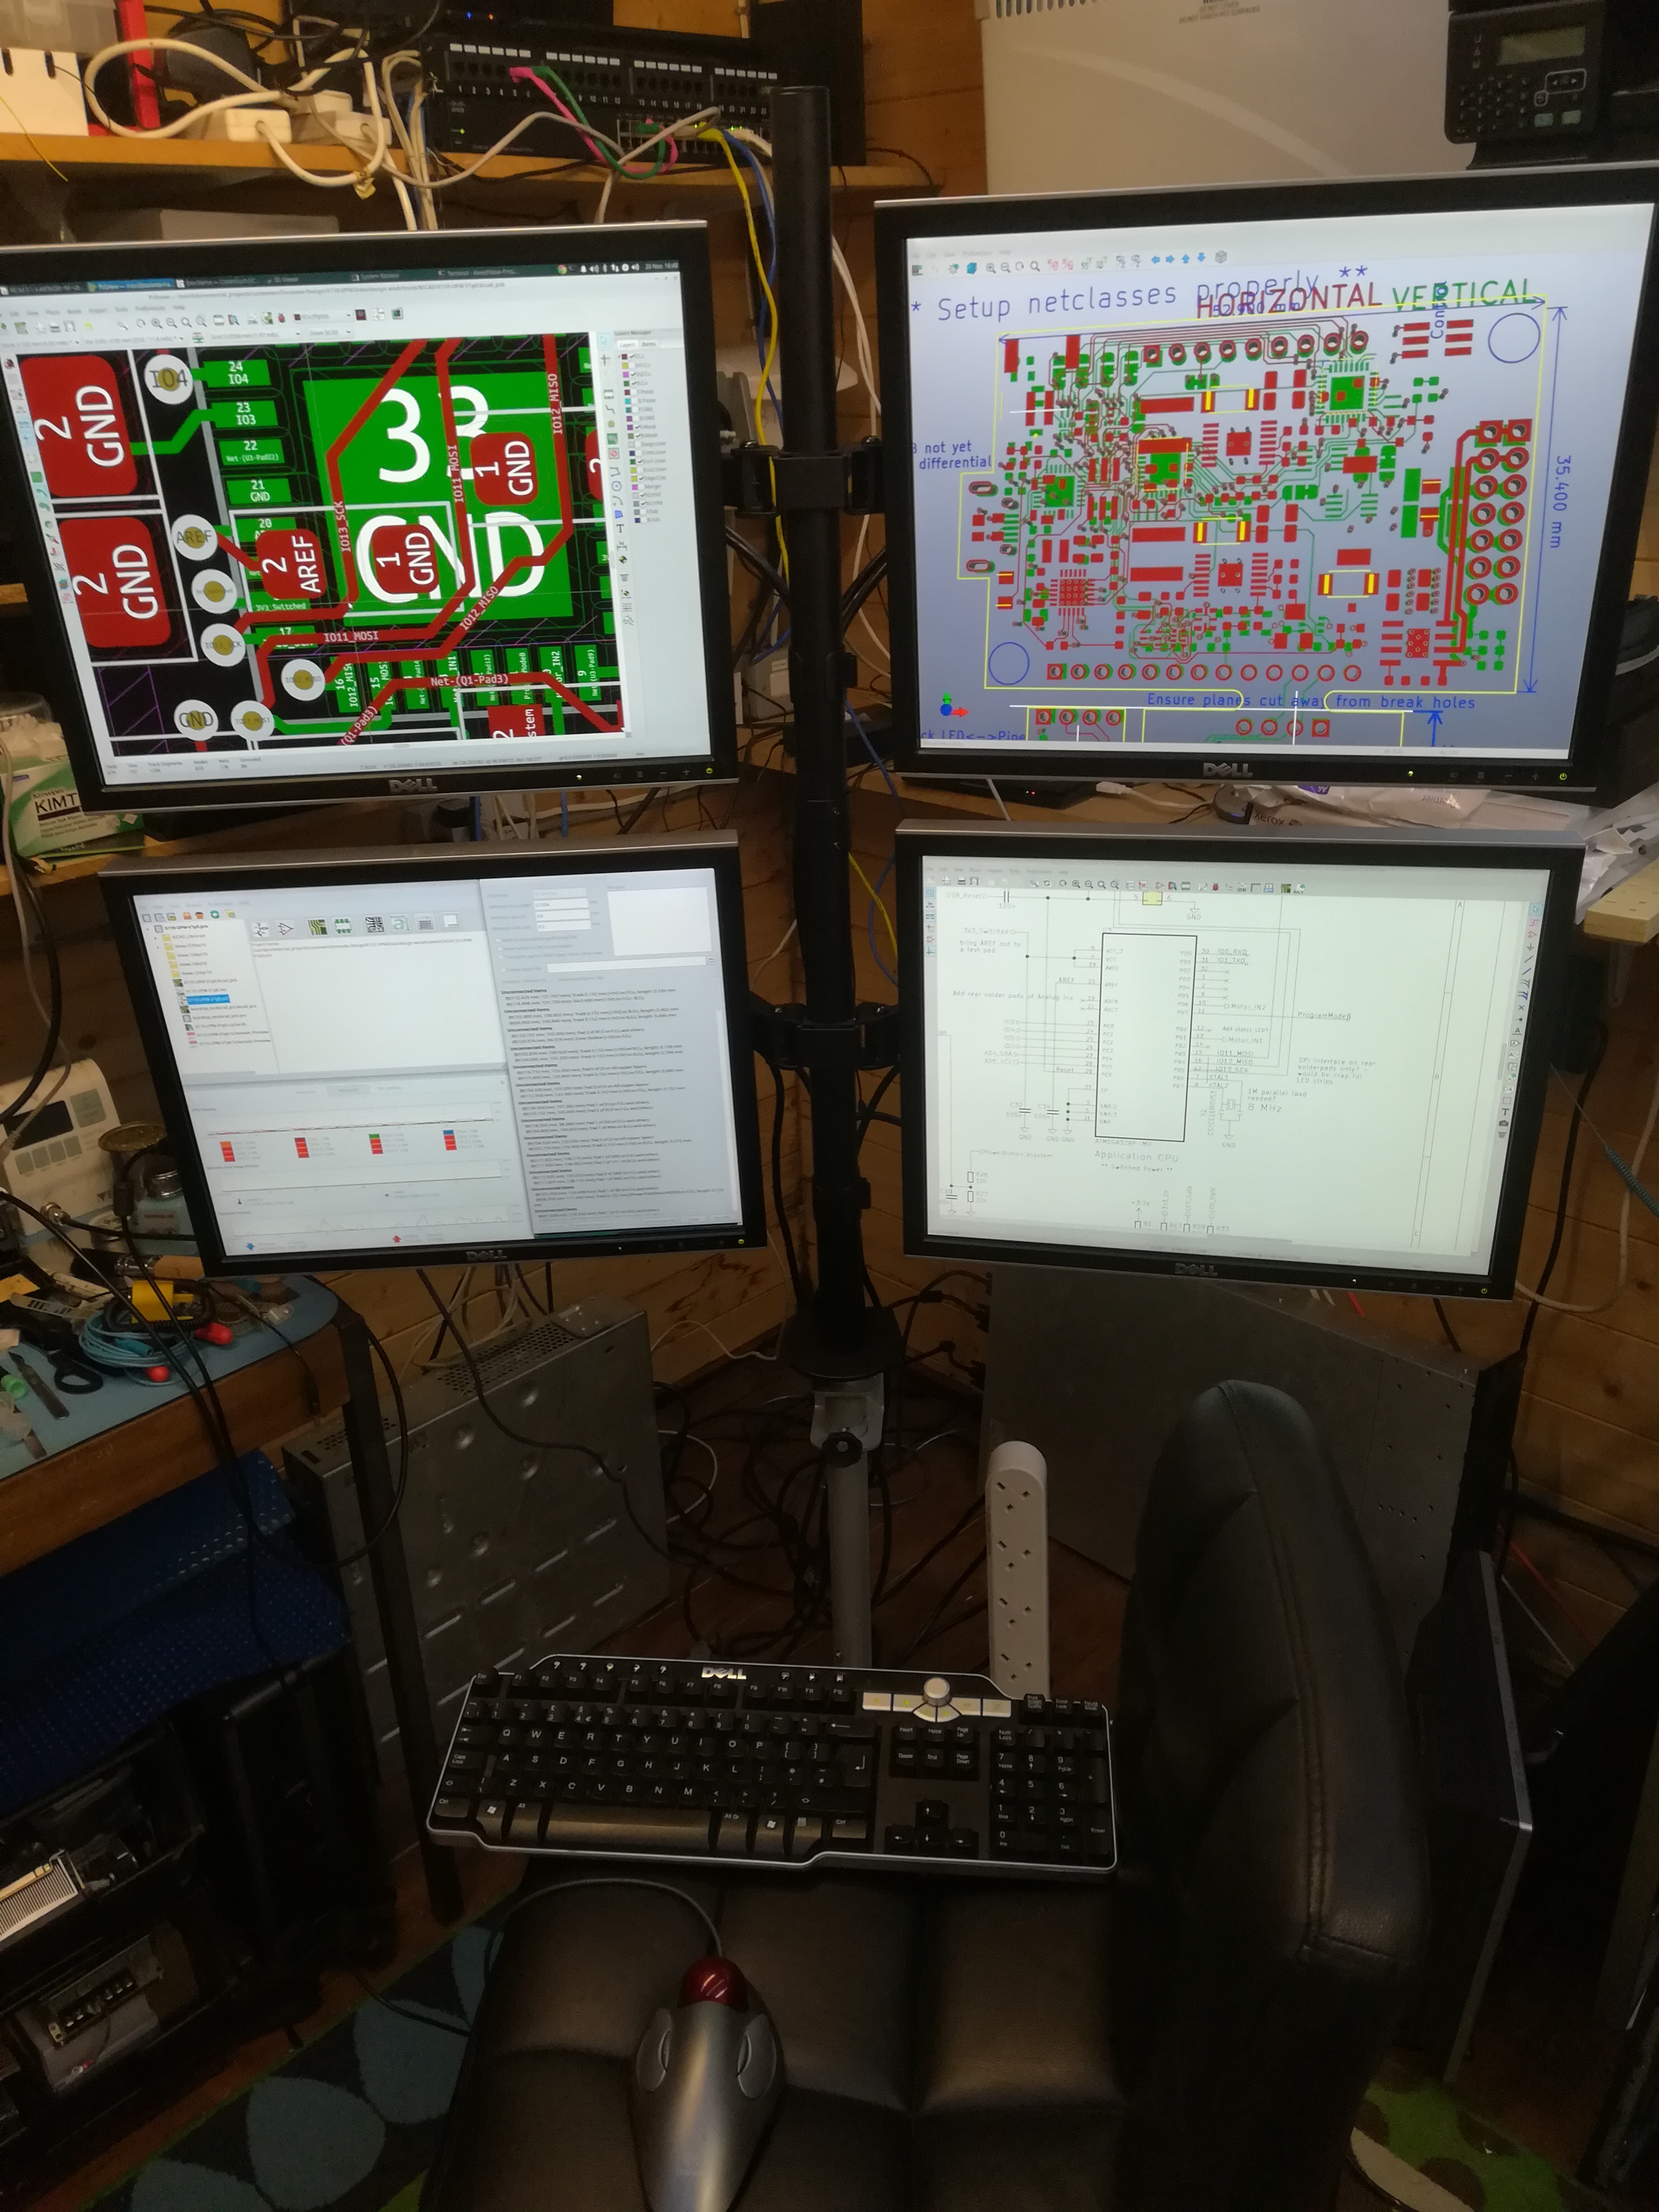
I assembled the mount onto the base and hung the monitors. I had a bunch of broken older Dell units, which I managed to fix.
I ran up one of my KiCAD projects to have a quick play with it. It seems to work quite nicely, although it does have a tendency to wobble if you kick it too much.
Next Steps
I’m in the middle of modelling some 3d printable clamps to hang a power distribution unit, to reduce cabling congestion.
I also need a keyboard/mouse/cup of tea stand solution.
I also need to source a suitable chair.