
Southampton Makerspace hosts a large A0-bed industrial laser cutter (an Epilog Legend 36EXT) that we bought a couple of years back from a company in Farnborough. We spent quite a lot of our members’ money on this machine, and we’re quite precious about it, especially regarding maintenance. This isn’t the usual ‘hackerspace laser.’ This is a proper air-cooled machine, designed with safety in mind, not some dodgy Chinese box!
Boom. Fail.
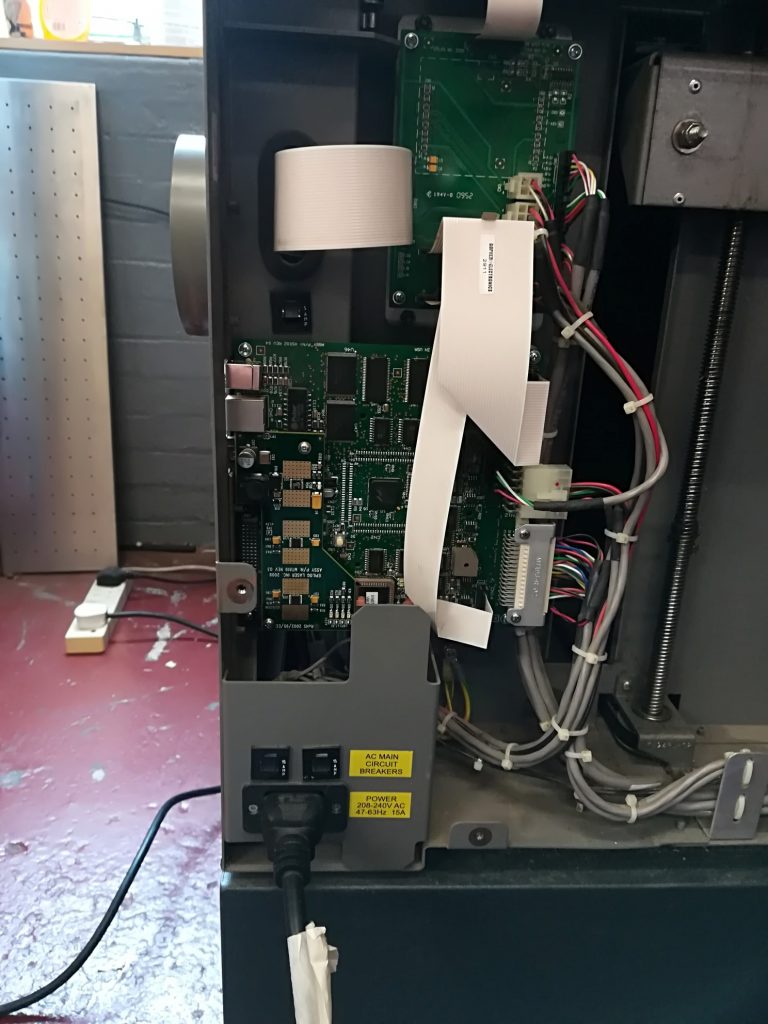
Anyway, Mr. Laser has been acting up a bit recently, and finally, it just powered down and wouldn’t start. I dug in to find the nightmare scenario: Main control board failure 🙁
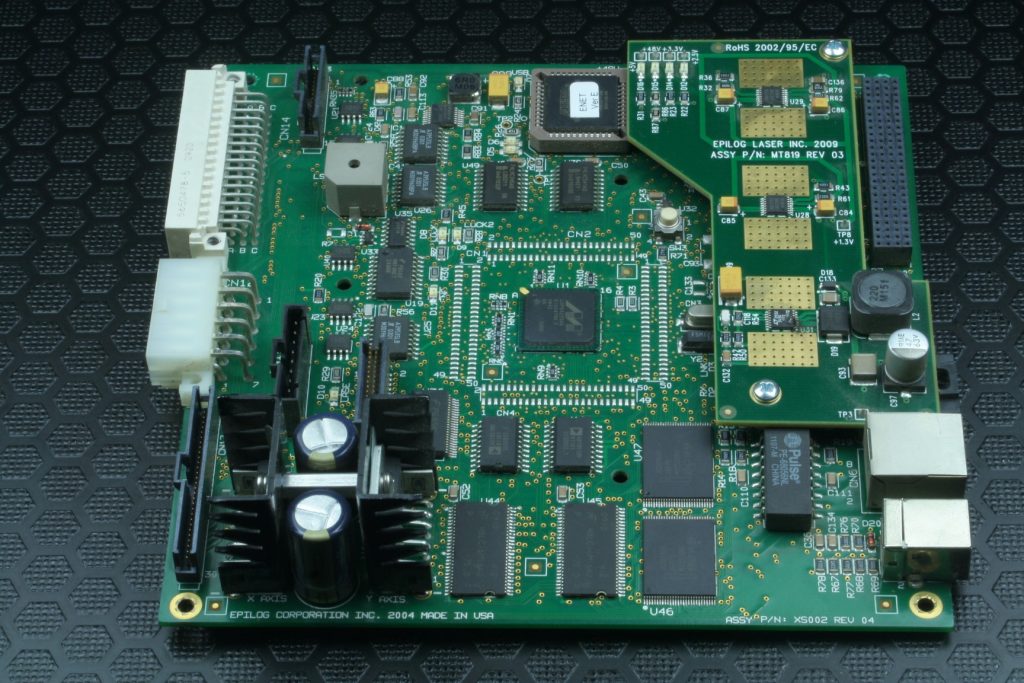
The daughter card at the top right hosts the power supplies. The machine has two 200w 48v switched-mode PSU modules, one feeding this board via the large Molex connector on the mid-left edge. The daughter card takes this and produces regulated rails of 5v, 3.3v, and 2.5v needed for the CPU and associated parts. The 5v rail is fed out via the connectors on the left to power external boards for the control panel and some other smaller boards scattered around the machine.
A slight detour: Debugging 101
Many years ago I bought a book about debugging (“Debugging: The nine indispensable rules for finding even the most elusive software and hardware problems” by David J. Agans. A great read full of war stories of debug scenarios) I felt this was a subject not covered at university, and I wanted something more. In summary, the rules are:
- Understand the system
- Make it fail
- Quit thinking and look
- Divide and Conquer
- Change one thing at a time
- Keep an audit trail
- Check the plug
- Get a fresh view
- If you didn’t fix it, it ain’t fixed
I will refer back to this as the story progresses to illustrate how this seemingly obvious advice is crucially important and surprisingly easy to forget.
Rule 1: Understand the System
I traced the electronics from the AC supply right up to the point of failure. I understood the wiring, the 48v supplies, and the function of the daughter card. I made measurements along the way to determine if anything obvious was amiss. It was not.
Rule 2: Make it fail
Well, this was easy, just turn it on. Nothing. Not a sausage. The 48v was good, but the 5v rail was dead, and (obviously) all rails that derived from it.
Rule 3: Quit thinking and look + Rule 4: Divide and Conquer
I stopped chatting about it on Slack and started looking around for obvious failures. There was only one, and it was very obvious! Everything else measured fine. Could it really be just an IC fail?

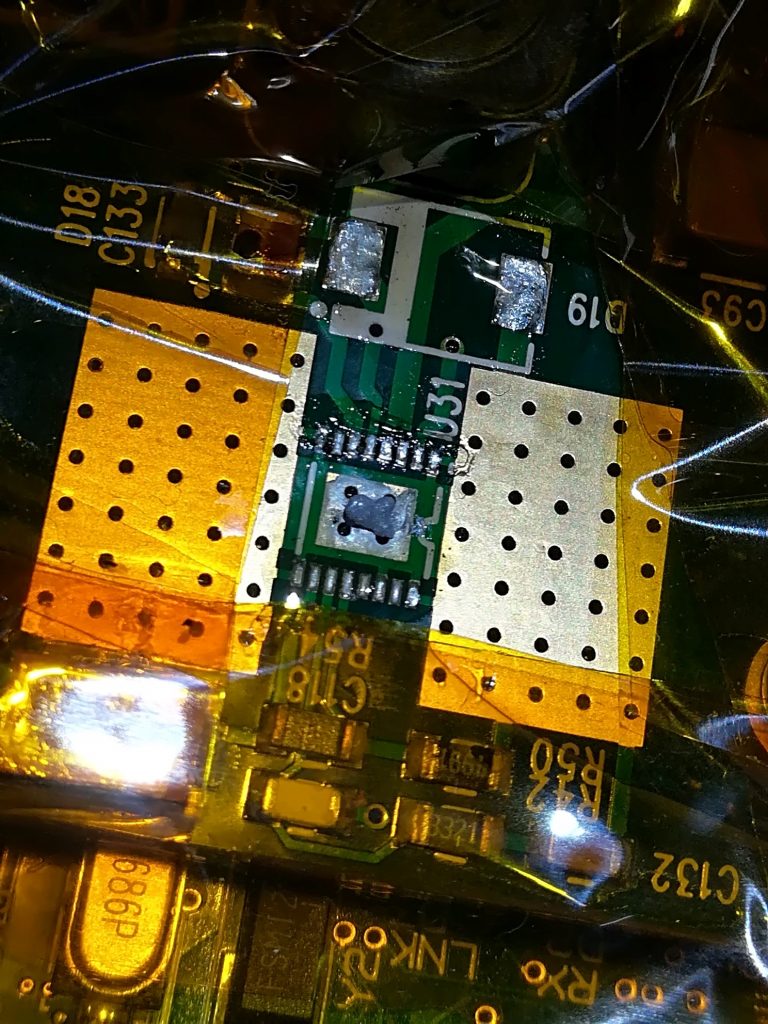
Root Cause
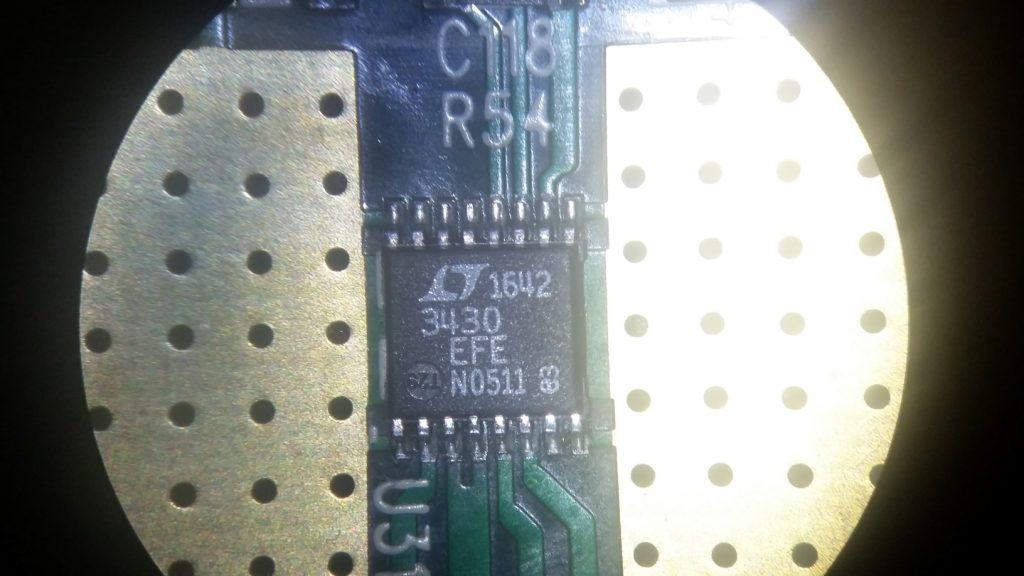
Zooming into the daughter card showed that the 5v regulator (a Linear Devices LT3430EFE) had visible damage. This is not a good sign. Poking around the machine I could see no other apparent physical damage and no burning of other components. No short circuits. The 48v supply was clean and solid. I could find no obvious root cause. This is not a good situation, because if you can’t find the cause of the failure, simply replacing the part is a risk in itself. Modern ICS rarely ‘just break’; there is usually something in their environment that is the cause.
The IC’s output has short-circuit protection, which should shut the chip down, not blow it up. That said, there was no short on the output.
Shotgun!
A couple of people suggested it really could be an IC failure and that I should just try a shotgun replacement. It would be quite quick and easy. So I did, but I wasn’t happy with that. I ordered some parts from RS and prepped the board for soldering.
Rule 5: Change one thing at a time
Applying this wasn’t easy here, and I was not convinced that just replacing the IC was a sound idea. But I did it anyway 🙂
Replacing the LT3430EFE
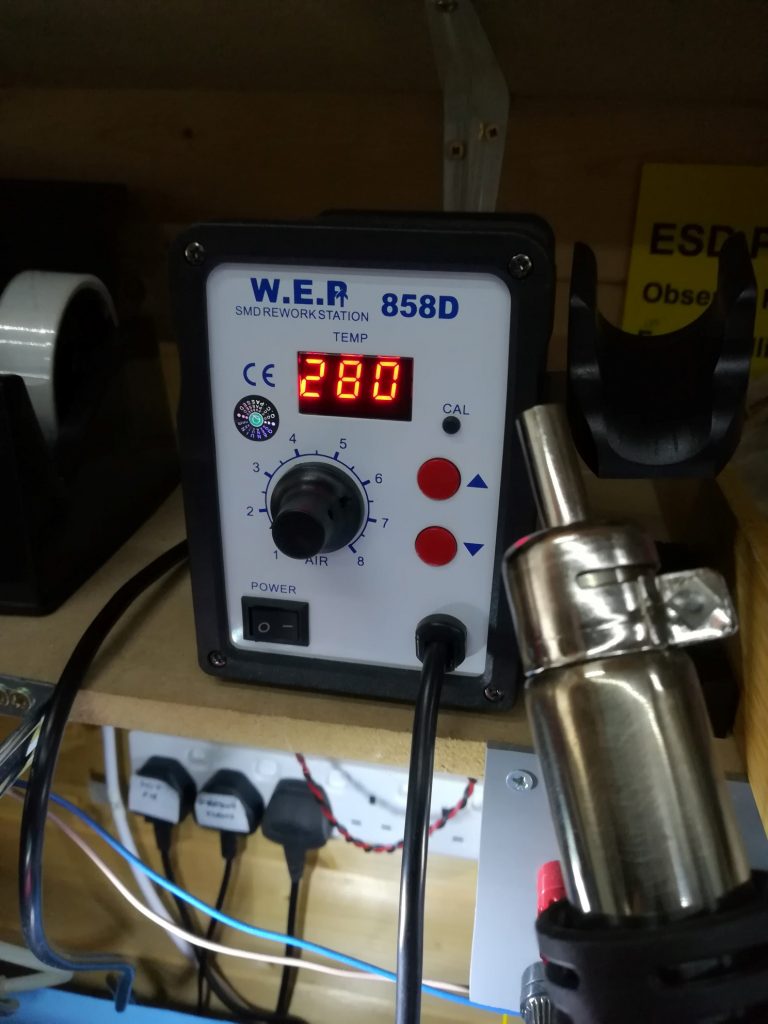
The daughter card was soldered down to the (very expensive) mainboard in several places. I didn’t want to risk damage to it, so I had to solder it in place. This meant no PCB pre-heater could assist in soldering the SMT part. Remember that good thermal design includes the enormous copper wings and thermal vias. That’s great for operating as a power supply. It’s not so great for soldering. A PCB pre-heater would have allowed me to soak the whole board at, say, 200 degrees, and use hot air on the IC to elevate the temperature a little so as to remove it and fit a new part. This was not to be. It had to be done with just hot air and patience.
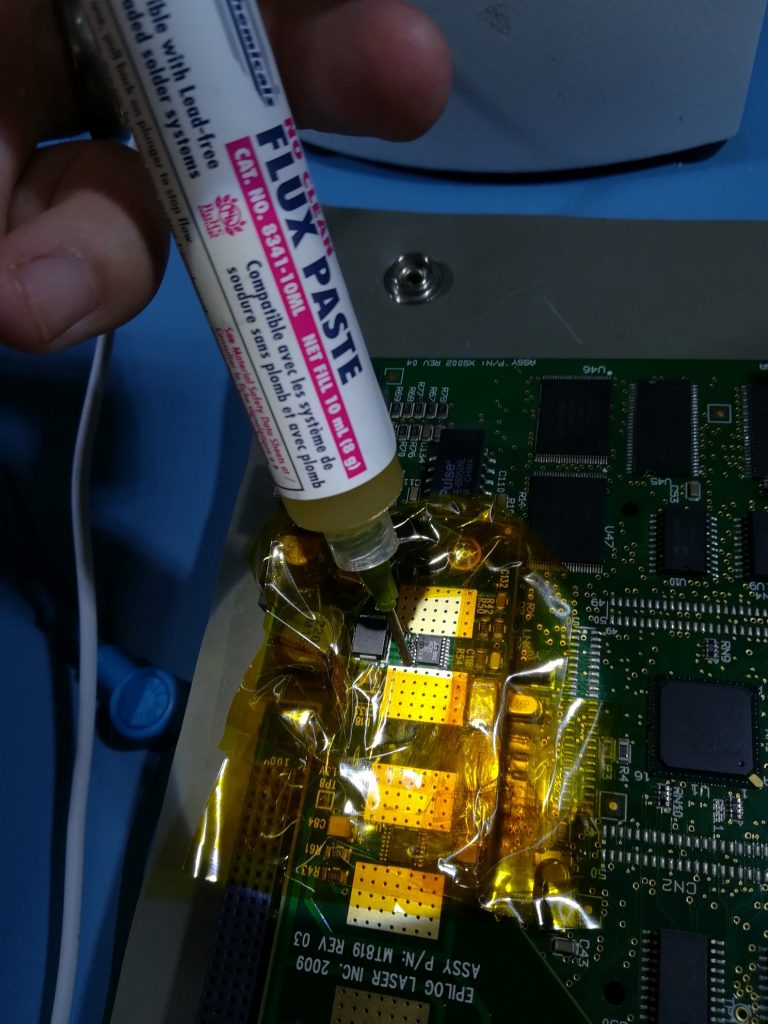
To prevent more damage, the first thing to do was to keep the hot air away from all the other parts, especially the small ones.

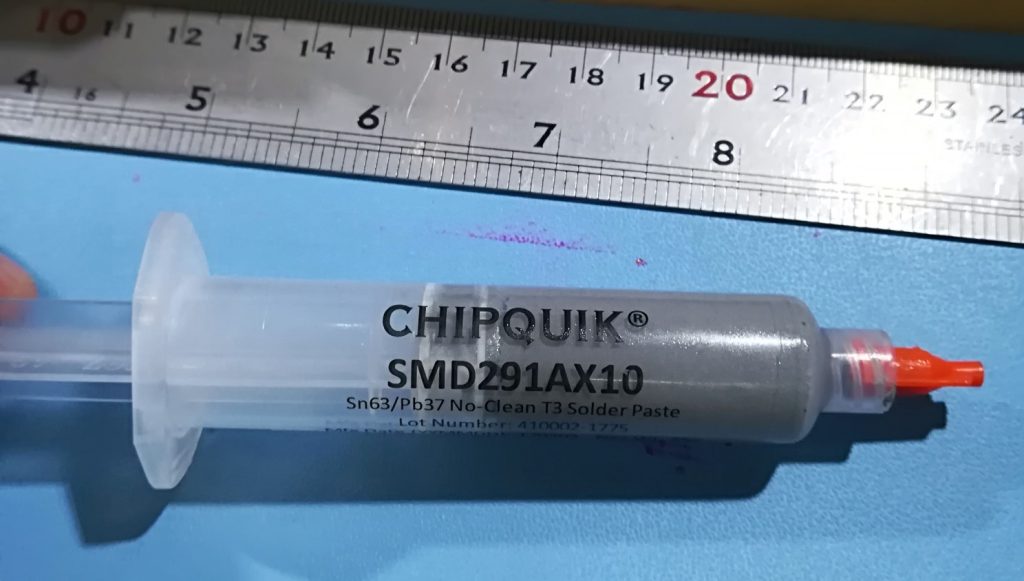
Decent quality flux paste was applied to get things flowing nicely
The result
Rule 2 again: Make it fail
A quick test proved disastrous. More bang, smell, melt. This time, with me only 12 inches away. It was quite a good flash and bang. The result: exactly the same. The newly soldered regulator burnt out (literally!) in exactly the same way! At least it was a systematic problem and not an IC fail. It had to be something else.
More Rule 3: Quit thinking and look (some more)
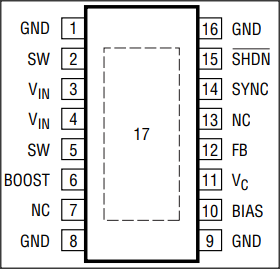
There wasn’t much left to point the finger at. Some people spotted that the burning is physically close to the input pins. You could, therefore, be reasonable in pointing the finger at the 48v side of the regulator. The 48v input, however, looked fine. Experience tells me there is another failure mode, one that seems unlikely and can be seen from the (LT Datasheet) example application circuit:
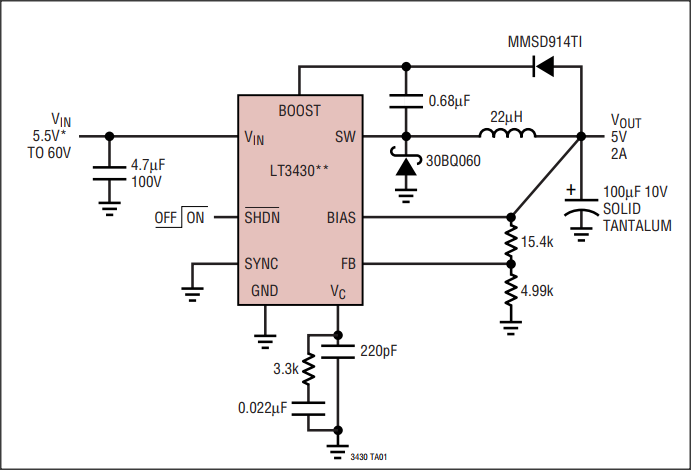
The burning is close to the input pins 3 and 4 and the SWITCH NODE (SW) pins 2 and 5. In the above circuit, you can see the buck-switching diode (the Schottky 30BQ060 part above) connects here. It also connects straight to ground, per the usual buck PSU design. On our circuit, this was diode D19.
From memory, a common failure mode of the Schottky diodes used in power applications is to fail as a hard short. I was discussing this with a retired electronics engineer next to the machine. I was just about to suggest the Schottky diode as a failure mode, but was (temporarily) disbelieving the lack of damage to it. Surely we’d see something? No. He reminded me that if it were a dead short, it would not dissipate any (or much) power and could not get hot enough to make itself seen! The only thing left was this shorted diode. If this were the case, then the SW pin would be a dead short to ground. I tested it. It was. Next, it was necessary to verify the fault.
Rules 3 & 4: Stop thinking about it, take off the diode, and measure it
I re-masked the board and removed the (massive) D19 Schottky diode and the blown-up LT3430EFE part. I cleaned the board, re-fluxed it for new parts, and set it aside.
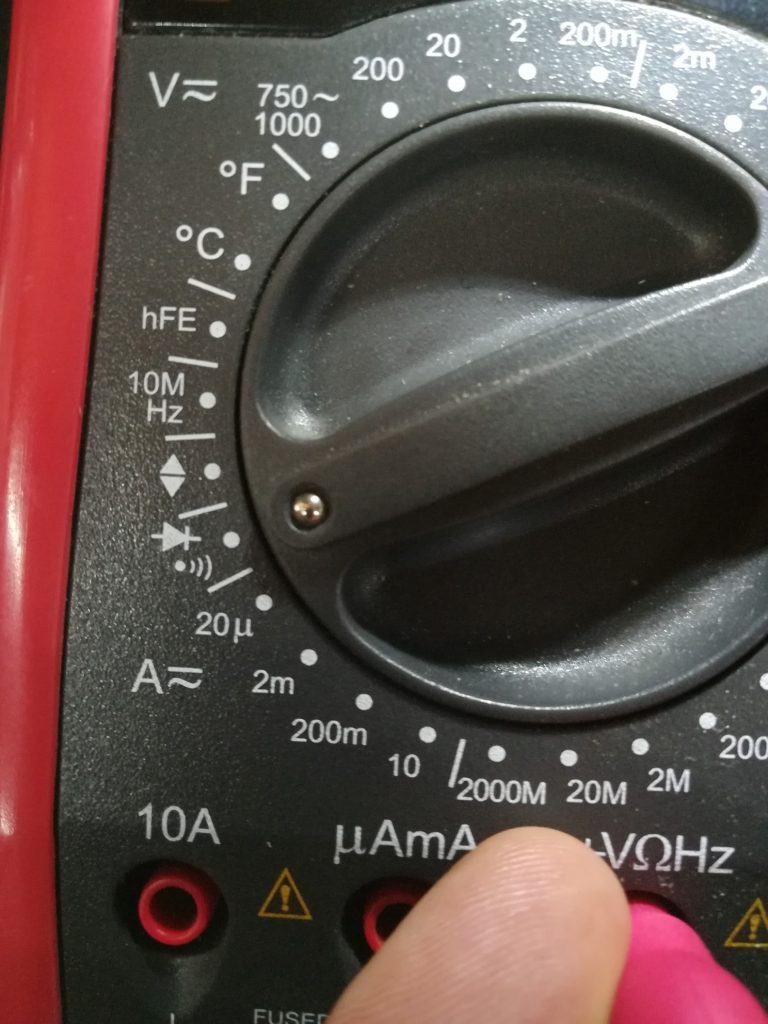
All multimeters have a setting to measure diode drops and continuity. Simply probing the diode showed it was a dead short, both ways, and was definitely defective.
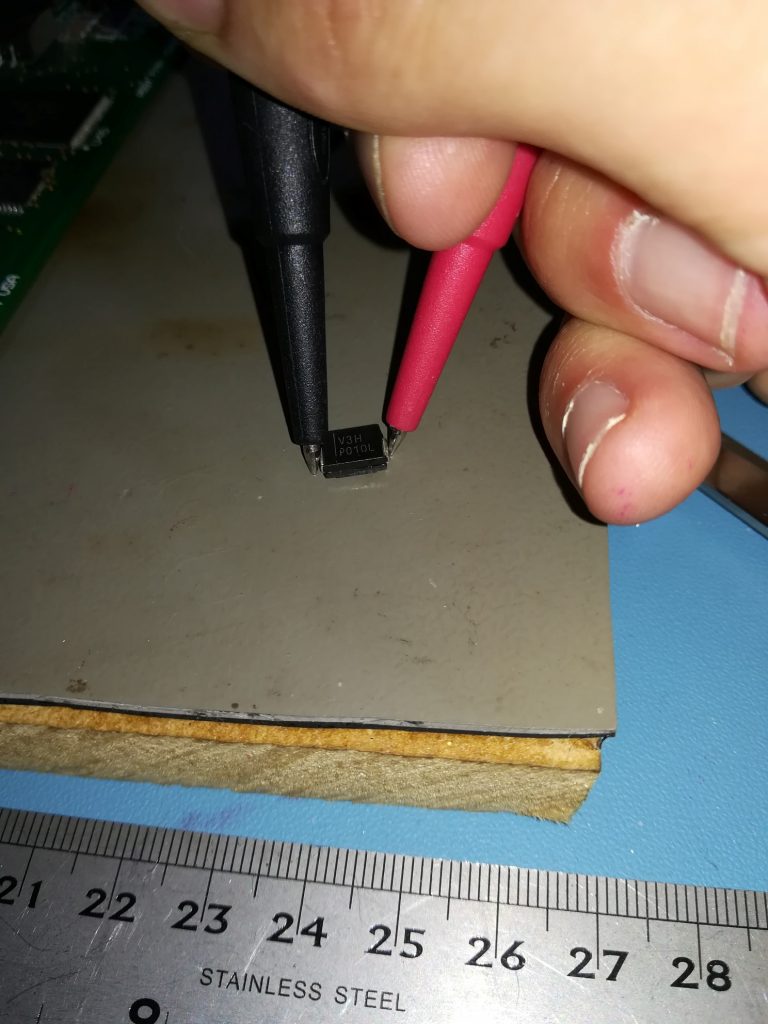
Identifying the part
This was pretty easy. The first thing I did was look at the case. SMT parts, especially the larger ones, have coded markings. I suspected that the engineer who designed this circuit would use the example circuit from the datasheet, as the application was not unusual. The schematic part is marked as a 30BQ060 which Google proved was most probably the Vishay 30BQ060. This is a 3A Schottky diode for power applications in an SMC case (our diode is clearly an SMC case as it measured about 5.5mm x 6.5mm) The markings on the package (V3H) were consistent with this part, so a packet was ordered.
After removing the parts, the central thermal pad of the regulator looked a little dry, so I added a bit of solder paste by hand.
The final fix
After a bit more soldering, a new LT3430EFE and VS-30BQ060 were fitted. After refitting the laser cutter and testing the board in isolation, it worked immediately, and all power rails were stable. I completed reconnecting the rest of the system, and the machine powered up, passed its self-test and was ready to be recalibrated and returned to service!
Rules 6,7,8,9
These latter few are less important and probably only apply to more complex and lengthy debug problems. The audit trail was my reporting progress into our Slack channel dedicated to the laser cutter. The plug worked fine. Due to the simplicity of the issue, a fresh view wasn’t needed, and I definitely fixed it. It’s still working, so…