I needed to replace my ageing NAS with something more modern and hackable. My old system was born out of need – I built something from parts I had lying around – an old laptop running NAS4FREE and a few external drives for data. I spent nothing but a bit of time.
It was clunky and slow, but very reliable. Only ageing disks and power outages beyond the UPS capacity tripped it up.
I don’t need super speed (I’m not editing videos over the network yet) or massive capacity to do a bit of CAD and some basic design work. I just need to store a few hundred gigabytes of data and get it backed up.
3-2-1 Backup
The tried and trusted scheme – three data copies, two media types, and one offsite copy. I built a primary NAS device, which was mounted by a secondary machine. This second machine runs Code42 (formerly CrashPlan), which uploads the data to the cloud. It also runs a copy job on schedule, duplicating the primary NAS to another external drive. In addition, I run backintime, which creates hourly, daily, and weekly snapshots of the data using rsync.
The snapshots and NAS copy are exported via network shares, so if the main NAS goes down or I need an old version of a file, I can just reach in and grab it. It’s easy. The total cost is zero.
The Plan
Many hardware options exist for building a NAS at varying costs and performance levels. I don’t need immense speed, vast storage size, or fancy data de-duplication. I just need a few disks hanging on a node, presenting some SMB and NFS shares.
The Raspberry Pi is pretty ubiquitous these days. It isn’t particularly fast, by any measure, but the latest, at the time of writing, is the Pi4 B+. It has a perfectly adequate performance for my needs, is easy to source, and is infinitely hackable.
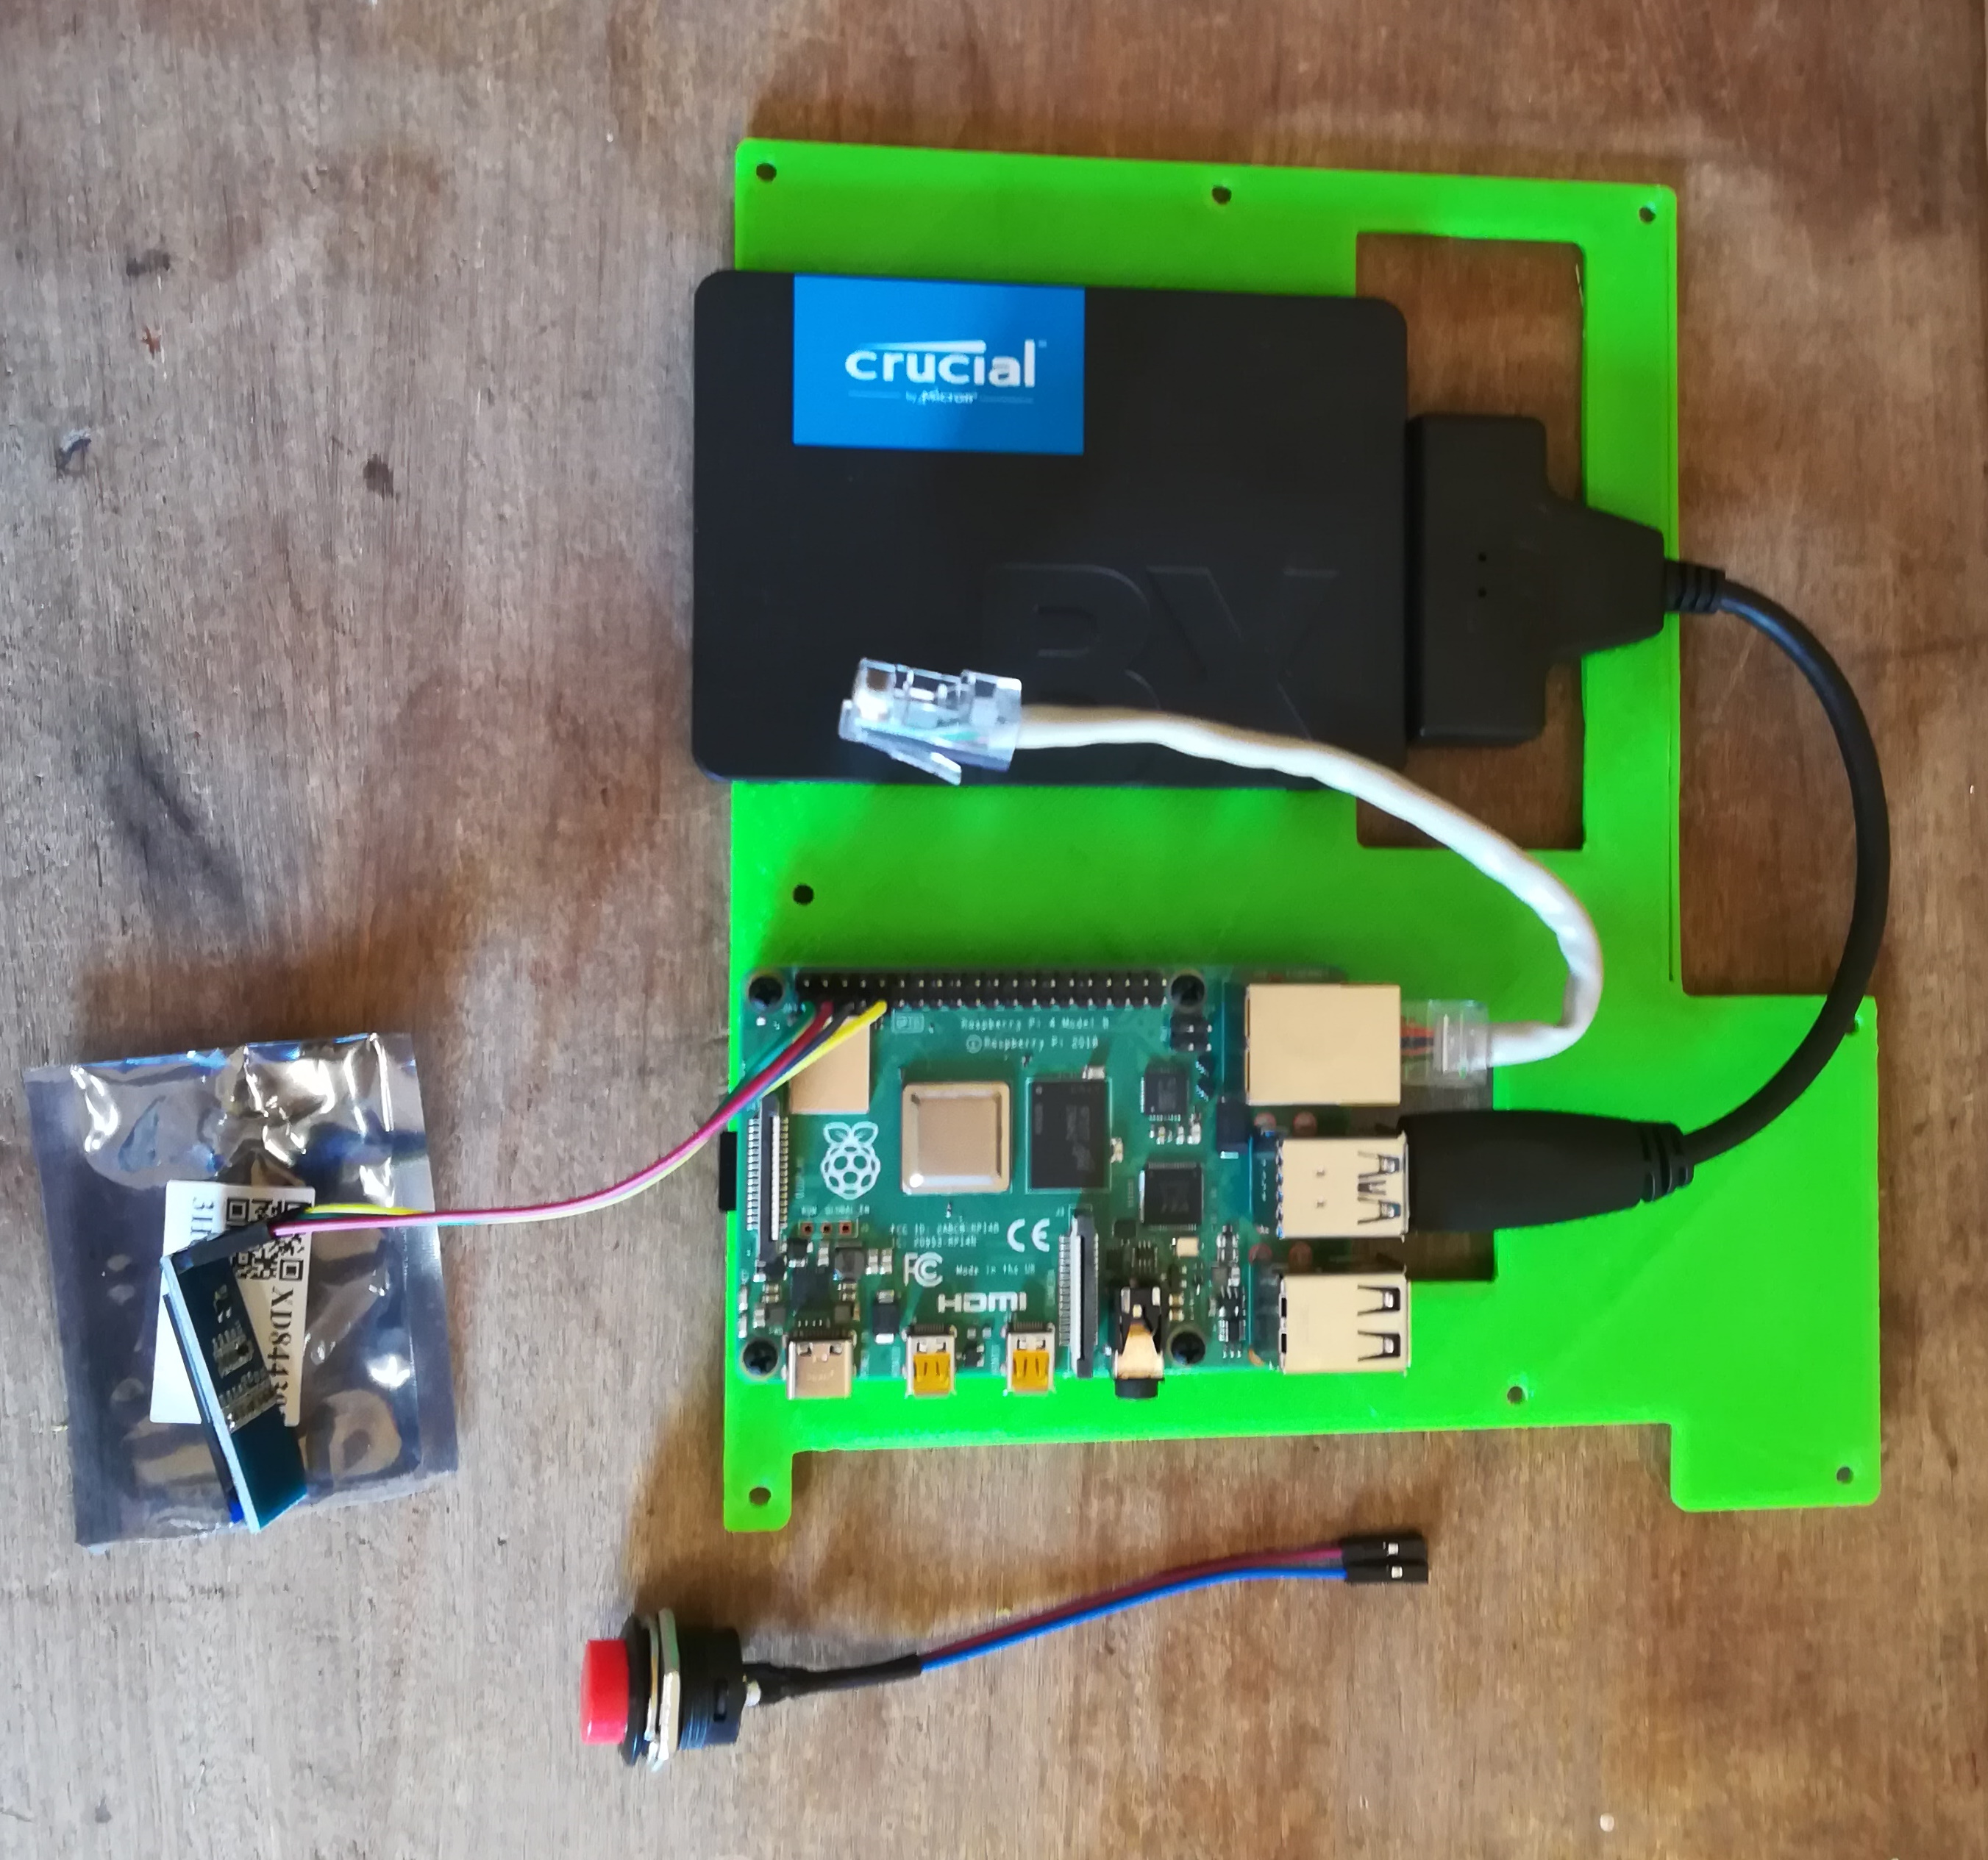
I bought a USB 3.0-to-SATA active cable and a 150 GB SSD from Crucial. I threw the latest Raspbian Buster Lite onto a micro SD card and used the OpenMediavault 5.5.3 installer script like this:
wget -O - https://github.com/OpenMediaVault-Plugin-Developers/installScript/raw/master/install | sudo bashAfter several restarts, it was possible to connect to the admin console by simply pointing a browser at the PI’s IP address.
The attached SSD was discovered in the OMV disk configurator and easily set up to provide a share that my various devices could see over the network.
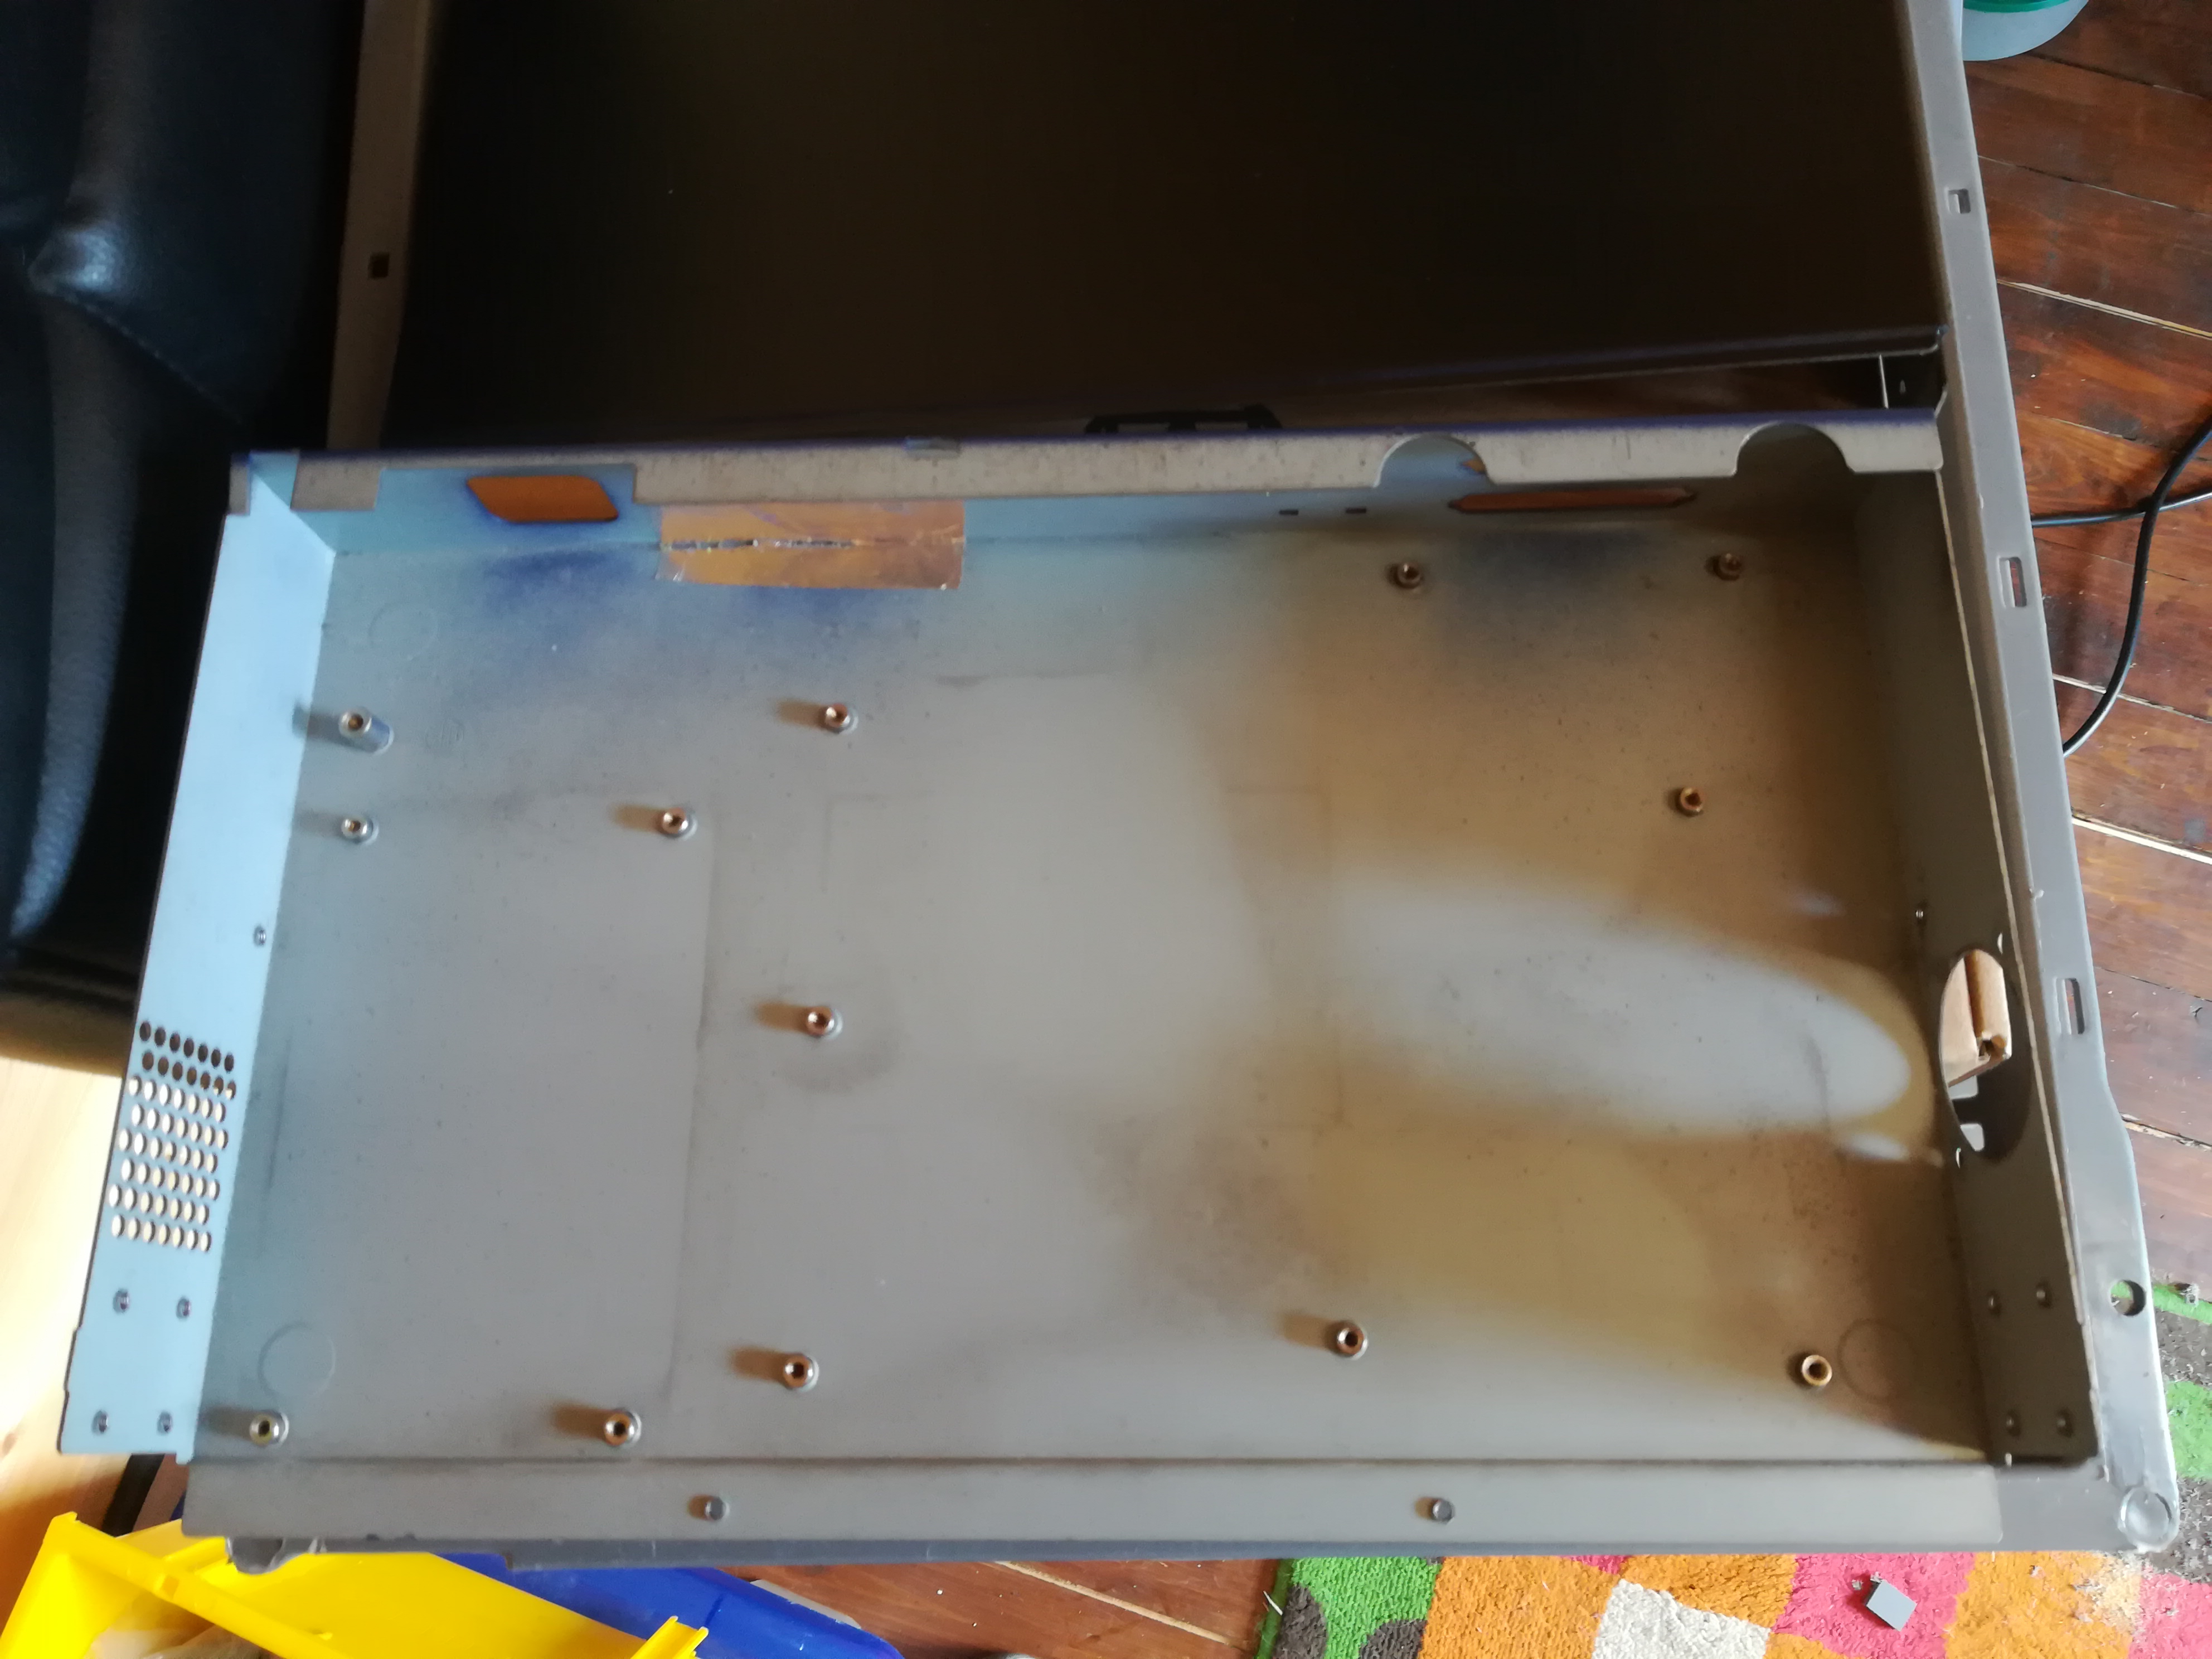
Enclosure
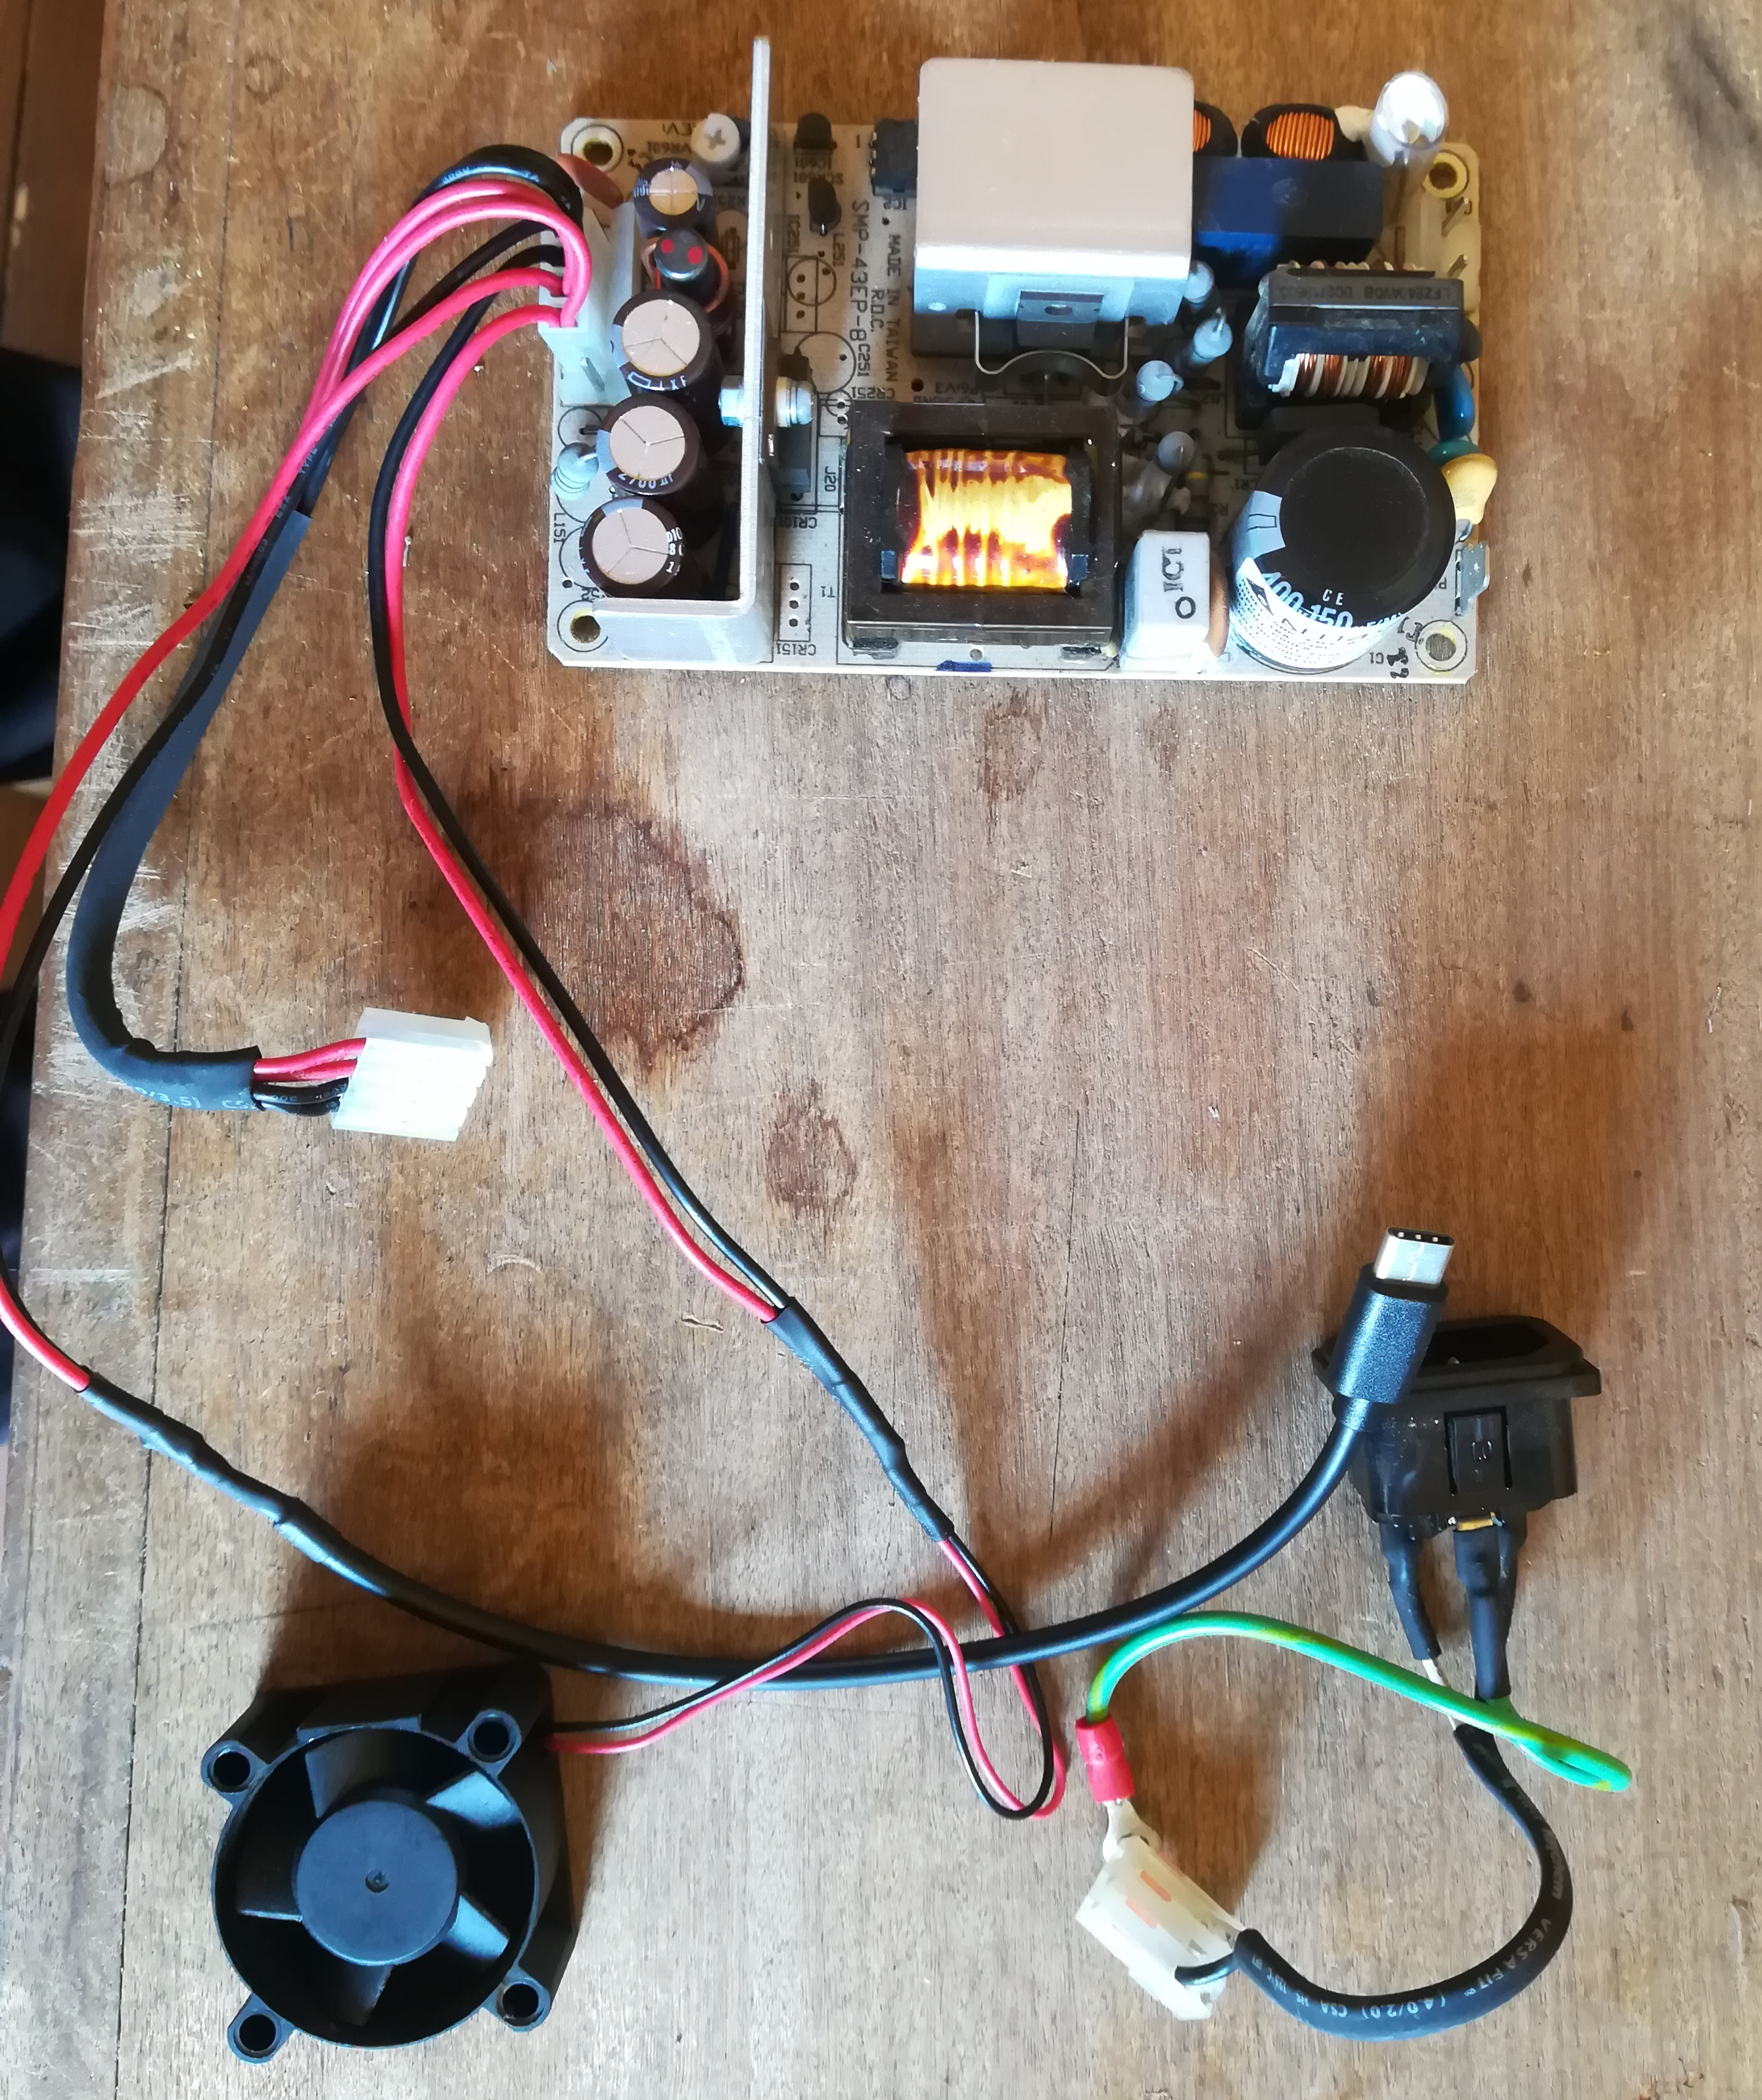
I had an old 19″ enclosure, with a 5v mains PSU left over from stripping down an old 10 Mbit Netgear switch. Since the UK was (and currently still is) on Covid-19 lockdown, I was trying to use what I had to hand. Accessing my local Makerspace was also out of the question, so I had to make do with basic hand tools, some plastic sheets, and a few power tools.
What follows is a pretty crude build.
A simple approach would be to make an adaptor plate to screw down to those mounting posts, with holes appropriate for the Pi4 and the SSD. Usually, I would reach for the laser cutter at this point, but as I said earlier, no Makerspace access, so I needed to either do it by hand or use a 3D printer I had in my workshop.
In the absence of a mechanical drawing of the case, I simply started measuring from point to point. Using Freecad, it was pretty straightforward to draw a sketch of the required outline and fully constrain it to fit the plastic where I needed it.
It was crude, but I decided the easiest way to locate the centres of the mounting points was to draw circles in the approximate locations, then measure between lots of nearby posts in a kind of big triangulated mesh. With enough point-to-point measurements, the sketch was constrained.
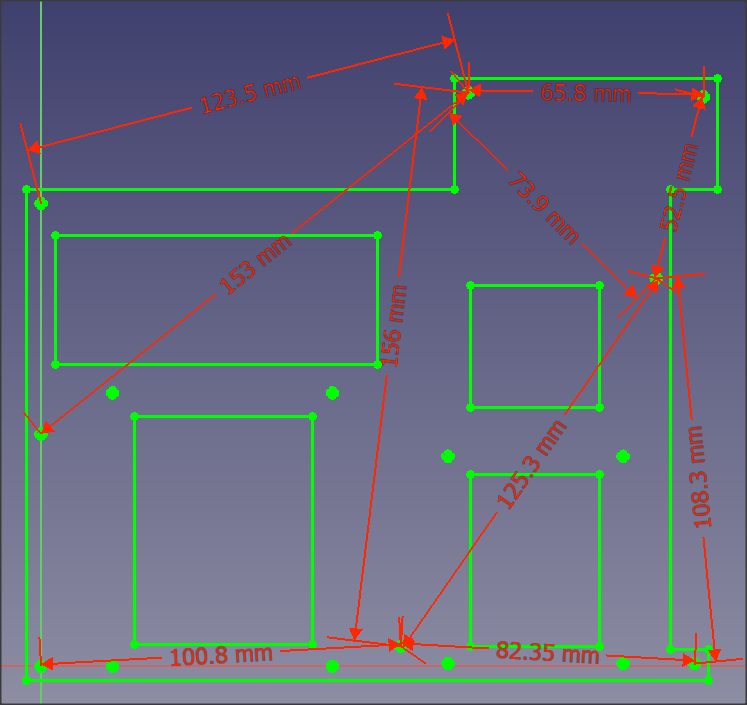
Cutouts were added to reduce unnecessary material to save print time. Once the sketch was constrained, I simply added a ‘pad’ to it to extrude it into a 3D shape suitable for exporting as an STL for printing.

Next, I attached the PI and drive:
Status Display
I wanted to add a small display to the front to show some basic configuration and status information. So, I added a BigRedButton™ to allow issuing simple commands to shut down and reboot the box in case the network goes down and I can’t connect to it.
I had a tiny OLED display in my pile of optoelectronics spares, an SSD1306. This is sold widely on eBay. It is connected via I2C and will wire directly to the Pi with just four wires. Software support was via an old Python library courtesy of Adafruit:
sudo pip3 install adafruit-circuitpython-ssd1306A common way to draw on these displays is to use the Python PIL library to draw onto an internal image buffer, then, when you’re finished, the buffer is pushed out on the OLED display using whatever interface connects it:
Aside: The U8g2lib library is available for Arduino users if that floats your boat. ⛵
The button was wired to the nearest spare GPIO, to pull down to ground. The GPIO was programmed to be in input mode, with the pull-up enabled:
Data were gathered using a few Python modules designed for extracting information from the running system, specifically psutil and Vcgencmd:
The remaining data were gathered by extracting the output of various command-line utilities:
Finally, it was necessary to register a system service, using a service file and a few commands:
This file was copied to /etc/systemd/system, then started with:
sudo systemctl start myscript.serviceFinally, once it was tested, it was enabled to run on boot:
sudo systemctl enable myscript.serviceThis was pretty much all I did to get the thing up and running, in a case, and ready to bolt into my 19″ cabinet. All I need to do is finish that project.
Testing and Deployment
The NAS has recently been switched over to be my primary, after a period of stress testing. Stability is excellent, but performance is not terribly great, as is to be expected from the hardware. It is just fine to run my small business and keep my projects going.

Code and mechanicals can be found on the project GitHub.
Update:- 15 Jun 23: This box provided great service for years, but has now been retired and stripped for parts. The Raspberry Pi 4 and SSD are now the business end of a RetroPie-based arcade bartop build, which sits in our games room. NAS duties are now serviced by a QNAP NAS box I bought on eBay. More on the arcade machine later!