I’ve wanted to build a compute array for a while, and now, with the ease of access to many small but powerful computer boards, it is easier than ever to do so. I decided to use the Raspberry Pi family of boards as the compute node and started looking for existing mounting options that might suit me.
I’ve said before that I like to mount things in 19-inch rack mount systems, and messing around on Thingiverse, I spied quite a few options. The most compact and clean solution I found was a 3D printable sub-rack hosting a bank of Arctic F8 80mm PWMable fans and enough slots to mount a whopping fourteen Pis, each complete with a 2.5″ SSD. That should be enough to experiment with!
The Raspberry Pi 4 2U rack-mount Mark III for 14 Pi with 2.5″ SSD project by Ivan Kuleshov is a simple and effective design that uses a minimal number of nuts and bolts. The mounting trays are connected using keyed slots, and two threaded rods are used to attach the mounting wings and provide structural rigidity. Fans are attached to the rear of the trays at the top and to additional shrouding parts at the bottom. The shrouding parts help direct airflow from the fans over the array to prevent overheating and ensure reliability.
The top internal surface of the mounting kit has a groove for each Pi slot, which allows an assembled node to slide in and lock into place. Each node is formed from a simple ‘tray’ onto which a Pi can be attached to one side and an optional 2.5″ SSD to the other. The intention is to use a USB-to-SATA adaptor cable to hook up the drive. Raspberry Pi OS supports them out of the box with zero configuration, which is nice. The new ones are USB 3.0, so they’re not slow either, just a little slower than native SATA would be. Since the Raspberry Pi does not have SATA connectivity, this is not something I can compare. It’s mechanically simple and seemed fairly robust, or at least as robust as something 3D printed can be.
The first build
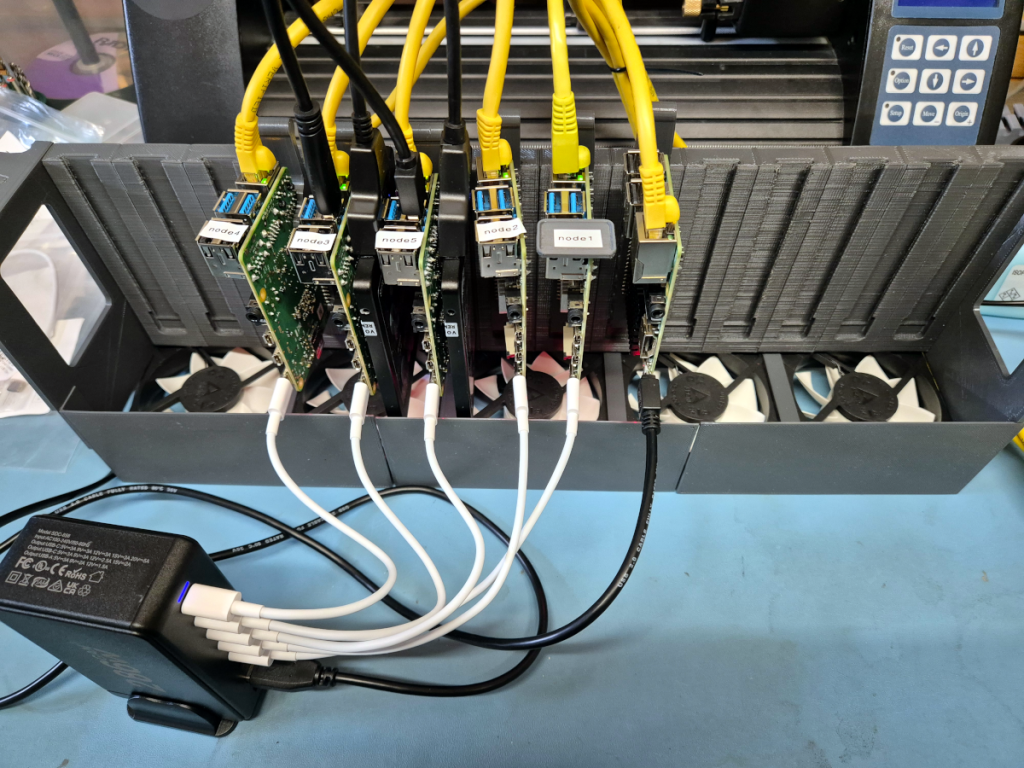
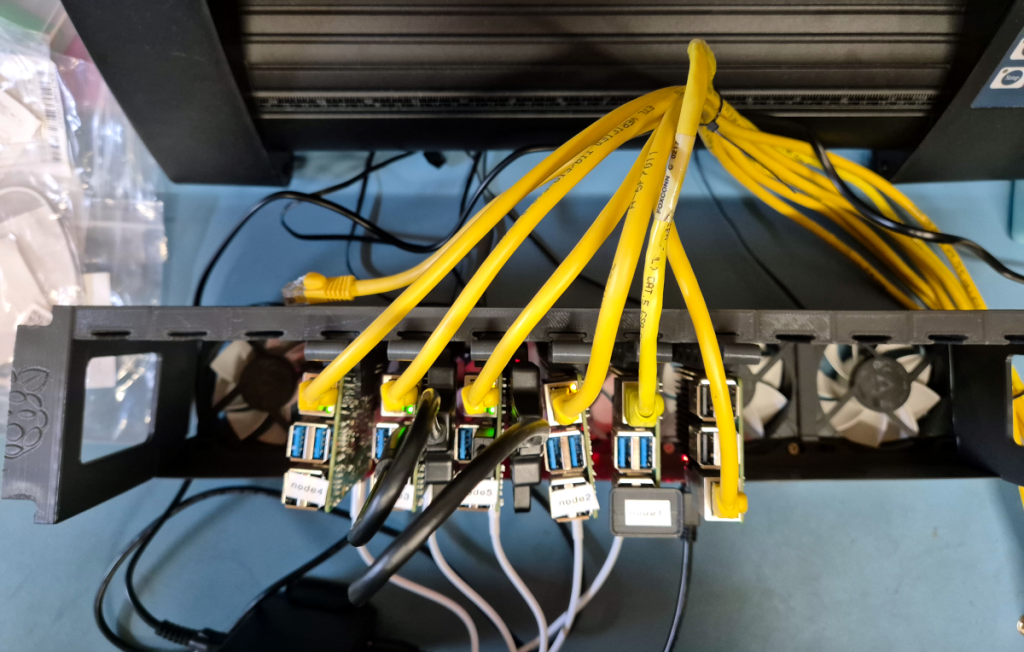
I assembled a few Pi4s and a random Pi3 for the shots above to show what happens to PLA-printed parts over the summer. I built the array a few months ago, and even in the south of the UK, the internal temperature of my workshop can exceed 40 degrees! Whilst the glass transition temperature of PLA is around 60 degrees, the constant force applied by twisted cables and the application of this level of heat has warped nearly all of the Pi mounting brackets slightly. Clearly, I need to reprint the mounting brackets in a more suitable material and reassemble. Luckily, this is easy as each node is only secured with four screws in total. I think PETG should be fine for this, so I’ll get on with that and post an update when it’s finished. In the meantime, allow me to move on to why I’m doing this in the first place. Electrically, it works; it’s just not too pretty!
Motivation
I’m building this monstrosity to learn more about parallel computing and building distributed applications and servers. I want to learn more about Docker and, eventually, Kubernetes. It will also be helpful for learning Ansible and creating a testing and staging ground. In short, there are dozens of reasons to do this; I want to learn more, so that is enough motivation for me.
After loading a fresh copy of Raspberry Pi OS onto each SD card and booting up the array, I set to installing Docker.
curl -sSL https://get.docker.com | sh
sudo usermod -aG docker $USER
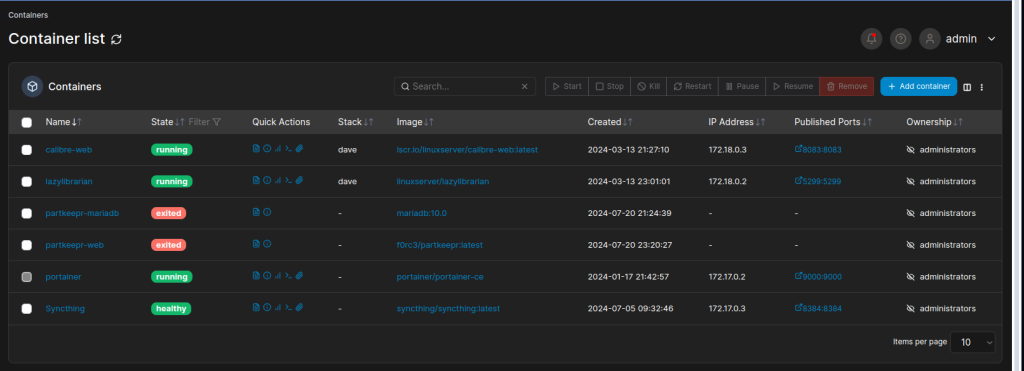
Since there’s quite a lot of learning needed with Docker, I decided to take an easier route and installed Portainer. Portainer runs as a Docker container, but installing it is straightforward.
docker pull portainer/portainer-ce:latest
docker volume create portainer_data
docker run -d -p 8000:8000 -p 9443:9443 --name portainer --restart=always -v /var/run/docker.sock:/var/run/docker.sock -v portainer_data:/data portainer/portainer-ce:latest
This pulls down the latest Portainer binary, creates a data volume for storing Portainer config data, and creates a new container with the image. The container is bound to port 8000 for HTTP and 9443 for HTTPS. After browsing the server, you’re prompted to set up an admin user. From there, pulling down images, creating new containers, and all associated admin is a lot easier.
More updates will follow as I rebuild the hardware and get more interesting applications running.

