
Unit F, Liner’s Industrial Estate, Pitt Road, Southampton
Our Hackerspace, So Make It (Southampton Makerspace) was located in Unit K6 on the same industrial estate as our current location. After a year in our first paid-for dedicated space, we decided it was getting a bit cramped. The physical space could not contain our ideas, and people were getting uncomfortable jamming in there. After a brief budget meeting, we decided on a budget for rent for a new unit and looked around. Our landlord, Andrew, gave us the keys to a recently vacated unit, less than 100 yards away! So a few of the trustees went around to nose about.
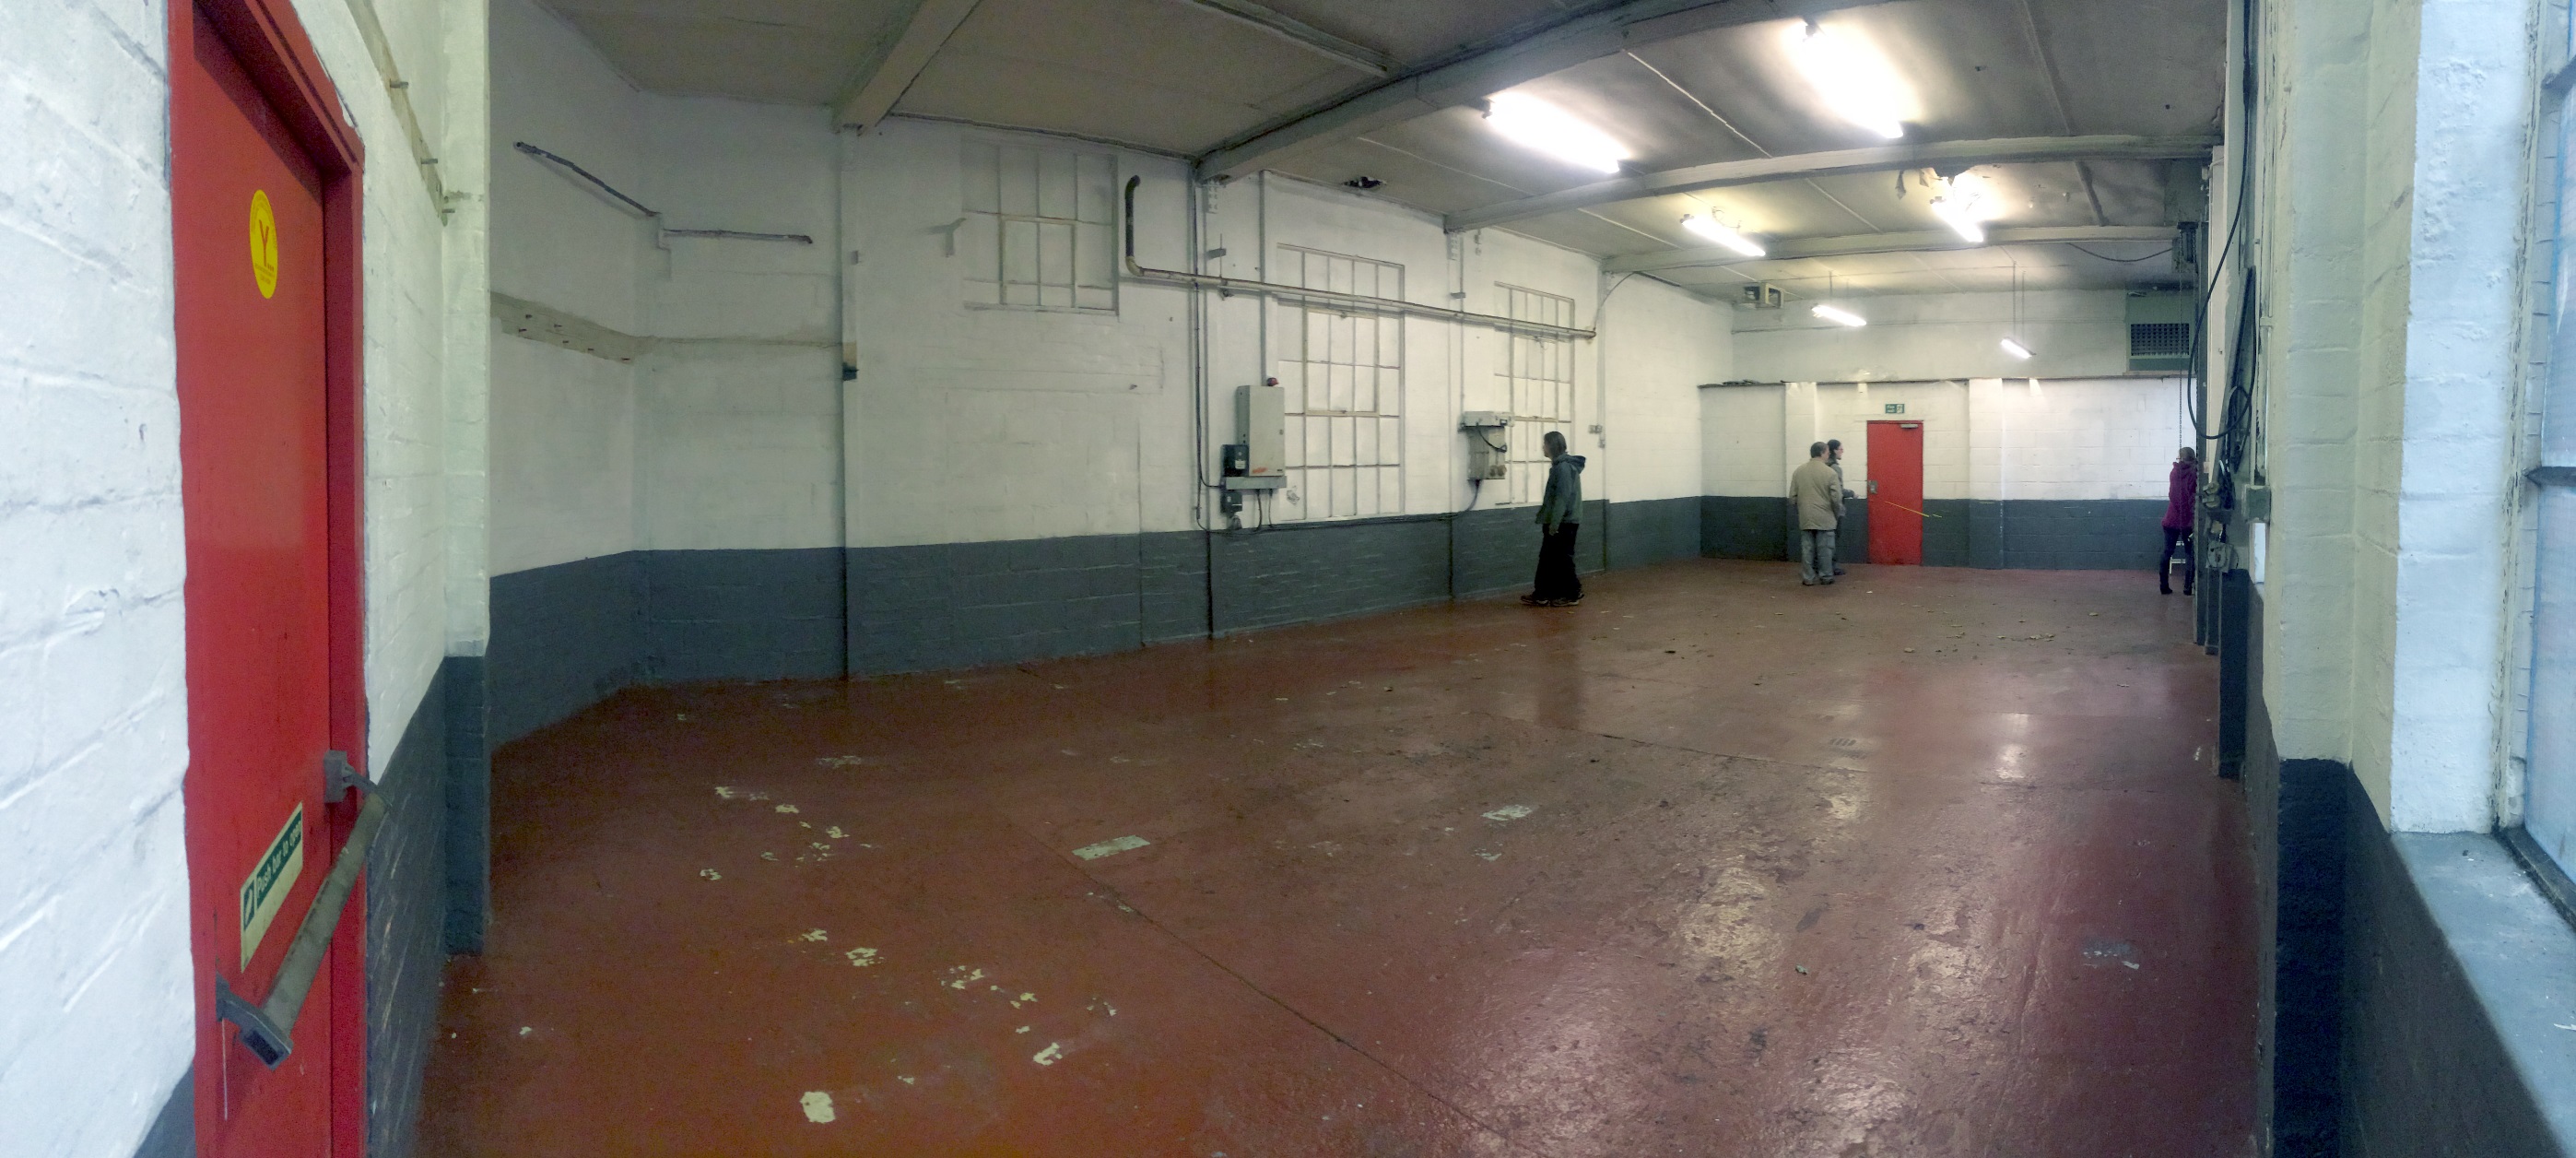
Empty Unit all unloved

The new unit was on one level (BIG plus) compared to our old one, and was easily 2.5 times the size. We signed on the dotted line, and the landlord (Andrew) offered us access a month early for free, so we could get in and sort the place out! What a star!
Fixing
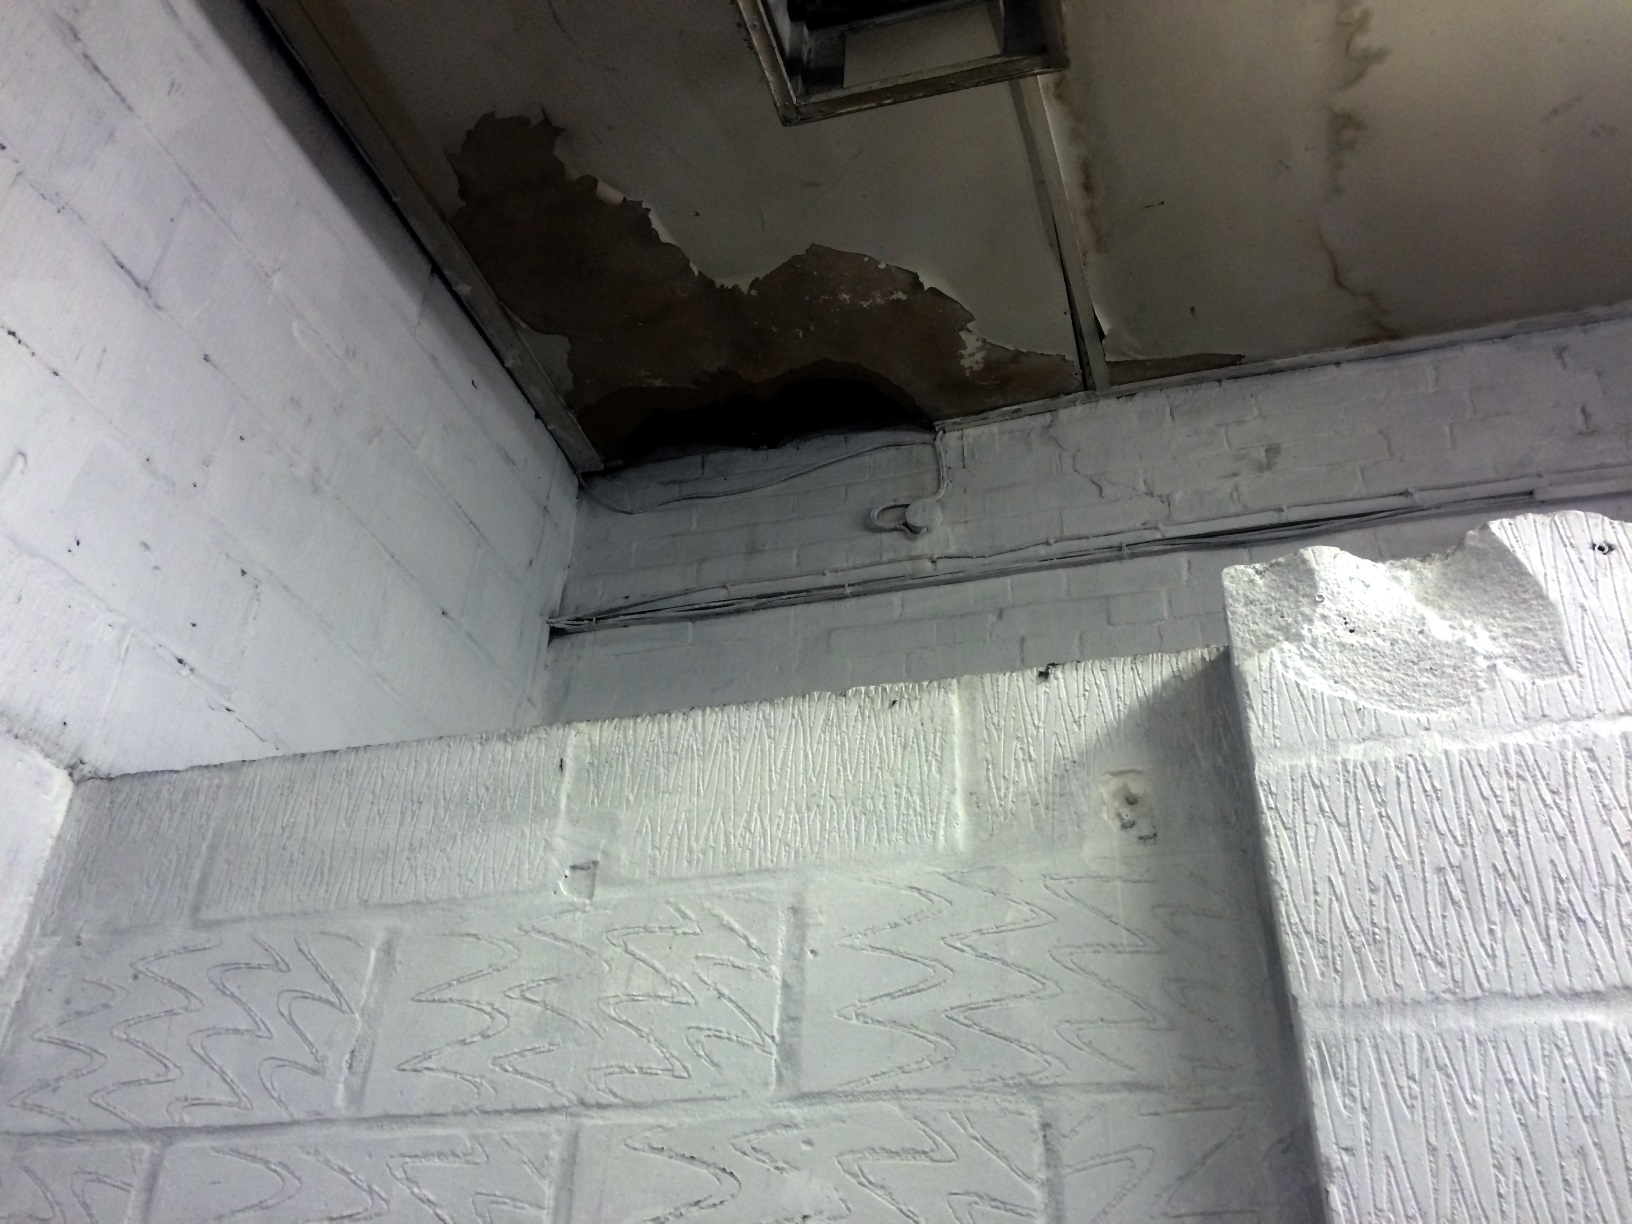
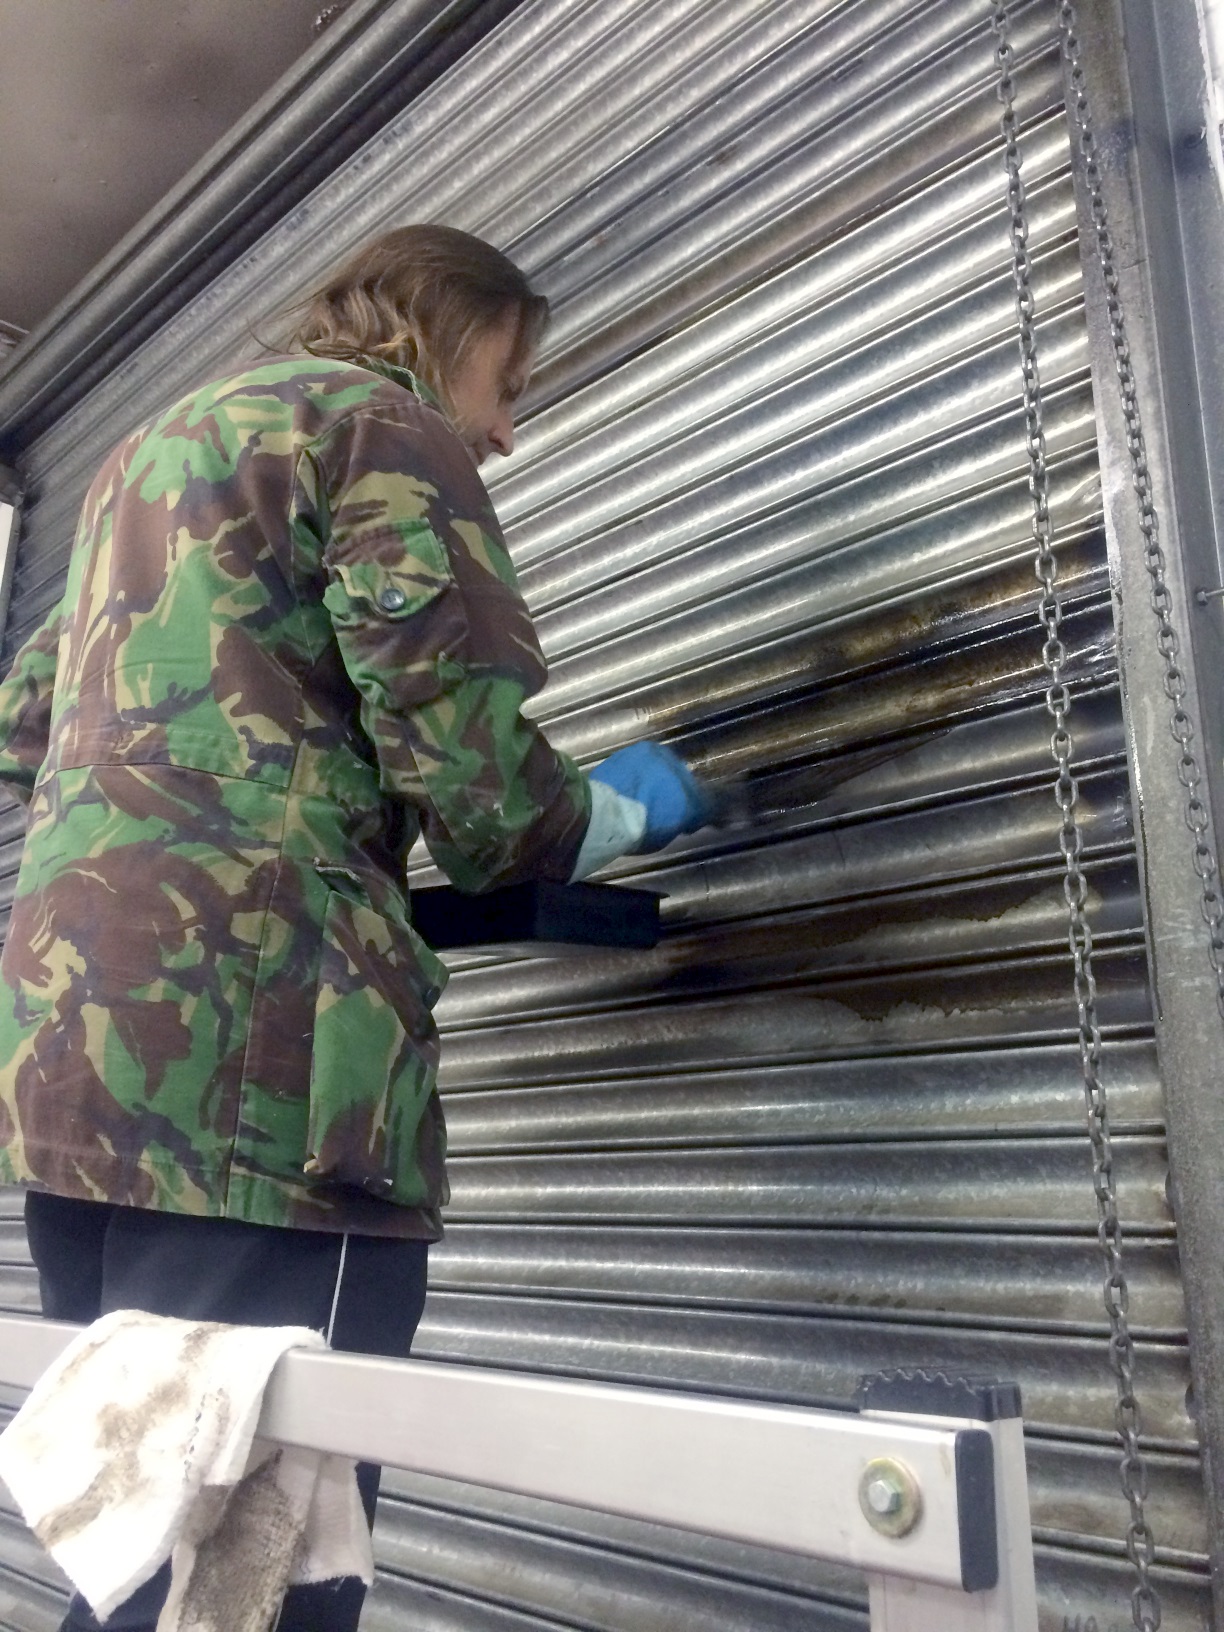
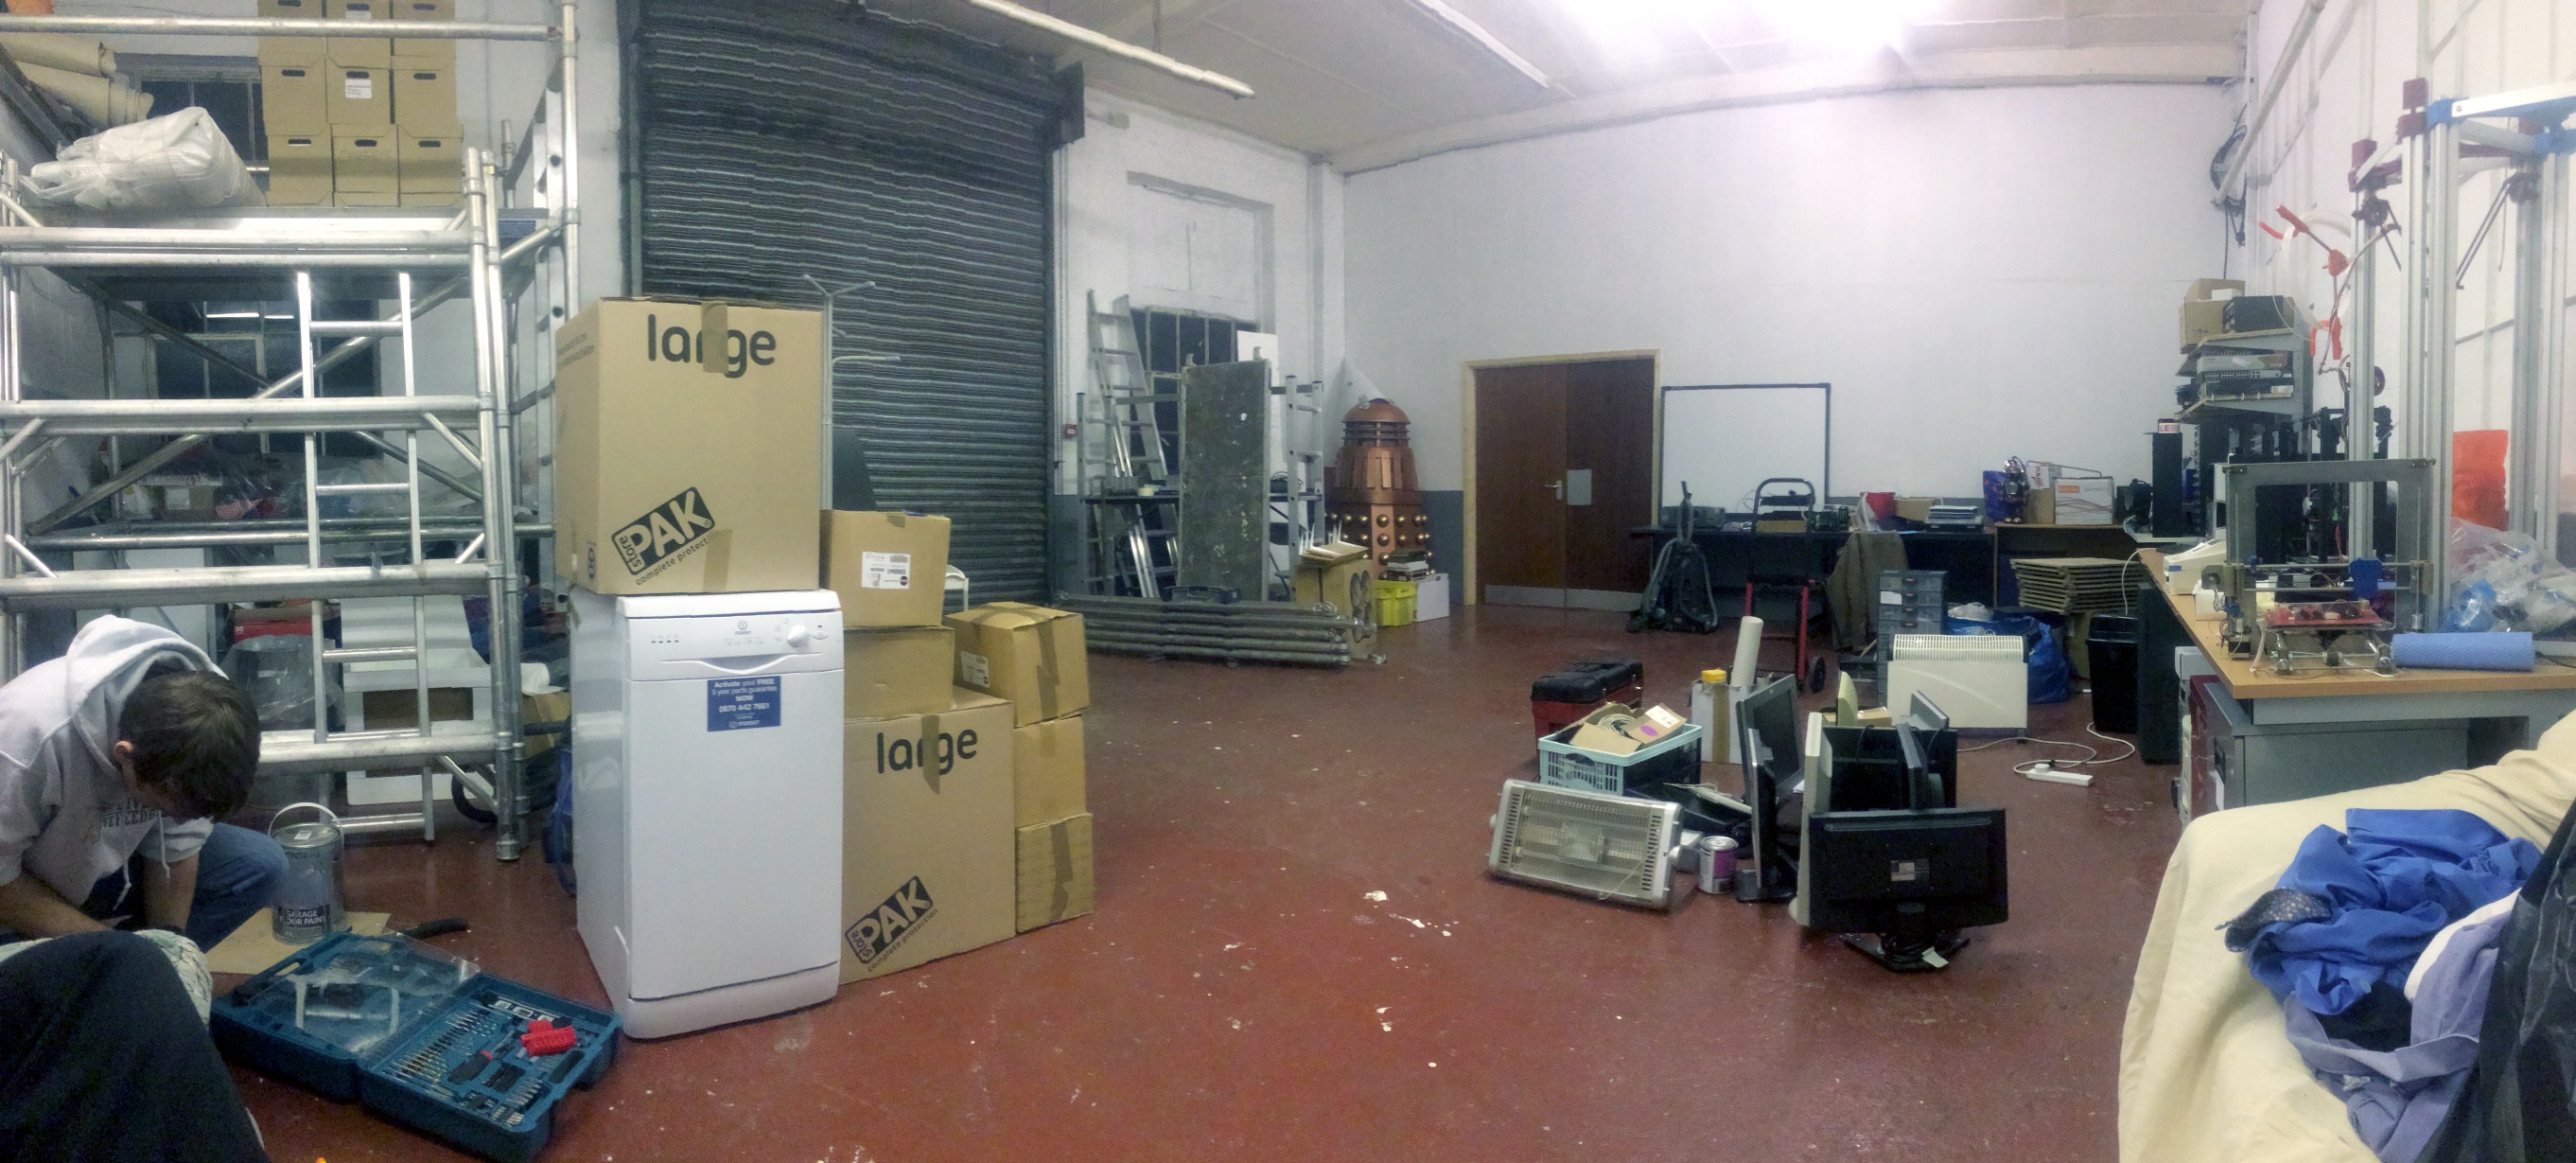
There was dirt. Lots of it. The walls, the floor, every window, every wall fixture. The whole thing was absolutely filthy. Various things were hanging off, broken or just missing! The previous tenants ran an MOT inspection garage here, so car-related dirt was all over. Diesel vehicles kick out a lot of particulates, meaning every surface, vertical or horizontal, was thick with sticky black carbon. It took a lot of cleaning, but we got to the end of it. We’re all practical people, so we just got on with it.
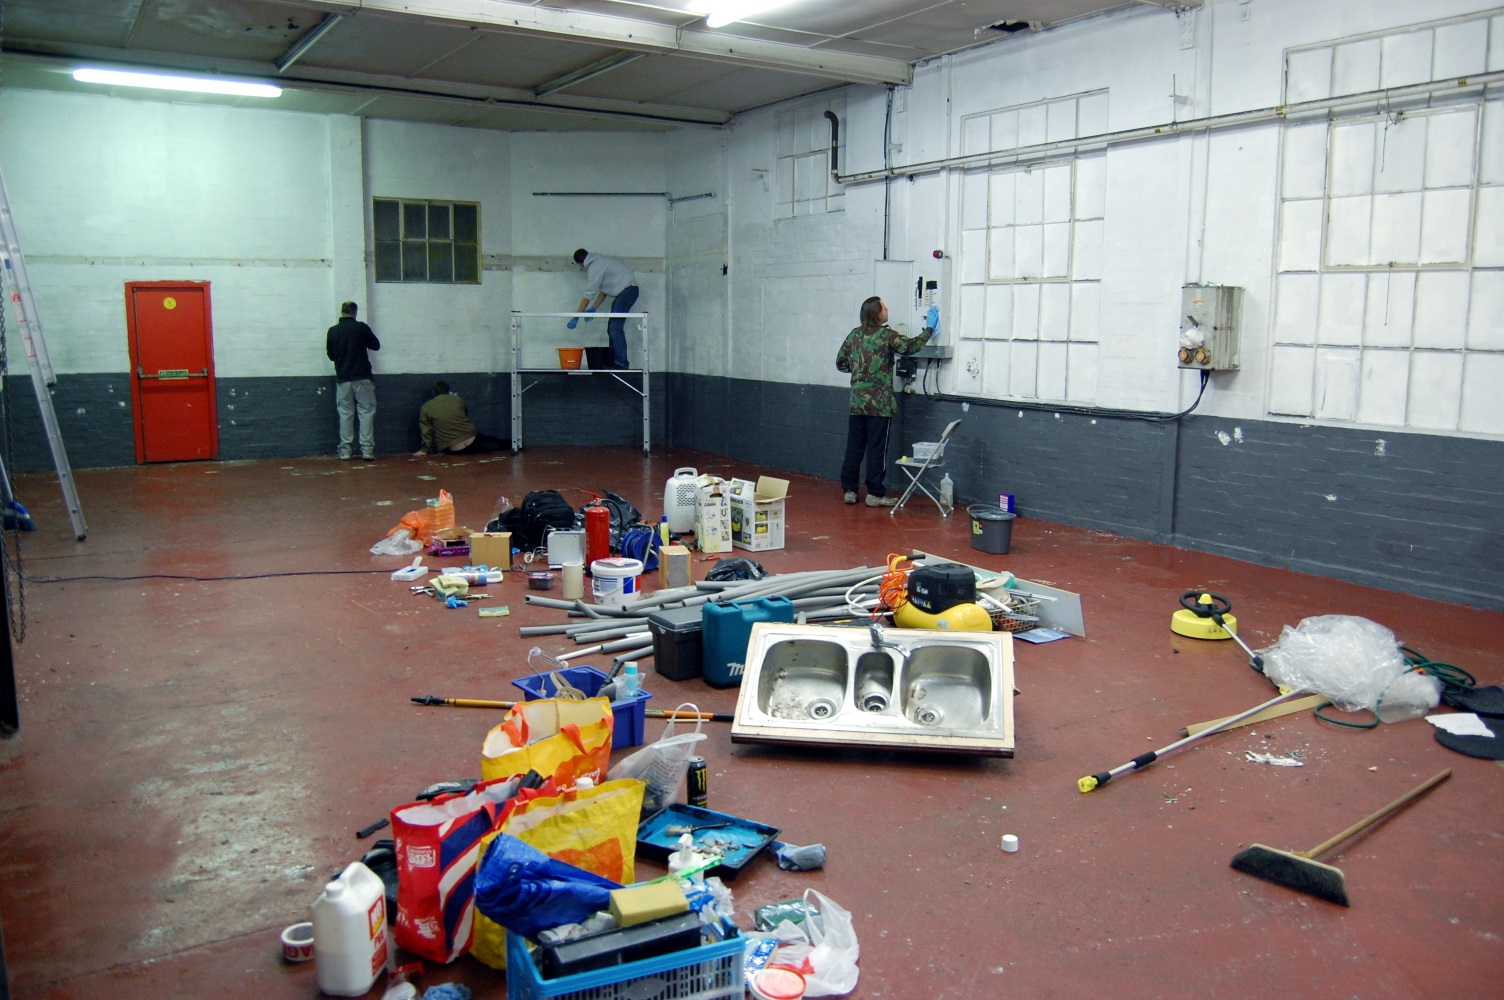
We had help from a pool of members, some 20 strong, day and night, for at least three weeks straight, without a break. As a team, we scrounged stuff out of skips, recycling companies, the internet, people’s loft storage—anything we could lay our hands on to reduce costs and build an awesome space.
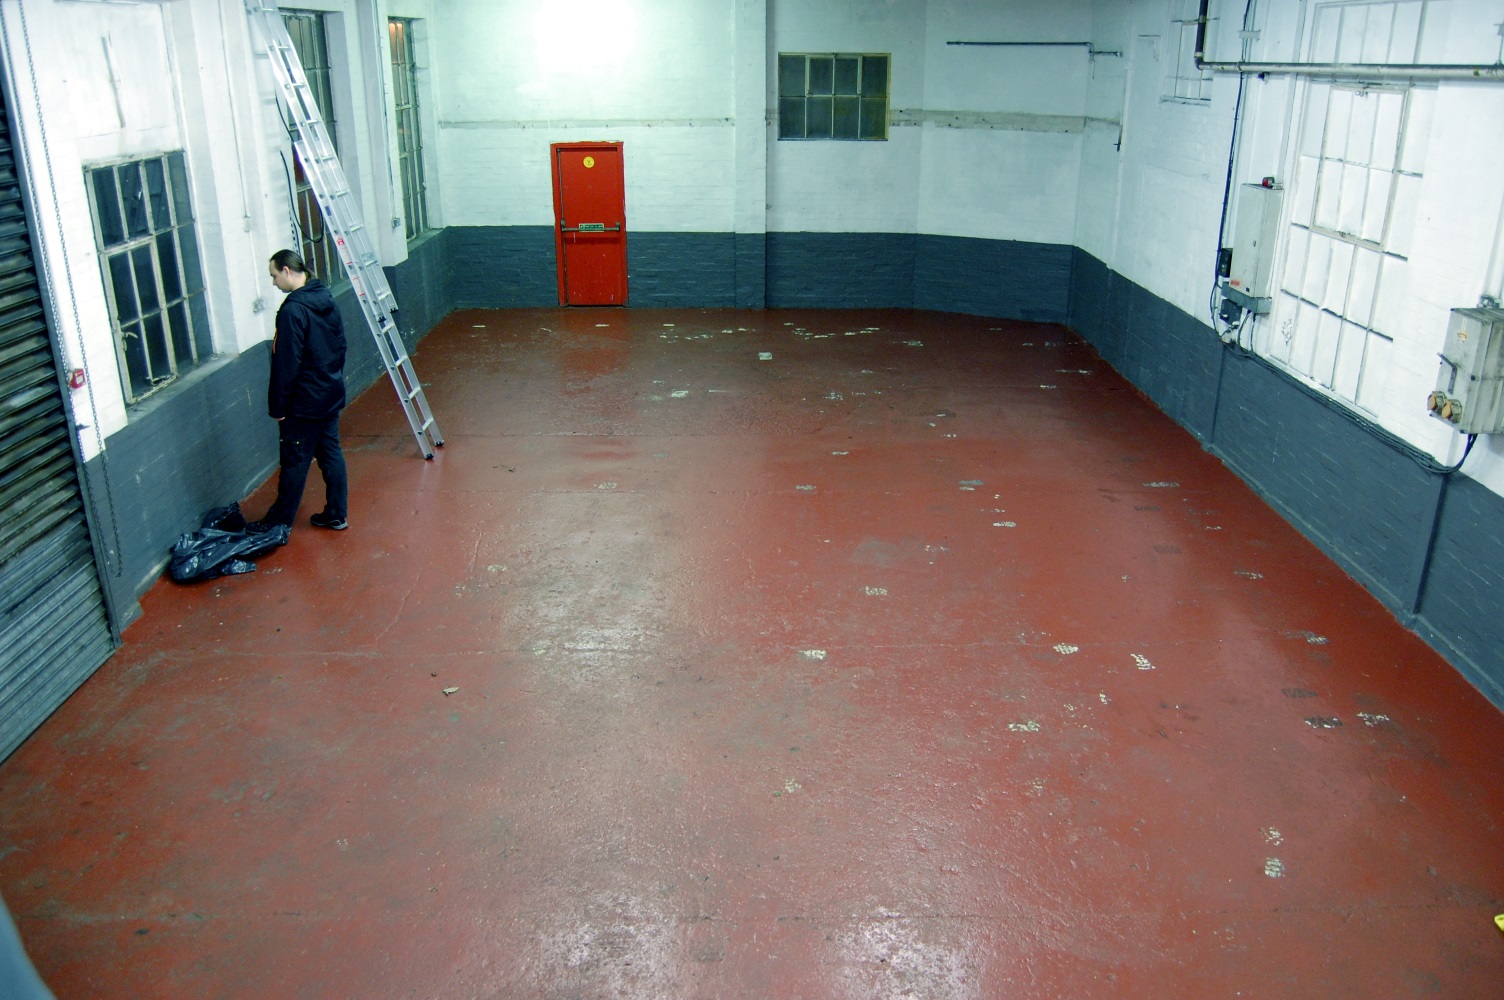
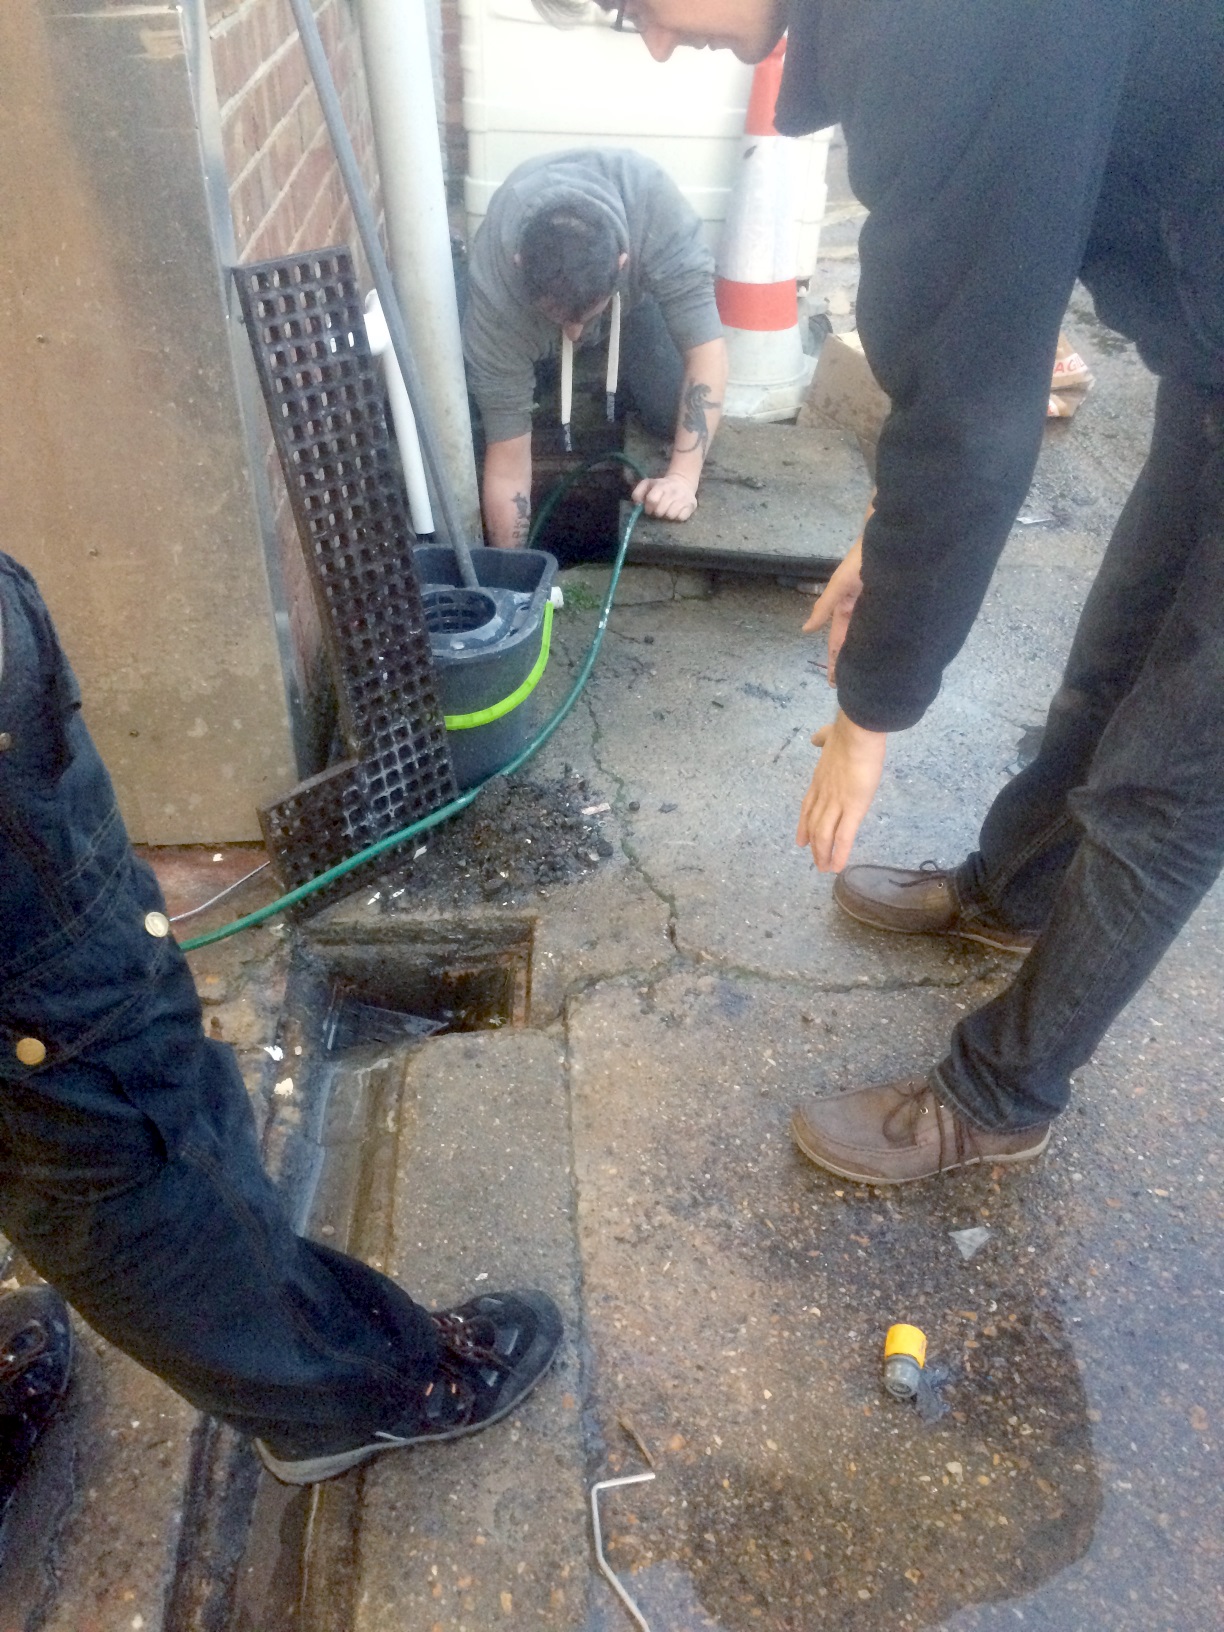
Anything we didn’t need was removed to make more space and maximise access to the wall space. After the root cause was identified and fixed, all the holes in the ceiling and walls were patched up. Everything was cleaned out and repainted. After heavy rain (we started this project in December, which is a wet and cold month in the UK) over several days, the unit flooded. Water was pouring in under the roller shutter. Clearing the external drains solved this!
Not fixing. Not touching.

Cleaning. Lots of cleaning
More Cleaning and Painting walls, Ceilings, and things
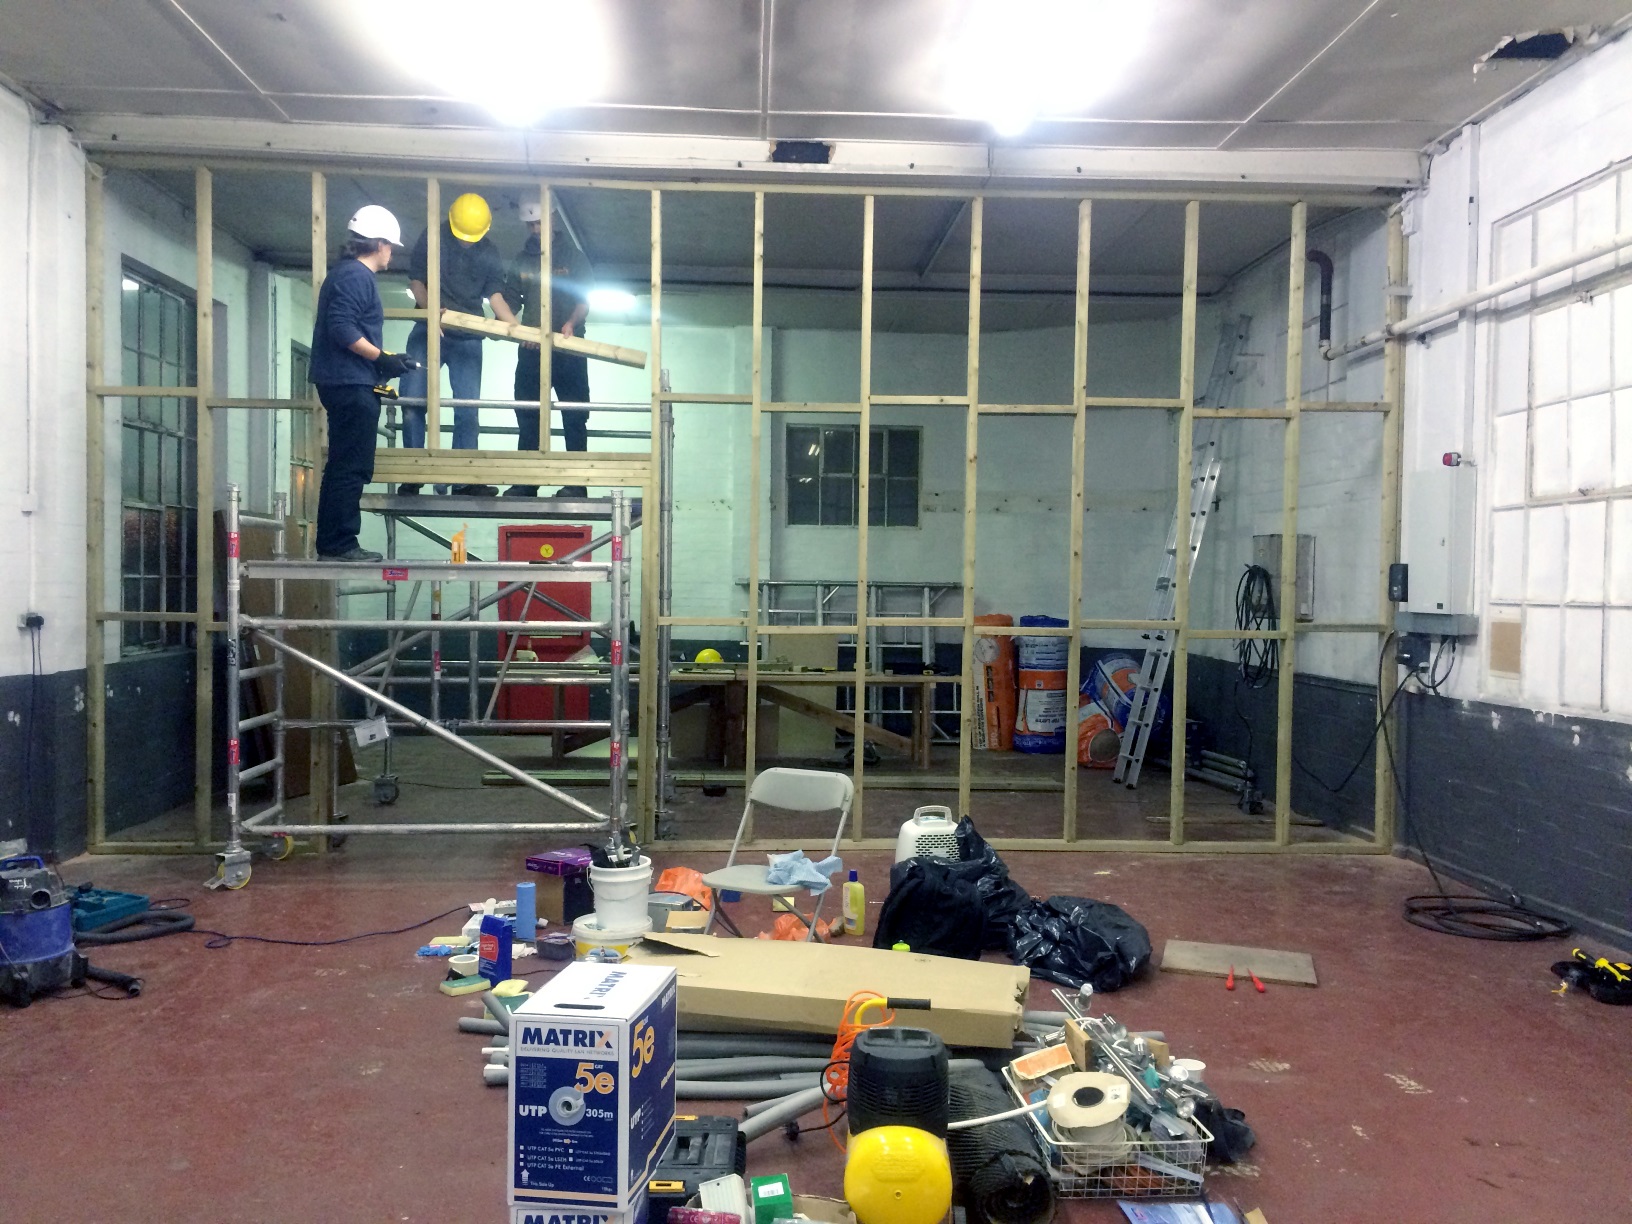
Once the cleaning and painting were done, we started the construction phase. The plan was to build a partition wall, roughly midway between the first two visible (but painted over!) windows. The idea was to zone the space into dirty (workshop) and clean (open hacking) areas to keep the dust and dirt contained at the source. The wall would be rock-wool insulated for thermal and noise reasons. Each zone has a separate fire escape, so there were no legal issues with doing this. The kitchen would be located at the camera viewpoint, to the left of the roller shutter, conveniently near the water supply and waste connections to the external drain.
Building the kitchen
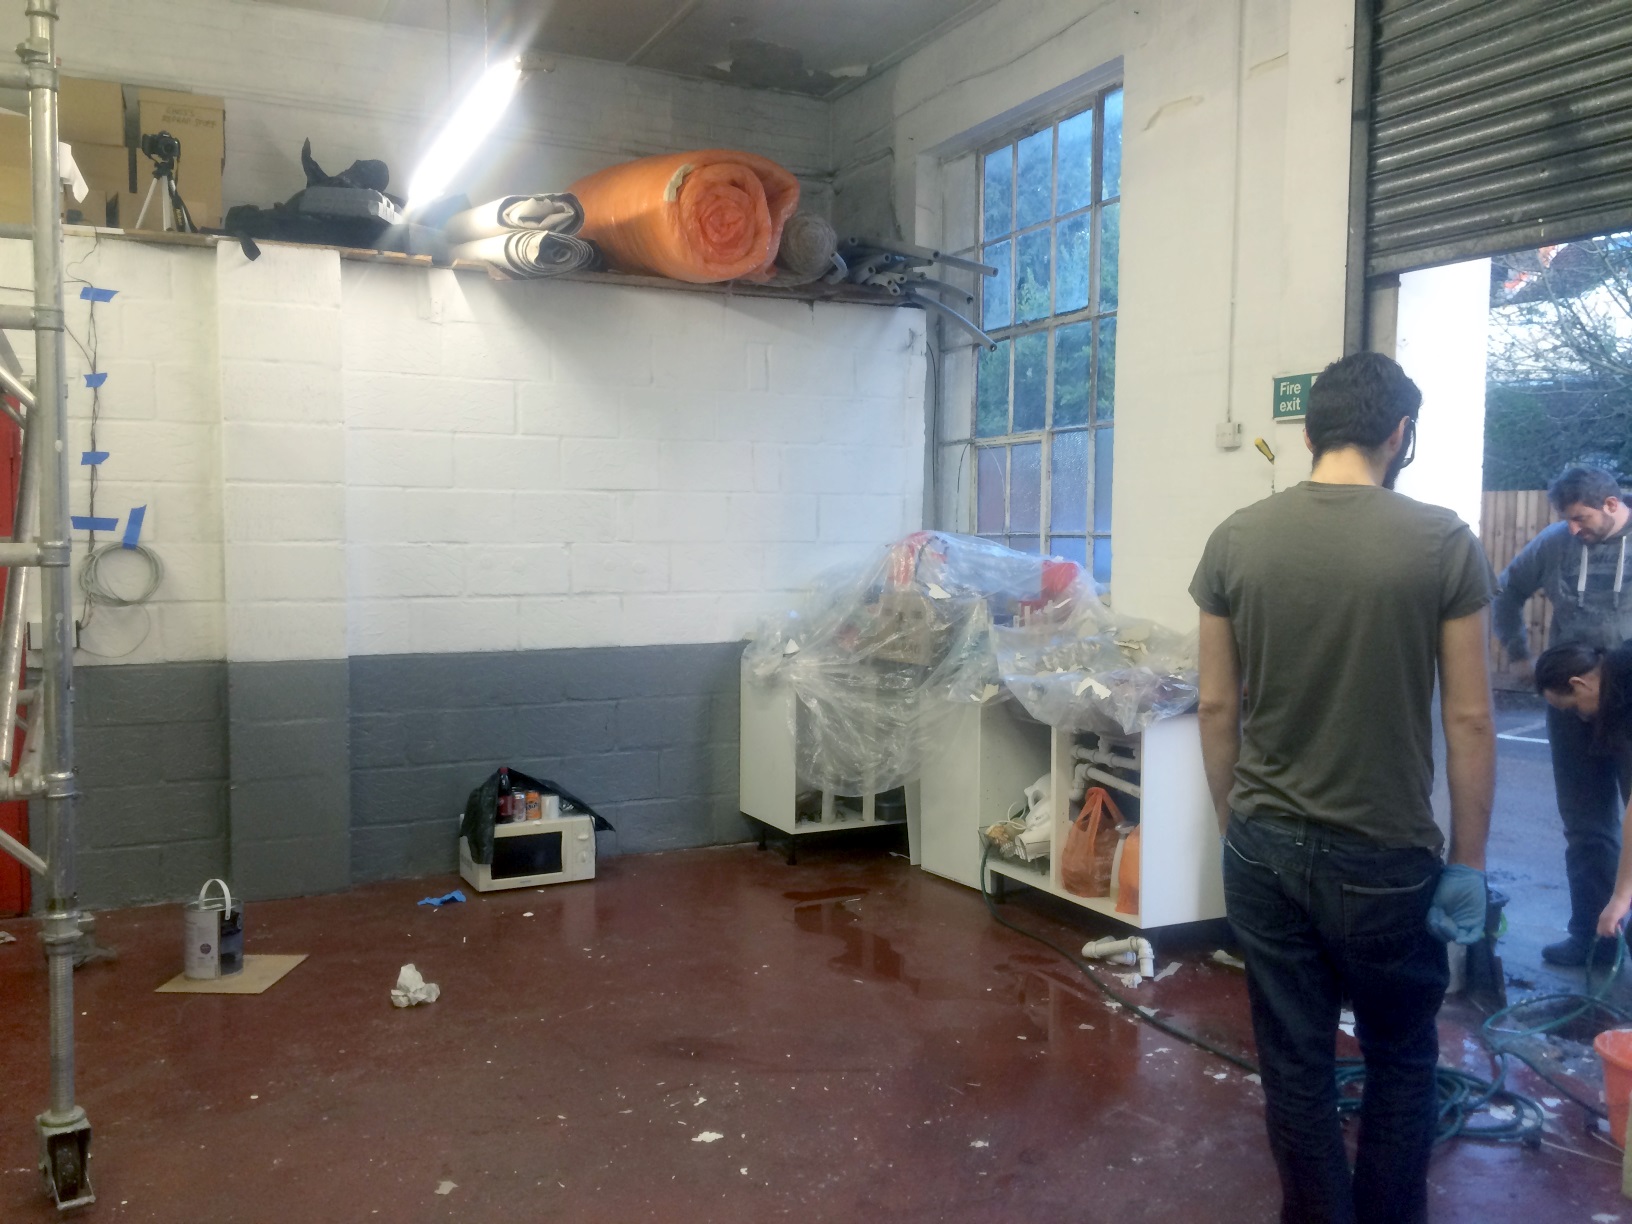
Our members are very resourceful, and we acquired a complete kitchen for virtually no outlay. We only spent £100 on missing parts and purchasing cupboard carcasses and doors from a local who was having a new kitchen fitted. Secondhand is good enough for us.
All the white goods were donated, so the outlay was zero. We even have a slimline dishwasher!
Help from the Landlord

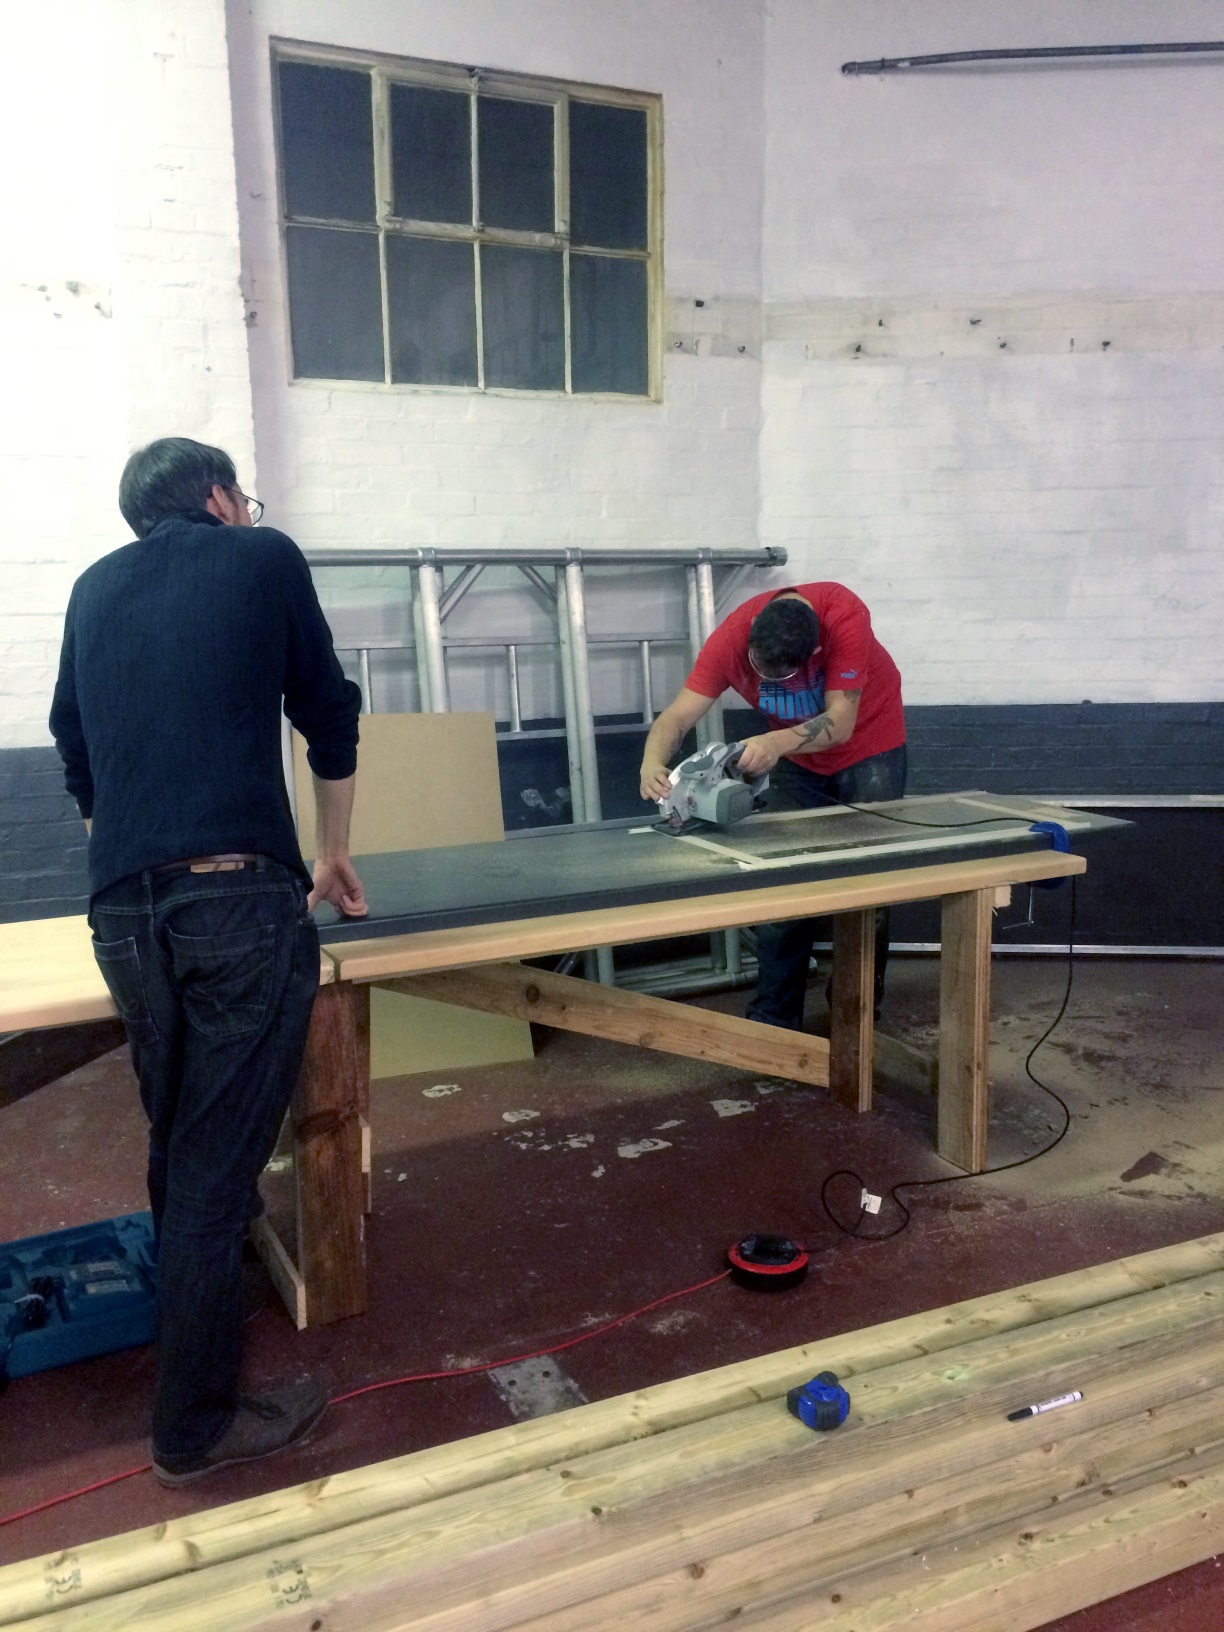
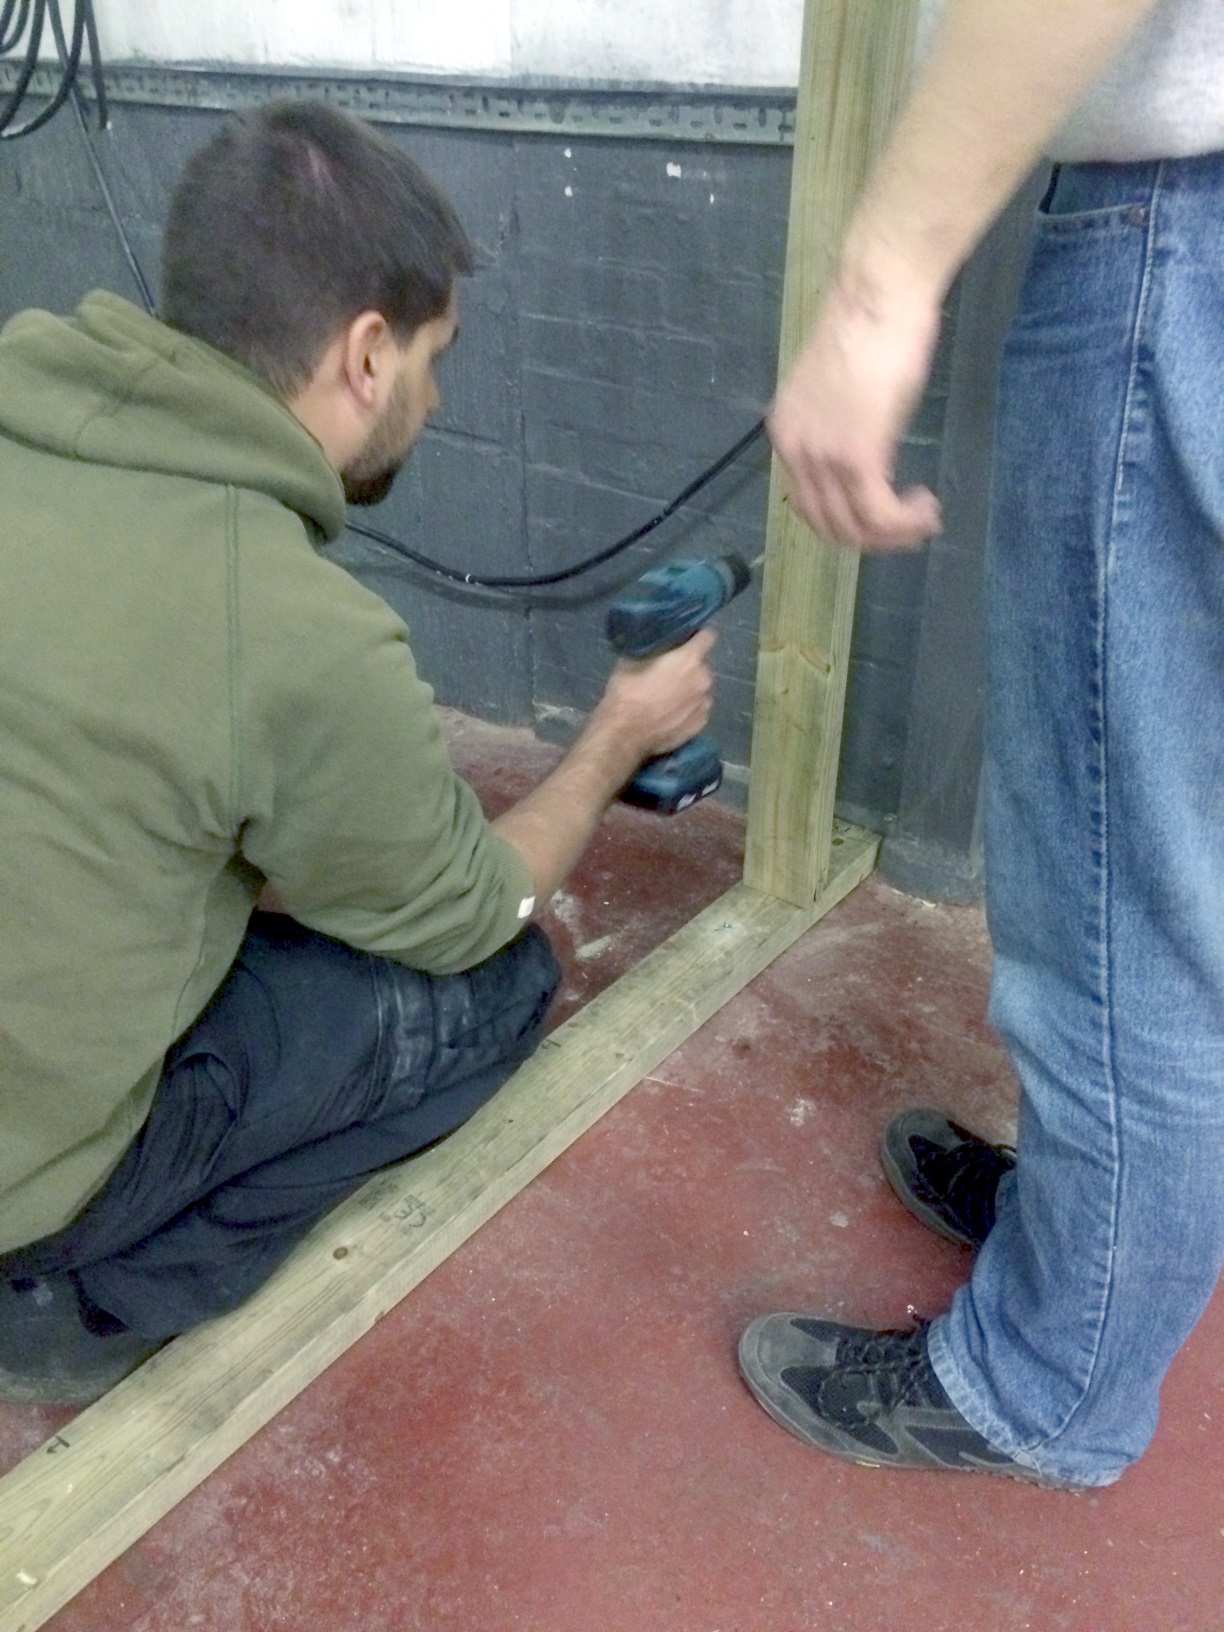
Building the Partition Wall
One of our trustees, Bracken, learned how to build a stud wall the hacker way by watching YouTube! Honestly, it’s not really all that hard if you have the right materials and tools. The landlord loaned the gantry and all the power tools we already had. Timber for the structure, beams, uprights, noggins, and door frame were all bought and delivered from a local company, Totton Timber, which offered us a very good discount.
The insulation came from spare loft insulation members had. A local shipping company donated the wall boarding after a member gently pressured the warehouse manager! The super-solid double doors came from a skip at one member’s workplace. A member who runs a local software company paid for all the timber, nails for the air gun, screws, and fixtures. I think it cost about £500 in all.
One of the trustee’s father is a retired carpenter, so on a visit (from Scotland, where he lives!) to his son, he got to pass down some knowledge and get the massive double doors into the workshop hung and swinging true. And a solid job it is, too.
Moving in
Donations, donations, and more donations

Additional Resources
Build Time-lapse
Hackerspace Build Finished!
(Okay, Hackerspaces are never finished)
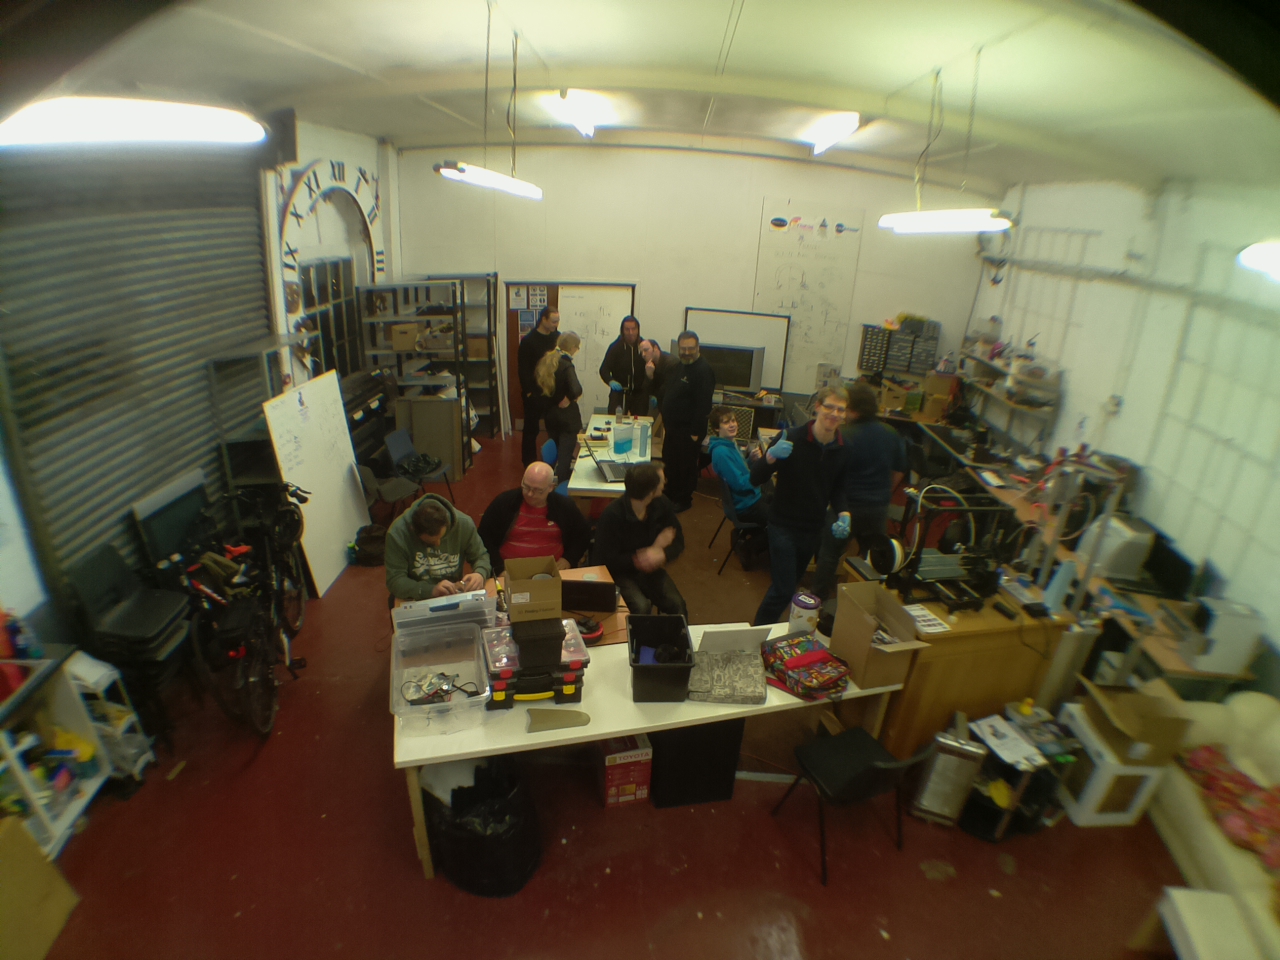
So, as of writing, we’re shy of two years in, and getting cramped again! We’ve acquired or bought new tools, such as 3D printers, a metalworking lathe, and a large A0-sized industrial laser cutter 🙂 We’re getting itchy feet again, so perhaps another space upgrade is in the near future? Right now, we’re working on better space utilisation and storage solutions.
First Year Time-lapse
360-Degree Tour Video
The Future
We’re always looking for new members, so if you live in Hampshire, UK, around the south coast, near Southampton, the New Forest, or Portsmouth regions, drop in and say “Hi.” Our opening times and location are on our visiting page. We’re always interested in receiving donations, hosting tools you don’t use so often (you can lend us things and we’ll look after them!), hosting groups, or just making useful contacts! Fancy chatting with us? We’re on Slack.